



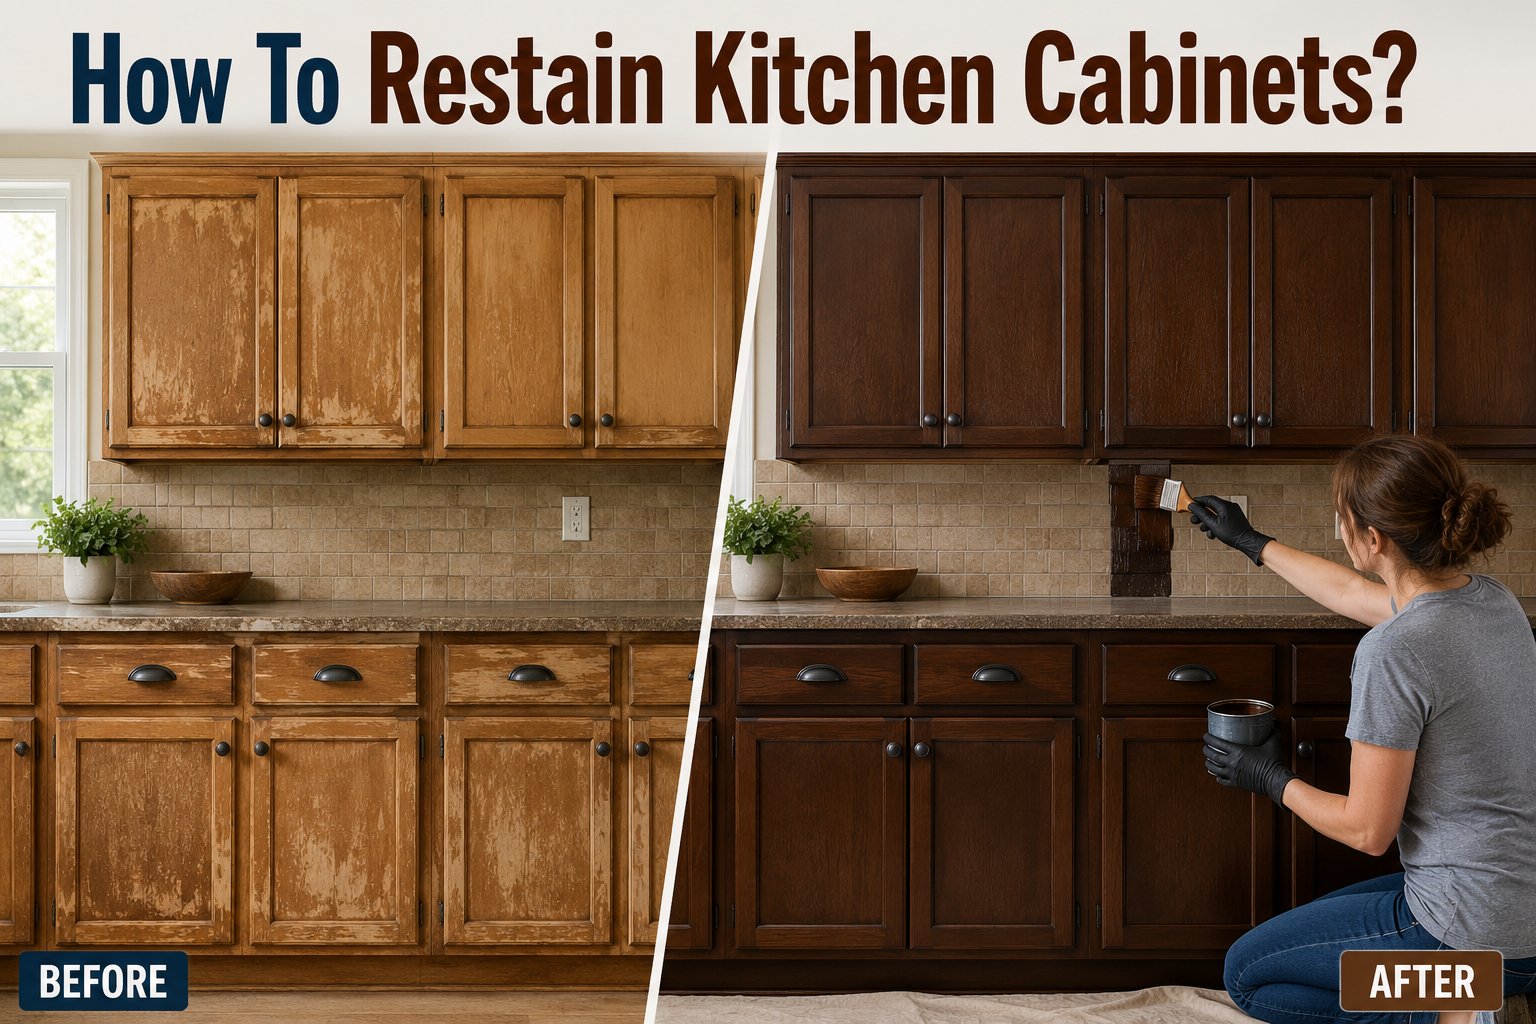
Kitchen cabinets take a lot of daily wear. Grease, water splashes, sun exposure, and years of opening and closing doors slowly wear down their finish. If your cabinets are starting to look tired, faded, or simply outdated, you do not always need to replace them. Learning how to restain kitchen cabinets is one of the most affordable and rewarding ways to give your kitchen a completely new look without spending money on a full renovation.
Restaining is different from painting because it works with the natural wood grain instead of covering it up. Done correctly, it can make old cabinets look brand new while keeping the warmth and character of real wood. This guide walks you through every stage of the process in a simple, easy-to-follow way, so even if you have never restained furniture before, you will be able to complete this project with confidence.
Introduction
Restaining kitchen cabinets means removing the old stain or finish from the wood and applying a new layer of stain to refresh its color and protect the surface. Many homeowners choose restaining over replacing cabinets because it saves a significant amount of money while still transforming the entire look of the kitchen.
There are three common reasons people search for how to restain kitchen cabinets: their current cabinets look worn out, they want to match a new kitchen color scheme, or they simply want to protect the wood from further damage. Whatever your reason, the process outlined below applies to almost any wood cabinet, whether it is oak, maple, cherry, birch, or pine.
The biggest benefit of restaining is that it preserves the natural wood grain pattern, which gives cabinets a richer and more authentic appearance compared to paint. It is also a project that most homeowners can do themselves over a weekend, without needing to hire a professional carpenter.
Restaining vs. Repainting vs. Replacing
Before starting any project, it helps to understand how restaining compares to the other two common options: repainting and replacing. Each option has its own cost, time commitment, and final appearance.
| Factor | Restaining | Repainting | Replacing |
|---|---|---|---|
| Cost | Low to moderate | Moderate | High |
| Time required | 1 to 3 days | 2 to 4 days | Several weeks |
| Wood grain visibility | Fully visible | Hidden | Depends on new cabinets |
| Skill level needed | Beginner to intermediate | Beginner | Requires installation expertise |
| Best for | Cabinets in good structural shape | Any wood or laminate cabinets | Cabinets with structural damage |
| Long-term durability | Good with proper topcoat | Good | Excellent |
If your cabinets are structurally sound and simply need a color refresh, restaining is almost always the smarter and more budget-friendly choice. Repainting works well if you want a solid color rather than a natural wood look, while replacing is only necessary when cabinets are physically damaged, warped, or falling apart.
Signs Your Cabinets Need Restaining
Not every set of cabinets is a good candidate for restaining. Before you begin, it is worth checking whether your cabinets show the right signs for this type of project.
Cabinets that are good candidates usually have a faded, dull, or unevenly worn finish, minor scratches or watermarks on the surface, or a color that simply feels outdated compared to your updated kitchen design. As long as the wood underneath is still solid and free of rot, cracks, or serious warping, restaining will work beautifully.
On the other hand, if your cabinets have swollen wood from water damage, chipped veneer that is peeling away, or structural looseness in the frame, restaining alone will not fix these deeper issues. In such cases, repairs may be needed first, or replacement might be the more practical route.
Tools and Materials You Will Need
Gathering everything before you start will save you time and prevent frustrating mid-project trips to the hardware store. Below is a full list of what you will need.
- Screwdriver (for removing doors, drawers, and hardware)
- Chemical stripper or sandpaper (120 to 220 grit)
- Tack cloth or lint-free rags
- Wood stain in your chosen color
- Pre-stain wood conditioner
- Stain applicator: foam brush, bristle brush, or clean rag
- Polyurethane or varnish topcoat
- Painter’s tape
- Plastic drop cloths or old bedsheets
- Rubber gloves and a dust mask or respirator
- Sawhorses or a flat workspace for doors
- Wood filler (optional, for filling small dents or holes)
- Degreasing cleaner such as TSP (trisodium phosphate)
Having good ventilation is just as important as having the right tools. Stains and topcoats release strong fumes, so plan to work in a garage, basement, or outdoor space with airflow, or open windows and use fans if working indoors.
Choosing the Right Stain
One of the most important decisions in this entire project is selecting the right type of stain. There are three main categories to choose from.
Oil-based stains penetrate deeply into the wood and are known for rich, long-lasting color. They take longer to dry but tend to give the most traditional and even finish. Water-based stains dry faster and have lower odor, making them a good choice for those working indoors, though they may raise the wood grain slightly and require light sanding afterward. Gel stains sit on top of the wood rather than soaking in, which makes them excellent for hardwoods that stain unevenly, such as pine or birch.
It also matters what type of wood your cabinets are made from. Oak has a strong, open grain that absorbs stain beautifully. Maple is denser and can sometimes stain blotchy, so a gel stain or pre-stain conditioner is recommended. Cherry wood naturally darkens over time, so lighter stains often look best.
Always test your chosen stain on a hidden area, such as the inside of a cabinet door or a spare piece of wood, before committing to the entire project. This simple step prevents disappointment after the work is done.
Preparing Your Workspace
A well-prepared workspace makes the entire restaining process smoother and safer. Start by laying down drop cloths or old sheets to protect floors and countertops from drips and dust. If you are working in the kitchen itself, use painter’s tape to protect walls, backsplash tiles, and countertops from accidental stain or stripper contact.
Ventilation is essential. Open windows, turn on exhaust fans, or set up a portable fan to keep air moving throughout the space. Wear rubber gloves to protect your skin from chemicals, and use a dust mask when sanding to avoid inhaling fine wood particles. If you are using a chemical stripper, safety goggles are also recommended since these products can splash.
Step 1: Removing Doors, Drawers, and Hardware
Begin by removing all cabinet doors and drawers using a screwdriver. Take off hinges, knobs, and handles as well. This step is important because it allows you to work on flat surfaces rather than awkward, upright cabinet frames, and it prevents hardware from getting stained accidentally.
As you remove each piece, label it with masking tape and a marker, noting exactly which cabinet and position it came from. This small step saves enormous time and confusion later when reassembling everything. Store screws and small hardware pieces in labeled plastic bags so nothing gets lost.
Step 2: Cleaning and Degreasing
Kitchen cabinets accumulate grease and grime over the years, especially near the stove and sink areas. Before sanding or stripping, clean every surface thoroughly using a degreasing cleaner such as TSP mixed with warm water. Wipe down all doors, drawer fronts, and cabinet frames, then rinse with a clean, damp cloth and allow everything to dry completely.
Skipping this step can cause new stain to absorb unevenly, since grease and residue block the wood pores. A clean surface is the foundation for a smooth, professional-looking result.
Step 3: Stripping the Old Finish
To restain cabinets successfully, the old finish must be removed first so the new stain can properly penetrate the wood. There are two common methods for this.
The chemical stripper method involves applying a stripping agent to the wood, letting it sit according to the product instructions, and then scraping away the softened old finish with a putty knife. This method works faster on thick or multiple layers of old finish but requires careful ventilation and protective gloves.
The sanding method involves using coarse sandpaper, around 80 to 120 grit, to physically sand away the old stain and topcoat. This method takes more time and effort but avoids the use of strong chemicals, making it a good option for those who prefer a more natural approach.
Whichever method you choose, make sure all traces of the old finish are removed evenly across every surface, including corners and edges, so the new stain absorbs consistently.
Step 4: Sanding for a Smooth Surface
Once the old finish is removed, sand all surfaces with progressively finer sandpaper. Start with 120 grit to smooth out any rough patches, then move to 150 grit, and finish with 220 grit for a silky-smooth surface ready for staining.
Always sand in the direction of the wood grain, never against it, since sanding across the grain can create visible scratches that show through the new stain. After sanding, wipe away all dust using a tack cloth. Any leftover dust particles can create a gritty texture once the stain is applied, so this step should not be rushed.
Step 5: Applying Pre-Stain Conditioner
Pre-stain conditioner is especially important for softer or more porous woods like pine, birch, or maple, which tend to absorb stain unevenly and result in blotchy patches. Applying a conditioner before staining helps the wood absorb color more evenly across the entire surface.
Apply the conditioner with a clean rag or brush, following the wood grain, and let it sit for the amount of time specified on the product label, usually between five and fifteen minutes. Wipe off any excess conditioner before it dries completely, then allow the wood to rest for the recommended drying period before moving on to staining.
Step 6: Applying the New Stain
This is the step most people look forward to when learning how to restain kitchen cabinets, since it is where the transformation truly begins to show. Using a foam brush, bristle brush, or clean rag, apply the stain evenly along the wood grain.
Work in small sections, applying the stain generously and then wiping off the excess with a clean cloth after a few minutes for an even, consistent tone. The longer the stain sits before wiping, the darker and richer the color will become, so this is your opportunity to control the final shade. If you want a deeper color, apply a second coat after the first has fully dried, always following the product’s recommended drying time between coats.
Common mistakes at this stage include applying stain unevenly, working against the grain, or not wiping off excess stain quickly enough, which can lead to sticky, uneven patches. Working in good lighting helps you spot these issues early and correct them before they set.
Step 7: Drying Time Between Coats
Patience is essential during this stage. Most stains require at least twenty-four hours of drying time between coats, though this can vary depending on humidity, temperature, and the specific product used. Always check the manufacturer’s label for exact drying recommendations.
Avoid touching or handling the wood during this drying period, and keep the workspace free of dust, since particles can settle onto the tacky surface and ruin the finish. Good airflow will help speed up drying without compromising the quality of the stain.
Step 8: Applying a Protective Topcoat
Once the stain has fully dried and reached your desired color, it is time to seal and protect the wood with a topcoat. Polyurethane is the most popular choice because of its durability and resistance to water, heat, and daily kitchen wear. Varnish offers a similar level of protection with a slightly different sheen, while lacquer dries faster but may require more careful application.
Apply two to three thin coats of topcoat, sanding lightly with fine 220-grit or higher sandpaper between each coat to ensure a smooth, professional finish. Wipe away dust after each sanding session before applying the next coat. This layered approach creates a durable, long-lasting protective barrier that will keep your cabinets looking beautiful for years.
Step 9: Curing Time Before Reassembly
There is an important difference between drying and curing. While the topcoat may feel dry to the touch within a day, it often needs several more days, sometimes up to a full week, to fully cure and reach maximum hardness and durability.
Rushing this stage by reattaching hardware or using the cabinets too soon can result in soft spots, fingerprints, or dents in the fresh finish. Be patient during this final waiting period, as it directly affects how long your restaining work will last.
Step 10: Reinstalling Doors and Hardware
Once the topcoat has fully cured, it is time to bring everything back together. Using your earlier labeling system, reattach each door, drawer, and piece of hardware to its original position. Screw hinges back into place carefully, making sure doors are aligned evenly and open and close smoothly.
Take your time during reassembly, checking that every door sits flush and every drawer slides properly. Small adjustments now will prevent annoying misalignments later.
Maintenance Tips After Restaining
To keep your newly restained cabinets looking their best, clean them regularly with a soft, damp cloth and a mild dish soap solution, avoiding harsh chemical cleaners that can strip the topcoat over time. Wipe up spills and grease splatters promptly, especially near the stove, to prevent staining or damage to the finish.
Avoid placing excessive heat sources, such as hot pans, directly against cabinet surfaces, and be mindful of prolonged moisture exposure near the sink area. Depending on daily wear, reapplying a fresh coat of polyurethane every few years can help maintain the protective barrier and keep the wood looking vibrant.
Common Mistakes to Avoid
Many DIY cabinet restaining projects run into avoidable problems. Skipping the sanding stage or not removing the old finish completely often leads to uneven stain absorption. Failing to test the stain color on a hidden area beforehand can result in an unexpected final shade that does not match your kitchen’s design.
Poor ventilation during the stripping and staining process can cause headaches or respiratory discomfort, so always prioritize airflow. Finally, rushing dry and cure times is one of the most common mistakes, often leading to smudges, dents, or a tacky finish that never fully hardens properly.
Cost Breakdown
Understanding the cost difference between doing this project yourself versus hiring a professional can help you plan your budget effectively.
| Expense Category | DIY Cost Estimate | Professional Service Cost |
|---|---|---|
| Stain and conditioner | $30 to $60 | Included in service |
| Sandpaper and stripper | $20 to $40 | Included in service |
| Topcoat and brushes | $25 to $50 | Included in service |
| Total materials | $75 to $150 | N/A |
| Labor (if hired) | $0 (your own time) | $500 to $2,000+ |
As shown above, restaining your own kitchen cabinets can cost a fraction of what professional services charge, making it an excellent option for budget-conscious homeowners willing to invest their own time and effort.
Frequently Asked Questions
Can you restain cabinets without sanding? While some gel stains and specialty products claim minimal prep, sanding is generally necessary to remove old finishes and create a surface that allows new stain to properly absorb. Skipping this step often results in poor adhesion and uneven color.
How long does restaining last? With proper application and a durable topcoat, restained cabinets can last anywhere from five to fifteen years before needing another refresh, depending on daily wear and maintenance.
Can you change cabinet color drastically with stain? Stain generally works best when moving to a darker shade, since it relies on the wood’s natural grain and tone. Going from a dark wood to a much lighter color is difficult with stain alone and may require a bleaching process or a switch to painting instead.
Is restaining better than painting for resale value? Both options can add value depending on current design trends, but restaining tends to appeal to buyers who appreciate natural wood aesthetics, while painted cabinets often suit more modern, minimalist kitchen styles.
Conclusion
Learning how to restain kitchen cabinets is a rewarding project that can completely transform the look of your kitchen without the high cost of a full renovation. By carefully removing the old finish, sanding the wood smooth, applying a fresh stain, and protecting it with a durable topcoat, you can achieve results that rival professional work.
The key to success lies in patience, proper preparation, and following each step in order rather than rushing through the process. With the right tools, a bit of time, and this detailed guide by your side, you will be well equipped to give your kitchen cabinets a beautiful, long-lasting new finish.
Related Articles
How Many Bundles of Shingles for an 8×10 Roof?
What Is the Minimum Pitch for a Metal Roof?
Gap Between Wall and Ceiling: What Causes It and How to Fix It
What Is the Standard Depth of Kitchen Countertops?