



Introduction
There are few household frustrations quite as annoying as standing in front of a sink full of murky water that refuses to drain. Whether you are trying to wash dishes after dinner or simply rinse your hands, a blocked drain can throw off your entire routine. The good news is that learning how to unclog a kitchen sink is not as difficult as it sounds, and in most cases you do not need to call a plumber or spend money on expensive tools.
Kitchen sinks clog for a variety of reasons, ranging from grease buildup to food particles that get lodged in the pipes over time. Left unattended, a small blockage can turn into a major plumbing headache, leading to water damage, unpleasant smells, and even bacterial growth. That is why it is so important to address the problem as soon as you notice slow drainage.
This guide walks you through everything you need to know, from understanding why your sink is clogged in the first place to trying out eight different unclogging methods, ranging from simple household remedies to slightly more hands-on techniques. By the end, you will have a complete toolkit of solutions to keep your kitchen sink running smoothly for good.
Understanding the Causes of a Clogged Sink
Before jumping into solutions, it helps to understand what typically causes a kitchen sink to clog. Identifying the root cause can help you pick the most effective method and prevent the problem from coming back.
Grease and cooking oil buildup is one of the most common culprits. When hot oil or fat is poured down the drain, it may flow through in liquid form, but as it cools, it solidifies and sticks to the interior walls of the pipe. Over time, this creates a sticky layer that traps other debris and narrows the passage for water.
Food particles and coffee grounds are another frequent cause. Even small scraps of food, rice, pasta, or vegetable peels can accumulate and form a blockage, especially when combined with grease. Coffee grounds in particular tend to clump together and settle at bends in the pipe.
Soap scum and mineral deposits build up gradually, especially in areas with hard water. Soap residue combines with minerals in the water to form a thick film that narrows the diameter of the pipe over time.
Foreign objects, such as small utensils, bottle caps, or food packaging, can accidentally fall into the drain and create an immediate and often severe blockage.
Garbage disposal issues can also be the source of the problem. A malfunctioning or jammed disposal unit may prevent waste from being ground up properly, leading to buildup further down the pipe.
Finally, old or damaged pipes with rust, corrosion, or misalignment can naturally trap debris more easily, making clogs a recurring issue in older homes.
Signs Your Sink Is Clogged
Catching a clog early can save you a lot of trouble later. Here are the most common warning signs to watch for.
| Sign | What It Means |
|---|---|
| Slow draining water | Partial blockage is restricting water flow |
| Standing water in the basin | Blockage is significant and water cannot pass through |
| Gurgling sounds | Air is trapped in the pipes due to a clog |
| Bad odors from the drain | Trapped food or grease is decomposing inside the pipe |
| Water backing up in other fixtures | The clog may be deeper in the shared plumbing system |
If you notice any of these signs, it is a good idea to act quickly using one of the methods described later in this guide.
Tools and Materials You’ll Need
Most methods for how to unclog a kitchen sink require only basic household items, though a few specialized tools can make the job easier.
For everyday use, you will likely need a sink plunger, a pair of rubber gloves, and a bucket to catch water and debris. Natural ingredients such as baking soda, white vinegar, and table salt are excellent for tackling mild to moderate clogs without harsh chemicals.
For tougher blockages, you may need a plumber’s snake, also called a drain auger, which can physically reach into the pipe and break apart or pull out debris. A wet-dry vacuum can also be useful for dislodging stubborn clogs using suction.
Lastly, always keep some safety gear on hand, including gloves and eye protection, especially if you plan to use chemical drain cleaners or work directly with pipe fittings.
Preparation Before You Start
Before attempting any unclogging method, a little preparation goes a long way. Start by clearing out the cabinet space underneath the sink so you have room to work and can easily access the pipes if needed.
Next, remove any standing water from the sink basin using a cup or small container, and place it in a bucket. This prevents unnecessary mess and makes methods like plunging more effective.
If your sink has a garbage disposal, turn off the power at the switch or breaker before doing any hands-on work, both for safety and to prevent accidental activation. Finally, lay down old towels or newspaper under the sink to protect your cabinet and flooring from spills or dripping water.
Method 1: Boiling Water
One of the simplest and most accessible ways to address a clog is by using boiling water. This method works particularly well for grease-based blockages because the heat helps melt and loosen the solidified fat clinging to the pipe walls.
To try this method, boil a full kettle of water and pour it down the drain in two or three stages, allowing a short pause of about thirty seconds between each pour. This gives the hot water time to work through the clog rather than rushing past it.
Boiling water is best suited for minor to moderate clogs and works particularly well as a first attempt before moving on to more involved methods. One important precaution: if your kitchen has PVC piping, avoid pouring water that is fully boiling, as extreme heat can occasionally warp plastic pipes. Very hot tap water is a safer alternative in that case.
Method 2: Plunging the Sink
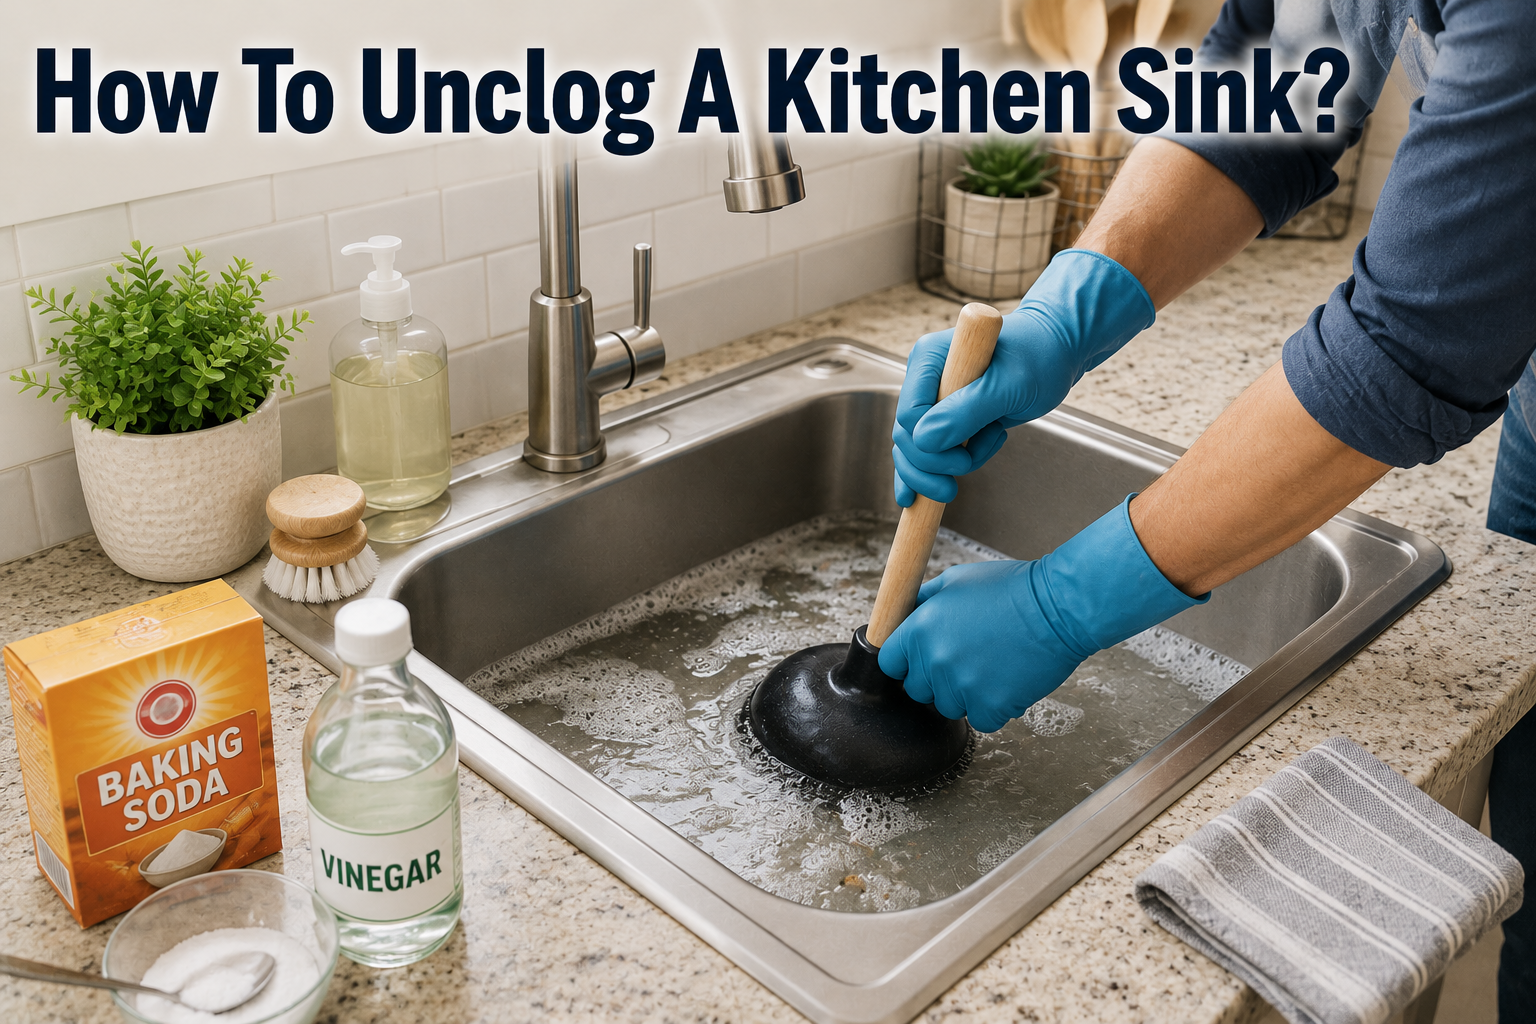
Plunging is a tried-and-true method that uses pressure to physically dislodge a blockage. It is important to use a proper sink plunger, sometimes called a cup plunger, rather than a toilet plunger, since the shapes are different and designed for different fixtures.
Before plunging, add a few inches of water to the sink basin so there is enough liquid to create suction. If you have a double sink, seal off the second drain with a wet cloth or a stopper so that air pressure is not lost through the other side.
Once ready, place the plunger firmly over the drain opening, making sure it forms a tight seal, and push down and pull up in quick, forceful motions about ten to fifteen times. After plunging, remove the plunger and check whether the water drains normally. If not, repeat the process a few more times before moving on to another method.
Method 3: Baking Soda and Vinegar
This classic combination is a favorite for anyone looking for a natural, chemical-free solution. Baking soda and vinegar react together to create a fizzing action that helps break down grease, soap residue, and minor food debris.
To use this method, pour about half a cup of baking soda directly into the drain, followed by an equal amount of white vinegar. As soon as the vinegar is added, you will notice a bubbling reaction, so it helps to cover the drain opening with a cloth or stopper to keep the mixture working inside the pipe rather than escaping out the top.
Let the mixture sit for fifteen to thirty minutes, then flush the drain with hot water to wash away the loosened debris. For sinks with more stubborn buildup, this process can be repeated once or twice, and adding a bit of salt to the baking soda before the vinegar can boost its scrubbing power.
Method 4: Checking and Cleaning the P-Trap
If the methods above have not worked, the clog might be lodged in the P-trap, the curved section of pipe located directly under the sink. Its main function is to hold a small amount of water that blocks sewer gases from entering your home, but it is also a common spot for debris to collect.
To access it, place a bucket underneath the P-trap to catch any water or debris that spills out. Using a wrench or your hands, loosen the slip nuts on either side of the trap and carefully remove the curved pipe section.
Once removed, empty its contents into the bucket and inspect it for buildup. Clean it thoroughly using an old brush or cloth, rinsing it out with water until it looks clear. When reattaching, make sure the slip nuts are tightened securely but not overly forced, as this can damage the seal. A common mistake at this stage is forgetting to check the rubber washers, which should be intact and properly seated to prevent leaks after reassembly.
Method 5: Using a Plumber’s Snake (Drain Auger)
For deeper or more stubborn clogs, a plumber’s snake, also known as a drain auger, is often the most effective tool. This flexible metal cable is designed to reach further into the plumbing system than a plunger or basic cleaning solution can.
To use it, insert the end of the snake into the drain opening and slowly crank the handle while pushing it forward. Continue feeding the cable through the pipe until you feel resistance, which usually indicates you have reached the clog. At that point, continue cranking gently to break apart or hook onto the debris, then slowly pull the snake back out, bringing the clog with it.
If you do not have a commercial auger on hand, a straightened wire coat hanger can serve as a makeshift alternative for minor clogs, though it should be used carefully to avoid scratching the interior of the pipe.
Method 6: Cleaning the Garbage Disposal
If your kitchen sink includes a garbage disposal unit, it may be the actual source of the clog rather than the pipes themselves. Before doing anything else, always turn off the power to the disposal for safety.
Check the unit for visible jams by shining a flashlight down the drain opening. If you spot an obstruction, use tongs or pliers, never your bare hand, to carefully remove it. Many disposal units also have a manual reset button on the bottom, which can be pressed if the unit has tripped due to overload.
Periodically cleaning the blades and inner chamber with a mixture of ice cubes and coarse salt, run through the disposal, can help remove residue and keep the unit functioning properly, reducing the chances of future clogs forming near the disposal area.
Method 7: Chemical Drain Cleaners
Chemical drain cleaners are widely available and can be effective for breaking down tough clogs quickly. These products typically use strong chemical reactions to dissolve grease, hair, and organic material inside the pipe.
While convenient, they do come with some downsides. Frequent use can gradually corrode pipes, particularly older metal ones, and the fumes can be harsh if used in a poorly ventilated space. For this reason, chemical cleaners are best treated as a last resort rather than a regular maintenance tool.
If you decide to use one, always follow the instructions on the label closely, wear gloves and eye protection, and ensure the kitchen window is open or the exhaust fan is running. Avoid using chemical cleaners if your home relies on a septic system, as they can disrupt the natural bacterial balance needed for the system to function properly.
Method 8: Wet-Dry Vacuum Technique
A wet-dry shop vacuum can be surprisingly effective for pulling clogs out of a drain using suction rather than pushing them further in, which is what can sometimes happen with plunging.
To use this method, set the vacuum to liquid mode, create a tight seal over the drain opening using the hose attachment, and turn the vacuum on at its highest setting. The strong suction can often pull the clog up and out of the pipe. This technique works especially well for clogs that sit relatively close to the drain opening.
When to Call a Professional Plumber
While most clogs can be resolved using the DIY methods above, some situations call for professional help. If you have tried multiple approaches without success, it may indicate a deeper or more complex blockage that requires specialized equipment.
Recurring clogs that keep coming back within days or weeks of clearing them are another red flag, often pointing to a structural issue within the pipes themselves. Similarly, if multiple drains throughout your home are affected at the same time, this could suggest a blockage in the main sewer line rather than just the kitchen sink.
When it comes to cost, prices for professional drain cleaning vary depending on your location and the severity of the clog, but it is generally a worthwhile investment compared to the risk of water damage or a burst pipe from a neglected blockage.
Preventing Future Clogs
Once your sink is flowing freely again, a bit of ongoing maintenance can help you avoid dealing with the same problem repeatedly. Practicing proper food disposal habits, such as scraping plates into the trash before washing them, makes a significant difference over time.
Installing a drain strainer is one of the easiest and most effective preventive steps, as it catches food particles and debris before they enter the pipe. Establishing a simple weekly or monthly maintenance routine, such as flushing the drain with hot water or a baking soda and vinegar treatment, can also help keep buildup from forming in the first place.
There are also several items that should never go down the drain, including cooking grease, coffee grounds, eggshells, and fibrous vegetable peels. For sinks that see frequent use, scheduling a professional drain cleaning once a year can help catch small issues before they become bigger ones.
Common Mistakes to Avoid
Even well-intentioned efforts to clear a clog can sometimes backfire. Overusing chemical cleaners is one common mistake, as repeated exposure can weaken pipe materials over time. Ignoring small clogs is another issue, since minor slow-draining problems often escalate into complete blockages if left unaddressed.
Using the wrong type of plunger, such as a toilet plunger instead of a sink-specific one, can also reduce effectiveness due to differences in shape and seal. Lastly, skipping the P-trap check when other methods fail means you might miss the actual location of the clog, wasting time on techniques that were never going to solve the underlying problem.
Frequently Asked Questions (FAQ)
How long does it take to unclog a sink? Most simple clogs can be cleared within fifteen to thirty minutes using methods like boiling water or a plunger. More stubborn blockages involving a P-trap cleaning or a plumber’s snake may take closer to an hour.
Can I use both baking soda and vinegar together with a plunger? Yes, many people find success by first using the baking soda and vinegar treatment to loosen the clog, followed by plunging to physically clear any remaining debris.
Is it safe to use chemical cleaners with a garbage disposal? It is generally best to avoid pouring chemical drain cleaners into a sink with a garbage disposal, as the chemicals can damage the internal components of the unit over time.
Why does my sink keep clogging? Recurring clogs are often a sign of grease buildup that has hardened over time, an aging pipe system, or a persistent habit of washing food scraps down the drain rather than disposing of them properly.
How much does a plumber charge to unclog a sink? Costs vary widely depending on location and clog severity, but a simple kitchen sink unclogging service is typically a modest one-time expense compared to potential repair costs from prolonged water damage.
Conclusion
Learning how to unclog a kitchen sink does not have to be an intimidating task. From simple household remedies like boiling water and the baking soda and vinegar combination, to more hands-on approaches such as plunging, checking the P-trap, or using a plumber’s snake, there is a solution suited to almost every level of clog severity.
The key is to act early, start with the gentlest method that fits the situation, and work your way up if needed. Regular maintenance, such as using a drain strainer and avoiding pouring grease down the sink, can go a long way toward preventing clogs from forming in the first place.
With the tools and techniques outlined in this guide, you should feel confident tackling most kitchen sink clogs on your own, saving both time and money while keeping your kitchen running smoothly.
Related Articles
How to Cover Up Popcorn Ceiling: 6 Easy Methods for a Modern Look
How To Remove Texture From Walls: The Complete Step-by-Step Guide
Should Curtains Touch the Floor? The Complete Guide to Curtain Length
How To Clean Cork Flooring? A Complete Step-by-Step Guide
How To Get Blu Tack Stains Off Walls: A Complete Step-By-Step Guide