



Introduction
A popcorn ceiling, sometimes called a stucco ceiling or acoustic ceiling, is a textured finish that was sprayed onto drywall to hide imperfections and reduce noise. Builders loved it because it was fast to apply and did not require the skilled finishing work that a smooth ceiling demands. For decades, it was standard in bedrooms, hallways, and living rooms across the country.
Fast forward to today, and popcorn ceilings have fallen out of favor. They collect dust and cobwebs, they are difficult to repaint evenly, and they tend to make a room feel dated no matter how updated the rest of the decor might be. Many buyers now view a popcorn ceiling as a red flag during a home inspection, and real estate agents often recommend removing or covering it before listing a property.
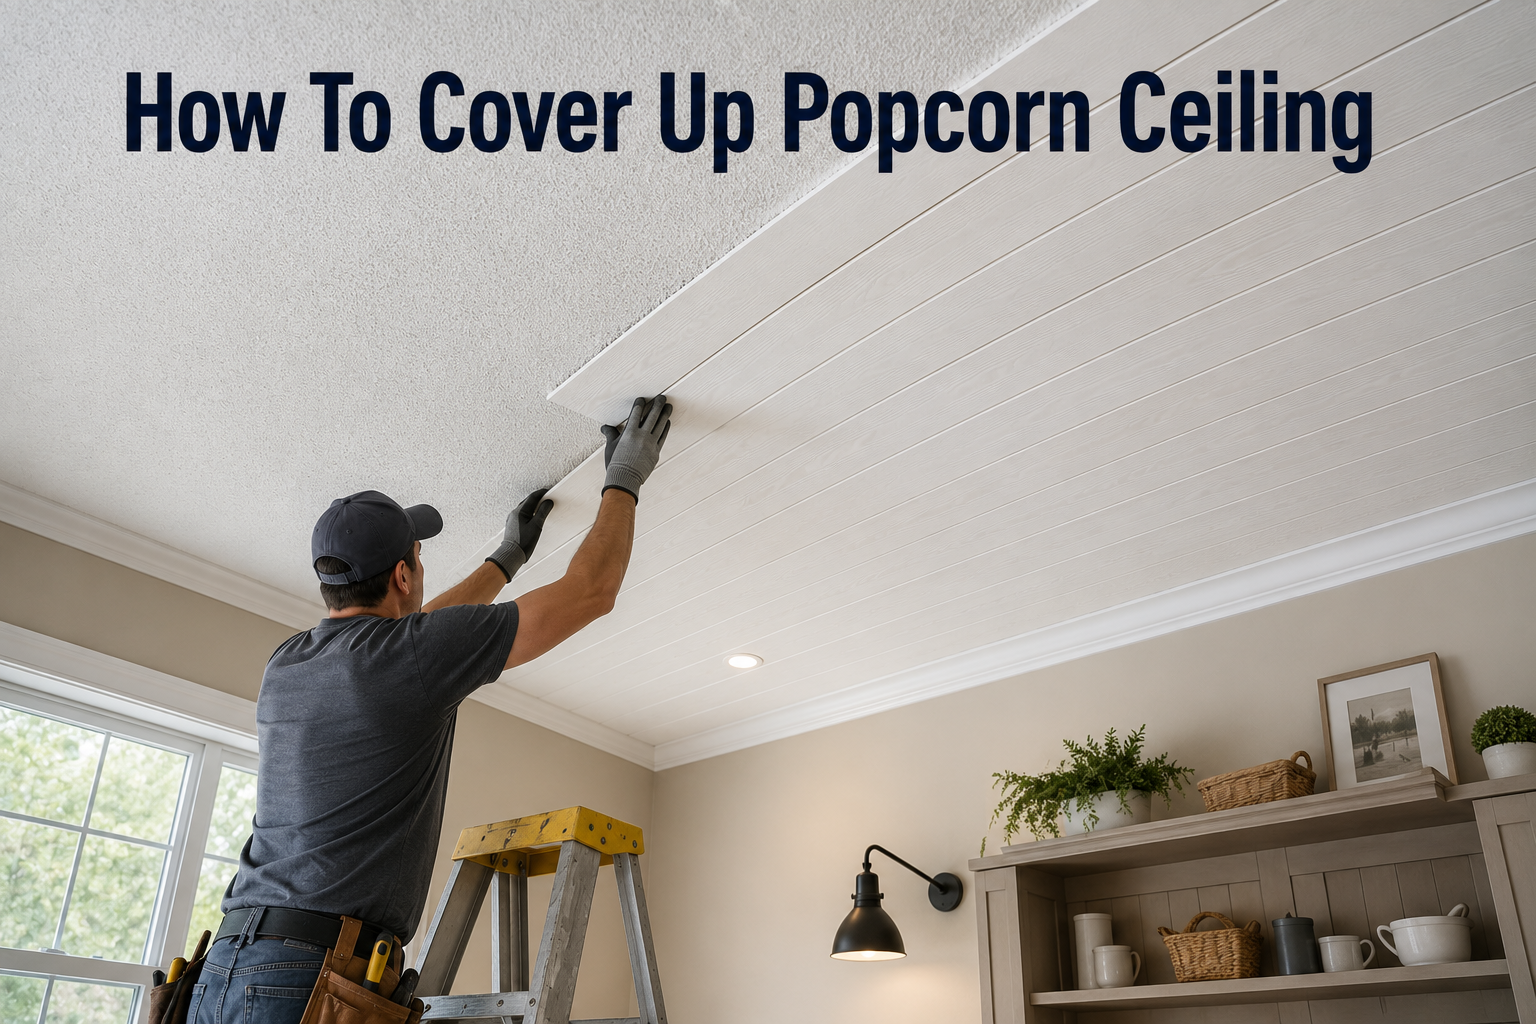
The good news is that you do not always need to scrape the texture away. Scraping is messy, time-consuming, and risky if the ceiling contains asbestos. Covering the ceiling instead is often faster, cleaner, and just as effective at transforming the look of a room. This article breaks down six reliable ways to cover up popcorn ceiling, along with cost estimates, time expectations, and tips to help you choose the best method for your space.
Safety First: Testing for Asbestos
Before you touch a popcorn ceiling with sandpaper, water, or a scraper, you need to think about asbestos. Homes built or renovated before 1980 sometimes used asbestos fibers in ceiling texture because the material was cheap and added fire resistance. Asbestos is not dangerous when it is left alone, but it becomes a serious health hazard when its fibers are disturbed and inhaled.
Here is how to approach testing safely:
- Do not scrape or sand a popcorn ceiling before testing it. Disturbing the texture is exactly what releases fibers into the air.
- Buy a home asbestos test kit. These kits are sold at most hardware stores and online. You lightly mist the ceiling, collect a small sample in a sealed bag, and mail it to a certified lab.
- Hire a professional inspector. If you would rather not collect the sample yourself, an asbestos inspector can visit your home, take the sample safely, and give you lab-verified results within a few days.
- Follow the results carefully. If the test comes back positive, do not attempt to scrape, sand, or remove the texture yourself. Covering the ceiling with drywall, panels, or a drop ceiling is generally considered a safer option than removal, but for extensive renovations you should consult a licensed asbestos abatement contractor.
Once you know your ceiling is safe to work with, or you have decided on a covering method that avoids disturbing the texture altogether, you can move on to preparing the room.
Preparing the Room
Good preparation makes every method on this list easier and cleaner. Skipping this step is one of the most common mistakes homeowners make when trying to figure out how to cover up popcorn ceiling.
Start by clearing the room as much as possible. Move furniture to the center and cover it with plastic sheeting, or remove it entirely if you have the space elsewhere in the house. Lay drop cloths or rosin paper across the floor, since dust and debris from ceiling work tends to travel farther than people expect.
Next, turn off the power to the room at the breaker box and remove light fixtures, ceiling fans, and smoke detectors. Cap any exposed wiring with wire nuts and electrical tape for safety. If there are air vents or recessed lighting in the ceiling, cover the openings with painter’s tape and plastic to keep dust out of your HVAC system.
Finally, gather your tools and materials before you begin. A basic checklist includes:
| Item | Purpose |
|---|---|
| Drop cloths or rosin paper | Protects flooring from dust and debris |
| Plastic sheeting and painter’s tape | Covers furniture, vents, and light fixtures |
| Dust mask or respirator | Protects your lungs from airborne particles |
| Safety goggles and gloves | Protects eyes and skin during installation |
| Stud finder | Locates ceiling joists for secure attachment |
| Screw gun or drill | Fastens panels, drywall, or furring strips |
| Level and chalk line | Keeps installation straight and even |
| Utility knife or saw | Cuts panels, planks, or drywall to size |
With the room prepped and your tools ready, you can choose the covering method that best fits your goals, budget, and timeline.
Method 1: Skim Coating with Joint Compound
Skim coating is one of the most popular answers to the question of how to cover up popcorn ceiling because it results in a completely smooth, paintable surface that looks like it was never textured at all.
This method involves applying thin, even layers of joint compound directly over the existing texture, then sanding each layer smooth before adding the next. It typically takes two to three coats to fully hide the bumps underneath.
Step-by-step process:
- If the ceiling is asbestos-free, lightly mist a small section with water and use a wide putty knife to knock down the highest points of texture. This step is optional but makes the first coat of compound go on more evenly.
- Apply a thin layer of joint compound across the entire ceiling using a wide taping knife, working in small sections to keep the compound workable.
- Let the first coat dry completely, usually overnight, then lightly sand it to smooth out ridges and high spots.
- Apply a second coat, focusing on any areas that still show texture or unevenness. Sand again once dry.
- Apply a third coat if needed for a fully smooth finish, then sand one final time using a fine-grit sanding sponge.
- Prime the ceiling with a stain-blocking primer before painting to ensure even coverage and to prevent flashing.
Pros: Relatively inexpensive, results in a modern smooth ceiling, does not add height or bulk to the room.
Cons: Labor-intensive, creates a significant amount of dust, requires patience and some drywall finishing skill to avoid visible seams or uneven texture.
Best for: Homeowners on a budget who are comfortable with a multi-day DIY project and want a completely smooth, traditional ceiling finish.
Method 2: Installing Drywall Over the Popcorn Ceiling
If your popcorn ceiling is in rough shape, has water stains, or you simply do not want to deal with sanding dust, installing a new layer of thin drywall directly over the old ceiling is an excellent option.
This method uses quarter-inch or three-eighths-inch drywall panels, which are thin enough to attach directly over the existing ceiling without adding much bulk, yet sturdy enough to create a smooth, seamless surface once finished.
Step-by-step process:
- Use a stud finder to locate and mark the ceiling joists across the room.
- Measure and cut drywall panels to fit the room, staggering the seams so they do not line up with the seams of the original ceiling underneath.
- Lift each panel into place (a drywall lift or an extra set of hands makes this much easier) and screw it directly into the joists every twelve to sixteen inches.
- Apply joint tape and compound over all seams and screw holes, then sand smooth once dry.
- Prime and paint the new ceiling once all seams are finished and sanded.
Pros: Completely hides the old texture and any imperfections underneath, creates a durable, long-lasting surface, does not require disturbing the original popcorn texture (which is especially useful if asbestos is present).
Cons: Adds slight height reduction to the room, requires two people for installation, involves finishing work similar to new construction drywall.
Best for: Ceilings with heavy texture, water damage, or confirmed asbestos content, since this method avoids disturbing the original surface.
Method 3: Ceiling Panels and Tiles
For homeowners who want a faster and less messy solution, ceiling panels and tiles offer a straightforward way to cover up popcorn ceiling without any sanding or joint compound at all.
These panels come in a variety of materials, including lightweight foam, rigid PVC, and decorative tin-look metal. Many are designed with interlocking edges or are simply glued into place, making them one of the most beginner-friendly options on this list.
Step-by-step process:
- Measure the ceiling and calculate how many panels you will need, adding extra for cuts and mistakes.
- Starting from one corner, apply construction adhesive to the back of each panel or use the manufacturer’s recommended fastening method.
- Press each panel firmly into place, working in rows and using a level to keep lines straight.
- Cut panels to fit around light fixtures, vents, and the edges of the room using a utility knife or fine-tooth saw.
- Add trim molding around the perimeter of the ceiling for a finished, professional look.
Pros: Fast installation, minimal mess, wide variety of decorative styles available, budget-friendly for smaller rooms.
Cons: Some panel materials look less premium than a fully smooth ceiling, adhesive-only installation may loosen over time in humid rooms.
Best for: Renters, budget renovations, or anyone who wants a decorative upgrade without a multi-day project.
Method 4: Wood Planks or Shiplap
Wood planks and shiplap have become extremely popular for covering popcorn ceilings because they add warmth, texture, and a designer look that pairs well with farmhouse, cottage, or modern rustic interiors.
Step-by-step process:
- Install furring strips (thin wood strips) perpendicular to the ceiling joists to create a level, secure base for the planks.
- Measure and cut your wood planks or shiplap boards to fit the length of the room.
- Starting at one wall, nail or screw each plank into the furring strips, using a level to check alignment as you go.
- Continue row by row, staggering the end joints for a natural, non-repetitive look.
- Fill nail holes with wood filler, then sand, stain, or paint the finished ceiling according to your design preference.
Pros: Adds significant visual interest and architectural character, hides the popcorn texture completely, works well as an accent ceiling in a single room.
Cons: More expensive than paint-based methods, adds noticeable height reduction, heavier than panels so installation requires more structural attention.
Best for: Living rooms, dining rooms, or bedrooms where you want a statement ceiling rather than a plain, understated finish.
Method 5: Drop (Suspended) Ceiling
A drop ceiling, also known as a suspended ceiling, is a grid system installed a few inches below the existing popcorn ceiling, with lightweight tiles resting inside the grid. This is a classic solution in basements and offices, and it remains one of the most practical ways to cover up popcorn ceiling when you also need easy access to wiring, plumbing, or ductwork above.
Step-by-step process:
- Measure the room and plan the grid layout so that tile rows are balanced and symmetrical.
- Install a wall angle molding around the perimeter of the room at your desired ceiling height.
- Hang the main grid runners from the original ceiling using wire hangers, then snap in the cross tees to complete the grid pattern.
- Cut border tiles to fit around the edges of the room.
- Drop the ceiling tiles into place within the grid, cutting around any light fixtures or vents as needed.
Pros: Provides easy access to wiring and plumbing above, hides even severely damaged ceilings, relatively simple installation without heavy drywall or plaster work.
Cons: Noticeably lowers ceiling height, can feel less residential and more commercial in style unless decorative tiles are chosen carefully.
Best for: Basements, home offices, laundry rooms, or any space where practicality and access matter more than a high-end finished look.
Method 6: Beadboard Installation
Beadboard is a classic paneling style featuring narrow vertical grooves, often associated with cottage, coastal, or farmhouse-style interiors. It works particularly well in kitchens, bathrooms, and mudrooms where a charming, textured ceiling adds character.
Step-by-step process:
- Install furring strips across the ceiling joists to create a flat, even surface for attaching the beadboard panels.
- Measure and cut beadboard panels or planks to fit the room dimensions.
- Attach each panel to the furring strips using finish nails or a nail gun, working from one side of the room to the other.
- Fill nail holes and seams with wood filler, then sand smooth.
- Prime and paint the beadboard in your chosen color, or seal it with a clear finish if you prefer a natural wood look.
Pros: Adds charm and character, performs well in humid rooms when properly sealed, relatively affordable compared to solid wood planking.
Cons: Requires careful sealing in bathrooms and kitchens to prevent warping, installation is more time-consuming than panel or tile methods.
Best for: Bathrooms, kitchens, mudrooms, and cottage-style homes looking for a charming architectural detail.
Cost Comparison Table
Costs vary depending on room size, material quality, and whether you hire a professional. The table below offers a general estimate for an average 12×12 foot room.
| Method | DIY Material Cost | Professional Installation Cost |
|---|---|---|
| Skim coating | $50 – $150 | $400 – $900 |
| Drywall overlay | $150 – $400 | $700 – $1,500 |
| Ceiling panels or tiles | $100 – $300 | $350 – $800 |
| Wood planks or shiplap | $250 – $600 | $800 – $1,800 |
| Drop ceiling | $200 – $500 | $600 – $1,200 |
| Beadboard | $200 – $450 | $700 – $1,400 |
Time Comparison Table
The amount of time each project takes depends on your experience level and room size, but here is a general guideline.
| Method | DIY Time Estimate | Professional Time Estimate |
|---|---|---|
| Skim coating | 3 – 5 days (including drying and sanding) | 2 – 3 days |
| Drywall overlay | 2 – 4 days | 1 – 2 days |
| Ceiling panels or tiles | 1 – 2 days | Less than 1 day |
| Wood planks or shiplap | 2 – 3 days | 1 – 2 days |
| Drop ceiling | 1 – 2 days | 1 day |
| Beadboard | 2 – 3 days | 1 – 2 days |
Choosing the Right Method for Your Home
With so many ways to cover up popcorn ceiling, the right choice really comes down to a handful of practical factors. Start by thinking honestly about your budget, since skim coating and panel systems tend to be the most affordable, while wood planking and drywall overlays cost more but deliver a longer-lasting, higher-end result.
Your comfort level with DIY work matters too. Skim coating demands patience and some finishing skill, while panels and tiles are far more forgiving for first-time renovators. Consider the condition of your existing ceiling as well; if it is cracked, water-stained, or confirmed to contain asbestos, covering it with drywall or a drop ceiling is usually safer and more effective than trying to skim coat over the damage.
Finally, think about the room itself. A drop ceiling makes sense in a basement where you need access to pipes and wiring, while wood planks or beadboard might be better suited to a living room or kitchen where you want the ceiling to become a design feature rather than just a backdrop.
DIY vs. Hiring a Professional
Many of these projects are approachable for a confident DIYer with basic tools and a weekend or two of free time. Ceiling panels, tiles, and drop ceilings tend to be the easiest for beginners, since they involve straightforward measuring, cutting, and fastening rather than complex finishing work.
Skim coating, drywall installation, and wood plank ceilings require more skill, particularly when it comes to achieving smooth, even seams or working safely overhead for extended periods. If you are not comfortable working on a ladder for long stretches, or if your ceiling has confirmed asbestos content, hiring a licensed contractor is the safer choice.
Professional costs generally range from a few hundred dollars for a small panel installation to well over a thousand dollars for a full drywall overlay or custom wood ceiling in a larger room. Getting at least two or three quotes from local contractors will help you find a fair price for your specific project.
Maintenance Tips After Covering the Ceiling
Once your new ceiling is installed, a little regular maintenance will keep it looking fresh for years. Smooth, painted ceilings from skim coating or drywall overlays can simply be dusted periodically with a soft microfiber duster and repainted every several years as needed.
Panels and tiles should be checked occasionally for loose edges or adhesive failure, particularly in humid rooms like bathrooms or kitchens. Wood plank and beadboard ceilings benefit from a fresh coat of sealant or paint every few years, especially in areas exposed to moisture, to prevent warping or cracking. Drop ceiling tiles are the easiest to maintain since individual tiles can be popped out and replaced if they become stained or damaged, without needing to redo the entire ceiling.
Common Mistakes to Avoid
Even a straightforward project can go wrong if a few key steps are overlooked. Keep these common mistakes in mind as you plan your project:
- Skipping the asbestos test. This is the single most important step to avoid when dealing with an older popcorn ceiling.
- Rushing the prep work. Skipping furniture protection or vent covering leads to hours of extra cleanup.
- Choosing the wrong material for a humid room. Untreated wood or basic foam panels can warp or peel in bathrooms and kitchens without proper sealing.
- Ignoring ceiling joist locations. Attaching panels, drywall, or planks without hitting solid framing can lead to sagging or failure over time.
- Not sanding between coats when skim coating. This results in a bumpy, uneven final surface instead of a smooth finish.
Frequently Asked Questions
Can I paint over a popcorn ceiling instead of covering it? Yes, painting is possible and can slightly improve the appearance, but it will not hide the texture or make the ceiling feel modern. Painting is best used as a temporary refresh rather than a long-term solution.
How long does each method take? Simpler methods like panels, tiles, and drop ceilings usually take one to two days, while skim coating, drywall overlays, and wood ceilings can take anywhere from two to five days depending on room size and drying time.
Does covering a popcorn ceiling increase home value? In most cases, yes. Buyers generally see textured ceilings as outdated, so a smooth or upgraded ceiling can make a home feel more modern and move-in ready.
Can I do this myself without much experience? Many methods, especially panels, tiles, and drop ceilings, are beginner-friendly. Skim coating and drywall work require more patience and finishing skill, so first-timers may want to start with a smaller room.
What is the cheapest method? Skim coating is typically the most affordable option in terms of material cost, though it does require more labor and time compared to panel-based methods.
Conclusion
Learning how to cover up popcorn ceiling does not have to mean a stressful, dust-filled renovation. Whether you choose the smooth, classic look of a skim coat, the durability of a drywall overlay, the convenience of panels and tiles, the warmth of wood planks or beadboard, or the practicality of a drop ceiling, there is a method here to fit almost any budget, skill level, and design preference.
Before you begin any project, always test for asbestos if your home was built before 1980, and take the time to properly prepare your room and gather the right tools. With a bit of planning and the right method for your space, you can transform a dated, bumpy ceiling into a clean, modern feature that makes the whole room feel brand new.
Related Articles
How To Get Blu Tack Stains Off Walls: A Complete Step-By-Step Guide
How to Clean Mold from Bathroom Ceiling: Complete Step-by-Step Guide
How Long Does It Take To Do A Bathroom Renovation? Full Timeline Guide
What Is A Drip Edge On A Roof? Complete Guide
How Much Does It Cost to Replace a Roof? Full Material Price Guide