



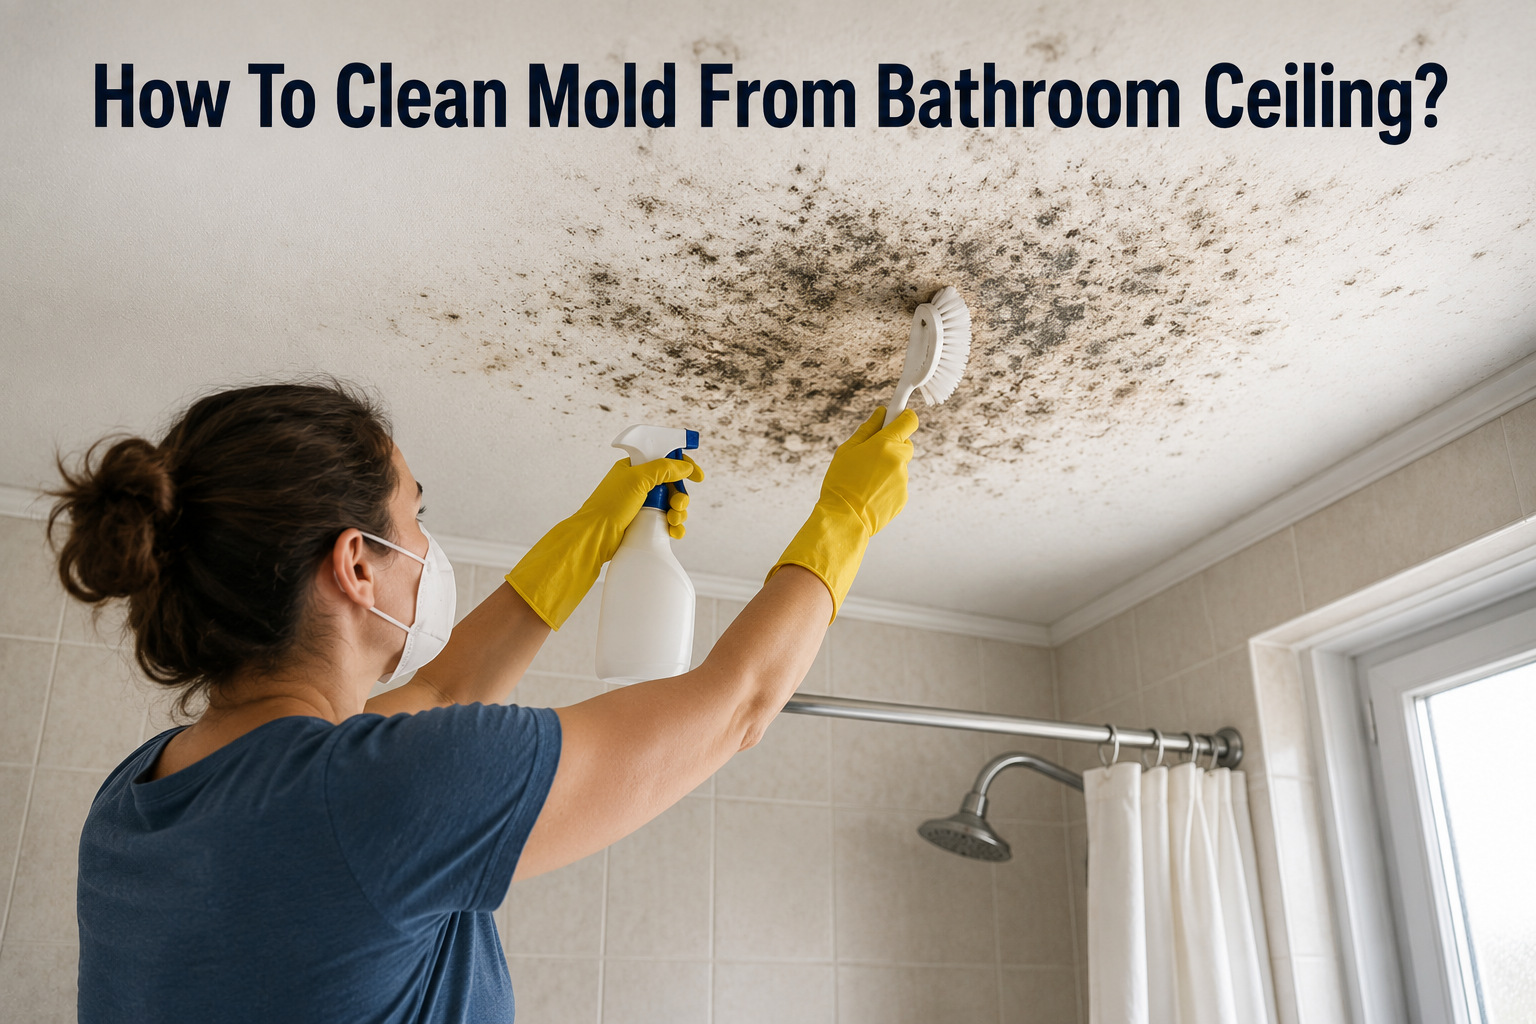
Bathroom ceilings are one of the most common places in a home where mold quietly builds up without anyone noticing until it becomes a real problem. Between hot showers, poor airflow, and moisture that lingers long after the water is turned off, bathrooms create the perfect environment for mold spores to settle in and multiply.
If you have noticed dark spots forming above your shower or near the exhaust fan, you are probably searching for how to clean mold from bathroom ceiling before it spreads further or starts affecting your health. This guide walks through everything you need to know, from understanding why mold appears in the first place to the exact steps for removing it safely and keeping it from coming back.
Understanding the Causes of Mold Growth
Before jumping into cleaning methods, it helps to understand why mold forms on bathroom ceilings in the first place. Mold spores exist almost everywhere in the air, but they only become a visible problem when they land on a damp, warm surface and are given enough time to grow. Bathroom ceilings are particularly vulnerable because heat and moisture naturally rise upward during a shower or bath, settling directly on the surface above.
Poor ventilation is usually the biggest culprit. When a bathroom does not have a working exhaust fan, or when windows are rarely opened, steam has nowhere to escape and instead clings to the ceiling. Over time, this creates a moist film that mold thrives on. Leaking pipes or a damaged roof above the bathroom can also introduce hidden moisture that feeds mold growth from behind the surface, which is why some ceilings develop stains even in homes with decent ventilation.
Another overlooked factor is sunlight. Bathrooms tend to have small windows or none at all, meaning natural light rarely reaches the ceiling. Since sunlight naturally inhibits mold growth, its absence makes bathrooms an easy target. Lastly, old or peeling paint can trap moisture underneath it, creating hidden pockets where mold can develop unnoticed until the paint begins to bubble or discolor.
Signs You Have Mold on Your Ceiling
Mold does not always appear as an obvious black patch right away. In its early stages, it can look like a faint gray or yellowish discoloration that is easy to dismiss as a water stain. As it progresses, the spots tend to darken into black, green, or brownish clusters, often with a slightly fuzzy or textured appearance.
A musty, damp smell is another strong indicator, especially if it lingers even after cleaning the bathroom. This odor usually means mold is present even if it is not fully visible yet. Peeling or bubbling paint is another telltale sign, as trapped moisture pushes against the surface from underneath. Watching for these signs early can prevent a small patch from turning into a widespread ceiling problem.
Safety Precautions Before You Start
Cleaning mold is not something to rush into without preparation, since mold spores can become airborne during scrubbing and may cause irritation if inhaled or if they come into contact with skin and eyes. Before starting any cleaning process, gather protective gear including rubber gloves, a well-fitting mask (ideally an N95 respirator), and safety goggles. This is especially important for anyone with allergies, asthma, or respiratory sensitivities.
Proper ventilation is equally important. Open a window if the bathroom has one, and turn on the exhaust fan to keep air circulating while you work. It’s also wise to test any cleaning solution on a small, inconspicuous area first, particularly if the ceiling is painted or has a textured finish, to make sure the solution does not cause discoloration or damage.
If the mold covers a large area, roughly more than ten square feet, or if it keeps returning despite repeated cleaning, this may indicate a deeper moisture problem behind the ceiling. In such cases, it’s best to consult a professional mold remediation service rather than attempting a full DIY fix.
Tools and Materials Needed
Having the right supplies on hand before starting makes the entire process smoother and more effective. Below is a simple breakdown of what you’ll typically need:
| Category | Items |
|---|---|
| Protective Gear | Rubber gloves, N95 mask, safety goggles, old clothing |
| Cleaning Agents | Bleach, white vinegar, baking soda, hydrogen peroxide, commercial mold remover |
| Tools | Soft-bristle scrub brush, sponge, spray bottle, bucket, ladder |
| Drying Supplies | Microfiber cloths, towels, portable fan |
| Optional | Mold-resistant primer and paint for touch-ups |
Having a ladder that safely reaches the ceiling is important, as working at odd angles or standing on unstable furniture increases the risk of injury.
Step-by-Step Cleaning Methods
There are several effective approaches to how to clean mold from bathroom ceiling, and the right one often depends on the severity of the mold and personal preference for natural versus chemical solutions.
Method 1: Bleach Solution
Bleach remains one of the most effective mold killers due to its strong disinfecting properties. Mix one part bleach with three parts water in a spray bottle. Apply generously to the moldy area, allow it to sit for ten to fifteen minutes, then scrub gently with a soft brush before rinsing and drying thoroughly.
Method 2: White Vinegar
For those who prefer a non-toxic, natural option, undiluted white vinegar works surprisingly well. Its mild acidity breaks down mold at a cellular level. Spray it directly onto the affected area, let it sit for about an hour, then wipe and scrub as needed.
Method 3: Baking Soda Paste
Baking soda is another gentle yet effective option, particularly for those sensitive to strong fumes. Mix baking soda with a small amount of water to form a paste, apply it to the mold, and let it dry before scrubbing it off with a damp brush.
Method 4: Hydrogen Peroxide
Hydrogen peroxide (3% concentration) can be sprayed directly onto mold without dilution. Let it bubble and sit for around ten minutes before scrubbing. It is a good middle-ground option between bleach and natural remedies.
Method 5: Commercial Mold Removers
Store-bought mold removal sprays are formulated specifically for bathroom surfaces and often include mold-inhibiting agents that prevent quick regrowth. These can be convenient for those who prefer a ready-to-use solution without mixing anything themselves.
Detailed Cleaning Process
Once you have chosen a method, the actual cleaning process follows a fairly consistent sequence regardless of which solution you use.
Start by preparing the room. Cover any fixtures, mirrors, or flooring beneath the ceiling with a old towel or plastic sheet to catch drips. Make sure the exhaust fan is running and, if possible, keep a window open throughout the process.
Next, apply your chosen solution evenly across the moldy area using a spray bottle or a sponge soaked in the mixture. Avoid oversaturating the ceiling, as excess liquid dripping down can create new damp spots elsewhere. Let the solution sit for the recommended time so it can penetrate the mold’s roots rather than just the surface layer.
Using a soft-bristle brush, scrub the area in gentle circular motions. Pressing too hard on painted surfaces can strip the paint, so a light, steady touch usually works best. Once the mold has visibly lifted, wipe the area clean with a damp cloth to remove any residue.
Drying is arguably the most important step, since leftover moisture invites mold to return almost immediately. Use a dry towel to pat the area, then run a fan or open a window to allow full air drying for several hours. If any faint staining remains, repeat the process once the ceiling has fully dried.
Dealing with Stubborn or Recurring Mold
Sometimes mold refuses to fully disappear even after multiple cleaning attempts, particularly if it has been present for a long time or has seeped beneath the paint layer. In these cases, a deeper approach may be necessary.
Lightly sanding the affected area after cleaning can help remove any embedded mold residue sitting just beneath the surface of the paint. Once sanded and fully dry, applying a mold-resistant primer creates a protective barrier before repainting with a bathroom-specific, moisture-resistant paint. This combination not only removes existing discoloration but also makes future mold growth significantly less likely.
Preventing Mold From Returning
Cleaning existing mold is only half the solution; preventing its return is just as important for long-term ceiling maintenance. The list below highlights the most effective prevention habits:
- Run the bathroom exhaust fan during every shower and leave it on for fifteen to twenty minutes afterward.
- Open a window whenever possible to allow fresh air circulation.
- Use a dehumidifier in bathrooms that tend to stay humid, especially in warmer climates.
- Wipe down ceilings and walls periodically as part of a regular cleaning routine.
- Fix any plumbing or roof leaks promptly, since hidden moisture is a major hidden cause of recurring mold.
- Repaint with mold-resistant paint every few years as a preventive measure.
Building these small habits into a regular routine can drastically reduce how often mold reappears, saving time and effort in the long run.
When to Call a Professional
While most bathroom ceiling mold can be handled through DIY methods, there are certain situations where professional help becomes necessary. If mold covers a large surface area, keeps returning despite consistent cleaning, or is accompanied by unexplained health symptoms such as persistent coughing, headaches, or allergic reactions among household members, it is worth having a professional mold remediation specialist assess the situation.
Similarly, if there are visible signs of structural water damage, such as sagging ceiling sections or extensive discoloration spreading beyond a small patch, this often points to a deeper moisture source that requires professional repair rather than surface cleaning alone.
Frequently Asked Questions
Is bathroom ceiling mold dangerous? In most cases, common bathroom mold is more of a nuisance than a serious health hazard, though it can trigger allergies or respiratory irritation in sensitive individuals. Prolonged exposure to certain mold types can pose greater health risks, which is why timely cleaning matters.
Can I use bleach on all ceiling types? Bleach works well on most painted, non-porous ceiling surfaces, but it may discolor certain textured or unpainted materials. Always test a small area first before applying it broadly.
How often should I clean to prevent mold? A light wipe-down of the bathroom ceiling every few weeks, combined with proper ventilation habits, is usually enough to prevent significant mold buildup in most households.
Does painting over mold work? Painting directly over mold without cleaning and treating the area first is not effective and often leads to the mold resurfacing through the new paint layer within a short time.
Conclusion
Learning how to clean mold from bathroom ceiling does not have to be complicated once you understand the right tools, techniques, and safety steps involved.
By identifying the root causes of moisture buildup, choosing an appropriate cleaning method, and following through with proper drying and prevention habits, most homeowners can keep their bathroom ceilings mold-free for the long term.
Regular maintenance, combined with good ventilation practices, remains the simplest way to ensure mold does not become a recurring headache in your home.
Related Articles
What Is A Drip Edge On A Roof? Complete Guide
How Long Does It Take To Do A Bathroom Renovation? Full Timeline Guide
How Much Does It Cost to Replace a Roof? Full Material Price Guide
How To Restain Kitchen Cabinets? Step-By-Step Guide For Beginners