



1. Introduction
If your home’s exterior is wrapped in vinyl siding, you have probably stood in your yard at some point, looked at the faded or outdated color, and wondered whether a fresh coat of paint could bring it back to life. This is one of the most common questions homeowners ask once their siding starts to look tired: can you paint vinyl cladding, or is replacement the only option?
Vinyl cladding, often just called vinyl siding, has been a popular exterior covering for decades because it is affordable, low-maintenance, and resistant to rot and pests. But like anything exposed to sun, rain, and temperature swings year after year, it eventually fades, chalks, or simply falls out of style with current design trends. Rather than tearing it off and replacing it entirely, many homeowners want a cheaper, faster refresh.
The short answer is yes, you can paint vinyl cladding. However, it is not quite as simple as painting a wooden fence or a brick wall. Vinyl behaves differently under paint, and getting it wrong can lead to cracking, warping, or a finish that peels within a year or two. This guide walks through everything you need to know, from understanding how vinyl reacts to paint, to choosing the right products, prepping the surface correctly, and knowing when it makes more sense to call in a professional or consider replacement instead.
2. Understanding Vinyl Cladding Before You Paint
Before picking up a paintbrush, it helps to understand what vinyl cladding actually is and how it behaves. Vinyl siding is made primarily from PVC, or polyvinyl chloride, a type of rigid plastic that is manufactured in long, interlocking panels. Color is mixed directly into the material during production, which is why untreated vinyl siding tends to hold its color reasonably well for many years without needing paint at all.
The catch is that plastic reacts strongly to heat. Vinyl panels expand and contract noticeably as temperatures rise and fall throughout the day and across seasons. This constant movement is completely normal and is factored into how the panels are installed, with slight overlaps and gaps designed to accommodate expansion. When you add a layer of paint on top, that paint has to flex and move along with the vinyl underneath it, or it will eventually crack and peel.
Heat absorption is the other major concern. Darker colors absorb more sunlight and heat up faster than lighter ones. Original vinyl siding colors are manufactured with this in mind, using formulations that limit how much heat the material absorbs. Standard exterior paints, especially in darker tones, do not have these same heat-management properties, which is why manufacturers have traditionally cautioned against painting vinyl siding, particularly in bold or dark shades.
This is also the reason many siding manufacturers will state that painting the product may affect or void the warranty, since the paint changes how the underlying material absorbs and releases heat.
3. Can You Really Paint Vinyl Cladding? (The Honest Answer)
So, can you paint vinyl cladding despite these concerns? Yes, and it is done successfully by homeowners and professionals all the time. The key is working with the material’s limitations rather than ignoring them.
Modern paint technology has largely solved the flexibility problem. Paint manufacturers now produce specific exterior paint lines formulated for vinyl surfaces, designed to expand and contract along with the panels instead of fighting against that natural movement. Used correctly, these paints can hold up well for several years.
That said, there are limitations worth being upfront about. Painted vinyl siding will not last as long as factory-applied color, and it will likely need to be repainted more often than a typical wood or fiber-cement exterior. Paint adhesion to plastic is inherently more challenging than adhesion to more porous materials, so even a well-executed paint job has a shorter lifespan than most people expect from other painted surfaces.
On the warranty side, it is worth checking your specific manufacturer’s documentation before starting. Some warranties are voided entirely by painting, while others simply state that heat-related damage caused by painting will not be covered. Knowing this in advance helps you set realistic expectations and avoid unpleasant surprises later.
4. Factors to Consider Before Painting
Not every vinyl-clad home is an equally good candidate for repainting. A few practical factors should guide your decision before you buy any supplies.
The age and condition of your siding matters. Older panels that are already brittle, cracked, or warped from years of sun exposure are poor candidates for painting, since the underlying damage will only become more visible once a fresh coat draws attention to the surface. Siding that is still structurally sound but simply faded or outdated in color is a much better starting point.
Sun exposure plays a significant role too. Walls that face direct afternoon sun for much of the day will experience more heat stress on painted vinyl than shaded, north-facing walls. If your home gets intense sun exposure, you may want to be extra cautious with color choice and product selection.
Climate is another consideration. Homes in consistently hot regions face a higher risk of paint failure and vinyl warping than those in milder or cooler climates, where the material experiences less extreme expansion and contraction.
Finally, be honest with yourself about budget expectations. Since painted vinyl typically needs refreshing every five to ten years, factor that repeat cost into your decision rather than viewing it as a one-time expense.
5. Choosing the Right Paint
The single most important decision in this entire project is the paint itself. Standard exterior paint is not designed for the flexing and heat behavior of vinyl, and using the wrong product is the number one reason vinyl paint jobs fail early.
Look specifically for 100% acrylic latex paint, ideally from a product line marketed specifically for vinyl siding. Most major paint manufacturers now offer these specialized lines, formulated with enhanced flexibility so the paint film can move with the panel instead of cracking under stress. These products are usually labeled clearly as “vinyl safe” or suitable for vinyl siding application, and store staff at paint retailers can typically point you toward the correct option.
Flexibility is the property that matters most here. A rigid paint film, even one that looks great on day one, will eventually develop hairline cracks as the vinyl beneath it expands and contracts through normal daily and seasonal temperature changes. Acrylic-based, vinyl-rated paints are engineered specifically to avoid this problem.
6. The Golden Rule: Color Selection
If there is one rule that matters more than any other when painting vinyl cladding, it is this: choose a color that is the same shade as your existing siding, or lighter. This single decision has more influence over the long-term success of your project than almost any other factor.
The reason comes back to heat absorption. Darker colors absorb significantly more solar heat than lighter ones, and vinyl siding has a lower heat tolerance than materials like wood or fiber cement. When dark paint pushes the surface temperature of the panels beyond what they were engineered to handle, the material can warp, buckle, or distort permanently. This is not a cosmetic issue that can be fixed with more paint; warped panels typically need to be replaced.
This is where Light Reflectance Value, or LRV, becomes a genuinely useful tool. LRV is a simple percentage scale that measures how much light a color reflects versus absorbs, running from 0 (absorbs almost all light, like black) to 100 (reflects almost all light, like pure white). Most vinyl siding manufacturers recommend staying above a specific LRV threshold, often cited around 55 to 60 percent or higher, to keep heat absorption within a safe range. You can typically find the LRV number printed on paint sample cards or by asking at the paint counter.
| Color Category | Approximate LRV | Suitability for Vinyl |
|---|---|---|
| White / Off-White | 80–90 | Excellent, very safe choice |
| Light Beige / Cream | 60–75 | Good, generally safe |
| Medium Gray / Tan | 40–55 | Use with caution, check manufacturer guidance |
| Dark Blue / Forest Green | 15–30 | Higher risk of warping |
| Black / Charcoal | Below 10 | Not recommended |
7. Tools and Materials Checklist
A successful project depends as much on preparation as it does on the paint itself. Before you begin, gather the following:
- Vinyl-rated 100% acrylic latex paint
- Exterior primer (only if needed for stained or heavily faded areas)
- Airless paint sprayer, or a high-quality brush and roller set
- Pressure washer or hose with cleaning solution
- Mildew and mold remover
- Medium-grit sandpaper or a sanding sponge
- Painter’s tape and plastic sheeting
- Drop cloths to protect landscaping and walkways
- Ladder or scaffolding suited to your home’s height
8. Step-by-Step Preparation Process
Preparation is where most paint jobs succeed or fail, and vinyl cladding is no exception.
Start by walking the full perimeter of your home and inspecting each panel closely. Look for cracks, holes, warping, or loose sections. Any damaged panels should be repaired or replaced before painting, since paint will not hide structural problems and can actually make them more noticeable.
Next, wash the entire surface thoroughly. Years of dirt, pollen, chalking residue, and mildew build up on siding, and paint will not adhere properly over any of it. A pressure washer on a moderate setting works well, combined with a cleaning solution designed to cut through mildew and grime. Rinse thoroughly and allow the siding to dry completely, which can take a full day depending on humidity and temperature.
Once clean and dry, lightly sand any glossy or heavily weathered areas. This step is not about removing material, just about creating enough texture on the surface for the primer or paint to grip properly. Wipe away any dust afterward with a damp cloth.
Finally, tape off windows, doors, light fixtures, and trim you do not want painted, and lay down drop cloths to protect plants and walkways below.
9. Step-by-Step Painting Process
Timing matters as much as technique when painting vinyl. Choose a mild, dry stretch of weather, ideally with temperatures between 50 and 85 degrees Fahrenheit, and avoid painting in direct, intense sunlight, since heat can cause the paint to dry too quickly and affect adhesion.
If any areas were heavily stained, patched, or particularly faded, apply a coat of exterior primer first and let it dry fully according to the product’s instructions. Not every project requires primer, but it can improve durability on problem areas.
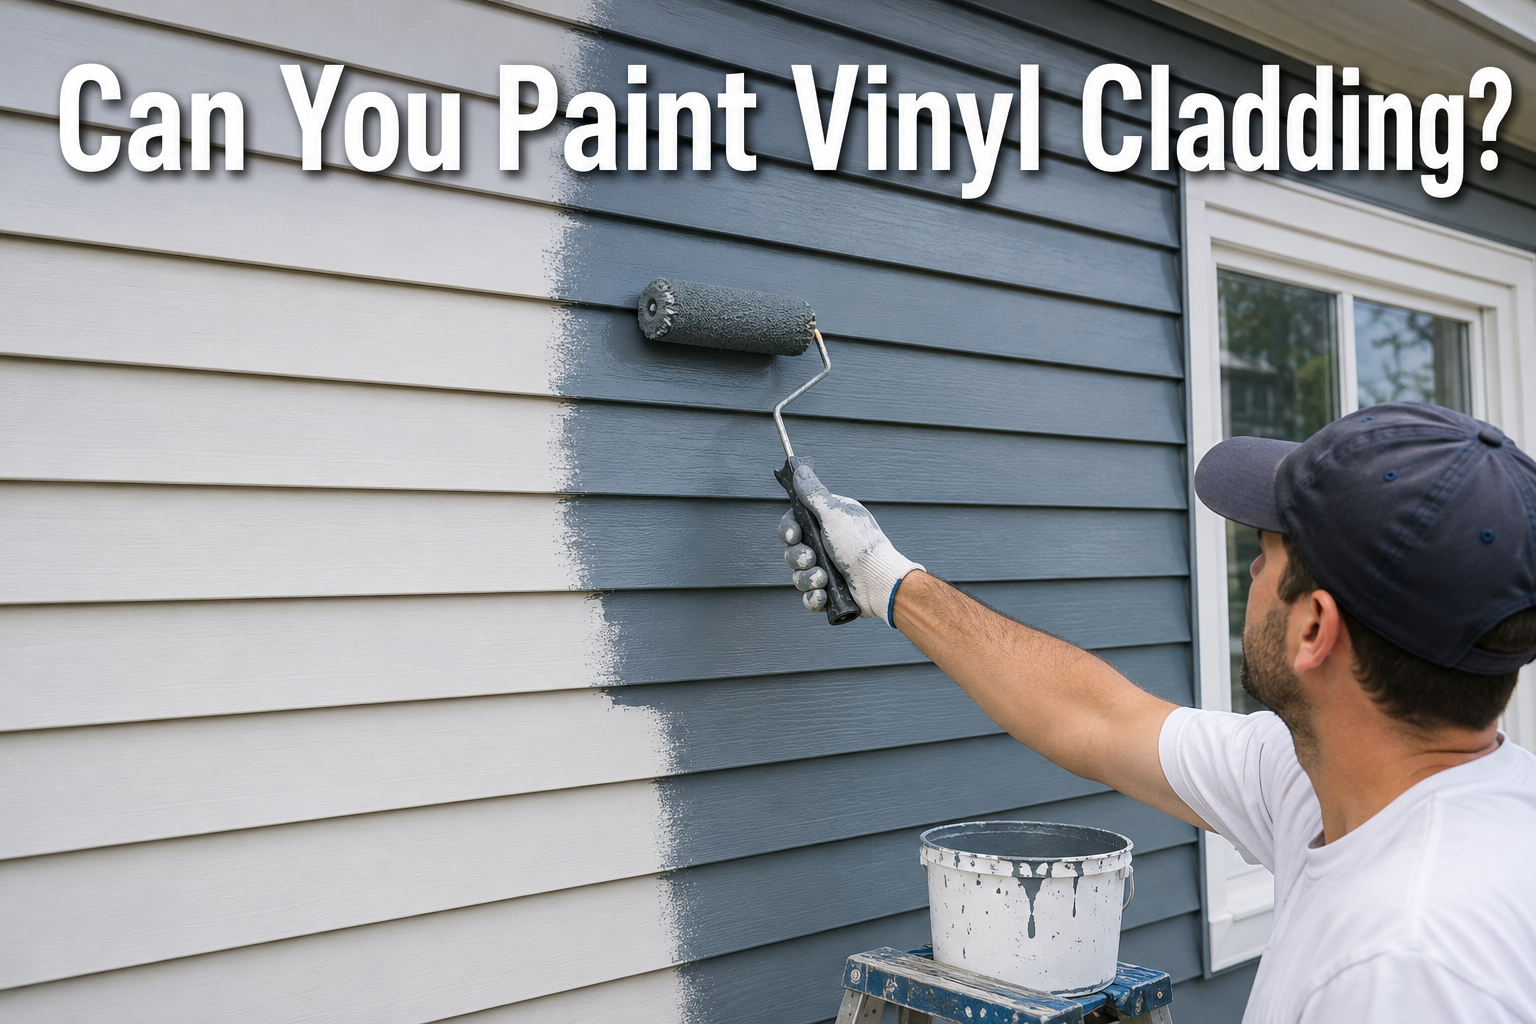
Apply the first coat of paint using smooth, even strokes if brushing and rolling, or consistent overlapping passes if spraying. Work in manageable sections, following the natural lines of the siding panels rather than working randomly, which helps avoid visible lap marks.
Allow the first coat to dry completely, following the manufacturer’s recommended drying time, which is often several hours but can vary by humidity and temperature. Once dry, apply a second coat. Two coats are strongly recommended for vinyl siding, both for even color coverage and for the added durability needed to withstand years of expansion and contraction.
10. Common Mistakes to Avoid
Several avoidable errors account for the majority of failed vinyl paint jobs. Painting in direct, high heat causes the paint to dry unevenly and can trap moisture underneath the surface. Using a standard exterior paint instead of a vinyl-rated acrylic product is one of the most common reasons paint peels prematurely, since ordinary paint lacks the flexibility vinyl requires.
Skipping the cleaning and sanding steps might save an afternoon of work, but it dramatically shortens how long the paint will last. And, as covered earlier, choosing a color darker than your existing siding is one of the costliest mistakes possible, since it can lead to permanent panel warping rather than simple cosmetic disappointment.
11. Pros and Cons of Painting Vinyl Cladding
| Pros | Cons |
|---|---|
| Significantly cheaper than full siding replacement | Shorter lifespan than factory-finished vinyl color |
| Can dramatically refresh curb appeal quickly | May void or limit manufacturer warranty |
| Wide range of color options beyond original stock colors | Requires more frequent repainting, typically every 5–10 years |
| DIY-friendly for homeowners comfortable with exterior painting | Risk of warping if color or product choice is wrong |
12. How Long Does Painted Vinyl Siding Last?
On average, a properly painted vinyl exterior holds up well for five to ten years before it starts showing noticeable fading or wear. Several factors influence where your project falls within that range. Homes in consistently sunny, hot climates tend to see paint wear faster than those in milder regions.
The quality of preparation work, particularly cleaning and priming, has a major impact on longevity. And, once again, color choice plays a role, since lighter colors under less thermal stress tend to hold their finish longer than darker ones pushed closer to the material’s heat tolerance.
13. Maintenance Tips After Painting
Once your vinyl cladding is painted, a little ongoing care goes a long way toward protecting your investment. Wash the surface gently once or twice a year with a mild soap and water solution to remove dirt and prevent mildew buildup, avoiding high-pressure settings that could damage the paint film.
Keep an eye out for small chips, scratches, or peeling spots and address them with touch-up paint promptly, before moisture or sun exposure can worsen the damage. Periodically walk the exterior of your home, especially after storms or extreme weather, to catch any early signs of peeling, cracking, or fading before they spread.
14. Alternatives to Painting Vinyl Cladding
Painting is not the only way to refresh tired-looking siding. If your existing panels are old, damaged, or simply nearing the end of their functional life, replacing them with new vinyl siding may be more cost-effective in the long run, since you get a full manufacturer warranty and a like-new finish without the recurring maintenance of repainting.
Some homeowners also explore vinyl siding wraps or overlay panels, which install directly over existing siding to change its appearance without a full teardown. Professional refinishing services are another option in some markets, offering specialized spray equipment and vinyl-specific coatings applied by experienced crews.
15. Cost Comparison
Understanding the cost differences between your options can help clarify which path makes sense for your situation and budget.
| Option | Typical Cost Range | Longevity |
|---|---|---|
| DIY painting | Lower cost, mainly paint and supplies | 5–10 years |
| Professional painting | Higher cost, includes labor and equipment | 7–10 years, often more even finish |
| Full siding replacement | Highest upfront cost | 20–40 years, comes with new warranty |
Exact costs vary widely depending on home size, local labor rates, and product choices, so it is worth getting a couple of local quotes if you are weighing painting against replacement.
16. When to Hire a Professional vs. DIY
A DIY approach can work well for homeowners who are comfortable with ladder work, have a single-story or modest-sized home, and are willing to invest real time into proper preparation. However, certain situations call for professional help.
Multi-story homes with difficult access points, large or architecturally complex exteriors, or siding with widespread damage are usually better handled by professionals with the right equipment and experience. A professional crew can also apply paint more evenly using commercial sprayers, often resulting in a smoother, longer-lasting finish than most DIY attempts achieve.
17. Frequently Asked Questions
Does painting void the siding warranty? It depends on the manufacturer. Some warranties are voided by any painting, while others simply exclude heat-related damage caused by paint. Check your specific documentation before starting.
Can you paint over old paint on vinyl? Yes, as long as the existing paint is in good condition, clean, and free of major peeling. Damaged old paint should be scraped or sanded away first.
What is the best time of year to paint vinyl siding? Mild, dry weather in spring or fall is usually ideal, avoiding both extreme summer heat and cold winter temperatures.
Can you use spray paint on vinyl cladding? Standard aerosol spray paint is not recommended for full siding projects. If spraying, use an airless paint sprayer loaded with proper vinyl-rated exterior paint rather than aerosol cans.
18. Conclusion
So, can you paint vinyl cladding? Absolutely, and with the right preparation, product choice, and color selection, it can be a genuinely effective way to update your home’s exterior without the cost of full replacement. The keys to success come down to a few consistent principles: use a flexible, vinyl-rated acrylic paint, stick to colors the same shade or lighter than your original siding, and never skip the cleaning and prep work that gives paint something solid to hold onto.
That said, painting is not the right choice for every home. If your siding is old, damaged, or you want a truly long-term, low-maintenance solution, full replacement may serve you better despite the higher upfront cost. Weigh your home’s condition, climate, and budget honestly, and you will be well-positioned to choose the option that gives you the best results for years to come.
Related Articles
How to Get Super Glue Off a Wood Floor? Without Ruining the Finish
How to Measure a Toilet? A Complete Step-by-Step Guide
How to Get Super Glue Off a Wood Floor? Without Ruining the Finish
Can You Paint Ceiling Tiles? A Complete Guide (Tips, Costs & Steps)