


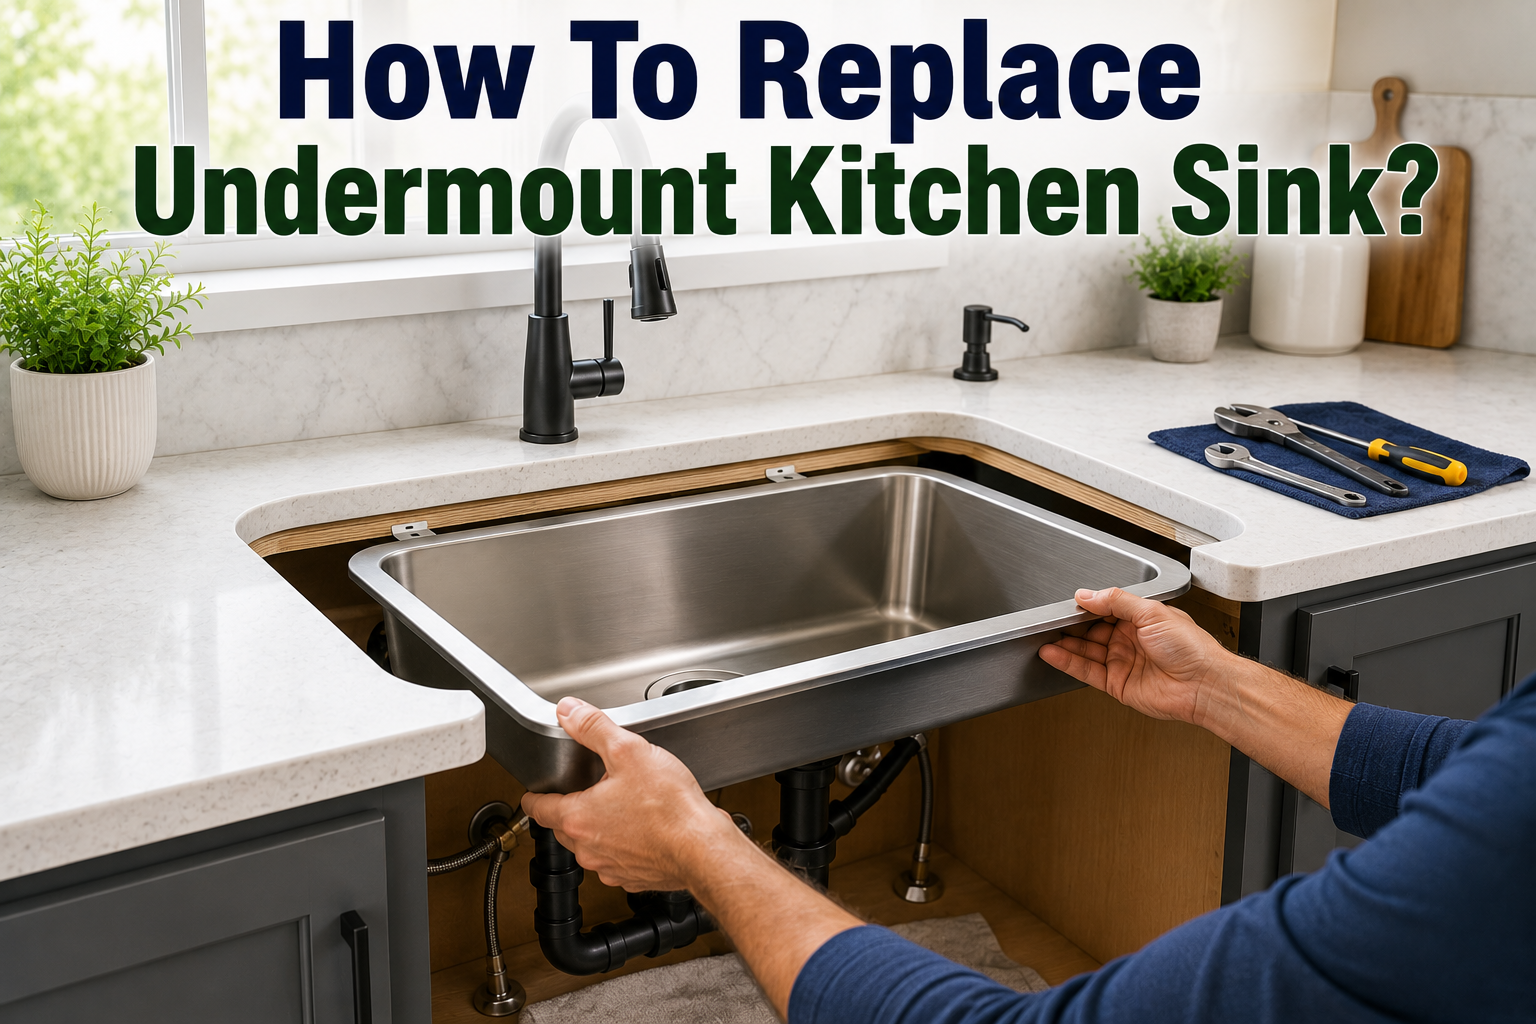
Replacing an undermount kitchen sink means shutting off the water, disconnecting the plumbing, cutting the old sink free from the underside of the countertop, then sealing and clipping the new one in its place. The whole job runs three to six hours for a straightforward swap, plus a day for the adhesive to cure before you use the sink again. Here is every step, in order, along with the parts that trip people up.
Most people replace an undermount sink for one of three reasons: the old one is chipped, stained, or rusted beyond fixing, the bowl is too small or the wrong shape for how the kitchen gets used, or the sink has separated from the countertop and needs a full reset rather than a patch job. Whatever the reason, the removal and installation steps below are the same. The one thing that changes is whether you’re reusing the existing countertop cutout or having a new one cut, which is worth confirming before you buy a sink.
What you’ll need
Gather these before you start so you’re not hunting for a wrench with a bucket of water sitting under the cabinet. None of it is specialty equipment. Most of it is already in a basic homeowner toolbox, aside from the sealant and clips.
- Adjustable wrench and channel-lock pliers
- Utility knife or a stiff putty knife
- Flathead screwdriver and a hammer
- 100% silicone sealant and a caulking gun
- New mounting clips or brackets, if your sink doesn’t come with them
- Acetone or mineral spirits, plus rags
- Bucket, old towels, and a flashlight
- Two lengths of 2×4 lumber and a couple of bar clamps, or a helper
- Plumber’s putty for the drain strainer
- Tape measure
Undermount sinks attach to the underside of the countertop, not the top, so removing one takes a different approach than pulling a drop-in sink out through the hole. Skip a step here and you risk a cracked countertop or a sink that never seals right.
Step 1: Shut off the water and disconnect the plumbing
Turn off the hot and cold shut-off valves under the sink. If you don’t see valves, turn them off at the main. Open the faucet afterward to bleed off pressure and confirm the water is really off.
Older homes sometimes skip individual shut-off valves under the sink. If that’s your setup, shut the water off at the main and let a family member know before anyone runs a tap elsewhere in the house.
Set a bucket under the P-trap, then loosen the slip nuts by hand or with pliers and let the trap drain. Disconnect the supply lines from the faucet tailpieces with an adjustable wrench, and remove any sprayer hose or air gap fitting. If there’s a garbage disposal, unplug it or shut off its breaker, then twist the mounting ring to release it from the sink flange and set it aside. Take a photo of the setup first. It saves guesswork when you reconnect everything later.
Step 2: Free the sink from the countertop
This is the step most guides gloss over. An undermount sink is held up by mounting clips and glued to the stone or solid surface with a bead of silicone or epoxy running around the entire rim. You cannot just unscrew a few clips and lift it out. The adhesive bond has to be broken first, and that happens from below.
Working from underneath, use a flathead screwdriver and a hammer to gently tap through the seal, moving around the perimeter in short taps rather than prying in one spot. A utility knife works on a thinner bead of silicone. Go slowly. Countertop stone chips easily if you lever against it instead of cutting through the adhesive itself.
As you break the seal, remove the mounting clips, but leave two or three on opposite sides until the last, since a stone or cast iron sink can weigh 50 to 150 pounds and will drop the moment it’s free. Prop a length of 2×4 under the sink, or have a second person support it from inside the cabinet, before you release those final clips. Lower the sink down and out through the cabinet opening. Most undermount sinks come out this way rather than up through the countertop.
Once it’s out, scrape off the leftover adhesive from the underside of the countertop with a putty knife, then wipe the surface clean with acetone or mineral spirits. A clean, dry surface is what makes the new bond hold, so don’t rush this part.
Tip: If you’re also replacing the faucet, do it now while the sink is out. The mounting nuts underneath most kitchen faucets are only reachable from inside the sink bowl, so swapping the faucet later means reaching back into a much tighter space.
While you’re in there, take a look at the cabinet floor and the underside of the countertop for water staining or soft, swollen wood. A slow leak around an old undermount sink can go unnoticed for a long time, and it’s far easier to deal with a damp cabinet floor before the new sink is sealed in over it.
Step 3: Measure and choose the replacement sink
Measure your existing cutout: length and width from the outside edges of the opening, plus the depth of the bowl and the clearance underneath to the cabinet floor. If you want to avoid recutting the countertop, buy a sink that matches those dimensions.
Countertop material matters here. Solid stone, quartz, and solid-surface counters have the strength to support an undermount sink. Laminate does not, since the exposed edge around the cutout would take on water and swell. If your counters are laminate, a drop-in sink is the safer replacement, not another undermount.
Weight is the other factor, and it varies more than most people expect between materials:
| Sink material | Typical weight | DIY difficulty |
| Stainless steel | 15 to 30 lbs | Easy, one person |
| Granite composite | 40 to 70 lbs | Moderate, helper recommended |
| Fireclay | 50 to 90 lbs | Hard, two people |
| Cast iron | 70 to 150 lbs | Hard, two people plus support |
A stainless steel undermount sink is light enough for one person to handle alone. Fireclay, cast iron, and natural stone sinks are heavy enough that you’ll want a second set of hands, and possibly a wood support frame under the cabinet to carry the extra load long term.
Step 4: Dry-fit the new sink
Before any adhesive goes on, set the new sink into position without glue to confirm it actually fits. Check that the faucet holes clear the countertop’s predrilled holes, that the rim has even clearance on all sides, and that the mounting clips line up with wherever they attach, whether that’s threaded inserts, a routed groove, or clip posts glued to the underside of the stone. Kohler’s installation guide for undermount sinks recommends leaving roughly two inches of clearance around the rim so the clips have room to grip properly.
If anything binds or the gap is uneven, mark the trouble spot now. It’s much easier to fix before the sealant is down.
Step 5: Seal and mount the sink
Run a continuous bead of 100% silicone sealant along the underside of the countertop opening, following the rim of the cutout. GE’s Advanced Silicone 2 Kitchen & Bath Sealant is a common choice because it stays flexible and resists mold in a spot that’s constantly damp. For heavy stone or stainless sinks, some installers add a two-part epoxy at the clip points for extra holding strength, with the silicone doing the sealing rather than the load-bearing.
Room temperature matters more than people expect. Silicone cures by pulling moisture from the air, so a cold kitchen slows it down substantially, and applying it below freezing can stop the cure almost entirely. Aim to work somewhere above 40 degrees Fahrenheit, and don’t rush the job on a chilly morning with the window open.
Lift the sink into the opening and press it firmly against the countertop so the bead makes full contact. Prop it in place with the 2×4 braces, bar clamps run through the drain holes, or a helper, since the sink needs steady pressure while the sealant sets up. Attach the mounting clips or brackets, tightening them evenly in a rotating pattern around the rim rather than cranking down one side first. That keeps the sink centered instead of pulled off to one side.
Wipe away any sealant that squeezes out with a damp cloth right away, before it skins over. Then leave it alone. Most silicone sealants are tacky within an hour but need a full 24 hours to cure completely, and running water or putting weight on the sink before then can break the bond you just made.
Step 6: Reconnect the plumbing and test for leaks
Once the sealant has cured, install the faucet if you haven’t already, then fit the drain strainer with a rope of plumber’s putty under the flange and tighten the locknut from below. Reconnect the P-trap, the supply lines, and the garbage disposal if you removed one. Hand-tighten slip nuts first, then give them a quarter turn with pliers, since overtightening cracks plastic fittings and doesn’t actually seal any better.
Turn the water back on slowly and check every connection you touched: supply lines, the trap, the disposal mount. Run the faucet for a minute, then fill the basin partway and let it drain, watching underneath for drips the whole time. Check again after a few hours and once more the next day, since a slow leak sometimes takes a little while to show itself.
Common problems and what causes them
A gap or hairline crack between the sink and the countertop after installation almost always traces back to one of two things: the surfaces weren’t fully clean and dry before the sealant went on, or the sink shifted slightly while the adhesive was curing. Both are avoidable by dry-fitting first and keeping the sink braced and undisturbed for the full cure time.
A sink that sags or pulls away from the countertop months later is a different problem. That points to too few mounting clips, clips that were never tightened evenly, or an installation that relied on adhesive alone to carry the weight. Silicone seals against water. It was never meant to hold up 50 or 100 pounds of sink by itself, so if that’s what’s happening under your current sink, plan to add clips as part of the reset rather than just re-caulking the same gap.
Water pooling in the cabinet after you turn the faucet back on almost always means a supply line or trap connection needs another quarter turn, not that the sink itself is leaking. Trace the drip to its source before assuming the worst.
When to call a professional instead
A few situations are worth handing off. Natural stone or cast iron sinks over roughly 75 pounds are genuinely hard to control alone during removal and reinstallation. A cracked or chipped countertop edge needs a countertop specialist, not just a new sink. And if your current setup has the sink separating or sagging away from the counter, that usually means the original installer skipped mechanical clips and relied on adhesive alone, which is a repair job in itself before you even get to swapping the sink.
Most licensed plumbers charge $45 to $200 an hour, and a straightforward undermount swap runs one to two hours of labor on top of the sink itself. That’s often worth it for a heavy stone sink where a dropped or cracked countertop would cost far more to fix than the labor would have.
Conclusion
Replacing an undermount kitchen sink comes down to cutting the old adhesive bond from below, dry-fitting the new sink first, then sealing it with silicone and securing it with mounting clips while it cures for a full day. Keep the countertop clean, brace the sink until the adhesive sets, and check every connection for leaks before you call the job done. A careful DIY install holds up as well as a professional one; a rushed one shows up as a slow leak within the year.
Frequently asked questions
Can you replace an undermount sink without removing the countertop? Yes, in most cases. Since the sink attaches from below, a new one that matches the existing cutout size can go in through the cabinet opening without touching the countertop itself, as long as the counter isn’t cracked or damaged.
How long does it take to replace an undermount sink? Removal and installation typically take three to six hours for a DIY swap. Add a full 24 hours before you use the sink, since the silicone sealant needs that long to cure completely.
What’s the best adhesive for an undermount sink? 100% silicone sealant paired with properly spaced mounting clips is the standard combination. Heavier stone or cast iron sinks sometimes get a two-part epoxy at the clip points for extra structural support.
Can I install an undermount sink myself? A lightweight stainless steel sink is a reasonable DIY project for someone comfortable with basic plumbing. Heavy stone, fireclay, or cast iron sinks are safer with a second person or a professional, given the weight involved.
Why did my undermount sink separate from the countertop? This usually means the original installation relied on adhesive alone instead of mechanical clips, or the clips loosened over time. The fix is adding or retightening clips, not just resealing the same gap.
Related Articles
How to Put Up Ceiling Tiles: A Step-by-Step Guide
Are Toilet Seats Universal? Complete Sizing, Fitting & Buying Guide
How To Get Rid Of Springtails In Bathroom: Complete Step-By-Step Guide