


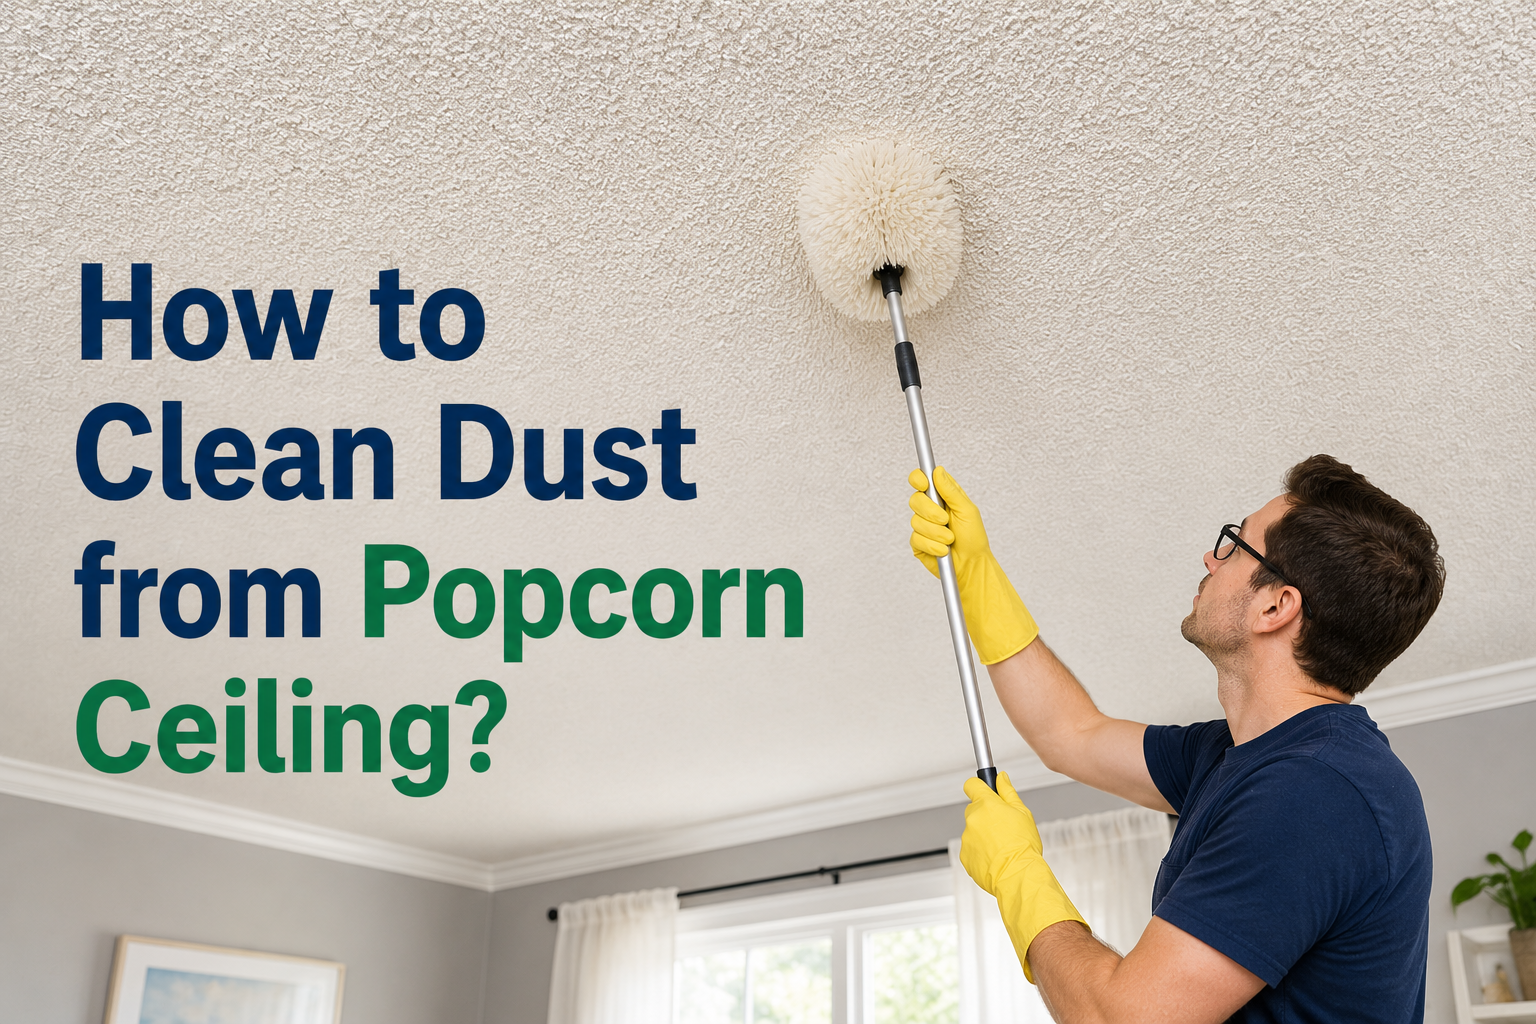
If you’ve ever looked up at your ceiling and noticed a thin gray film clinging to those bumpy little peaks and valleys, you already know the struggle. Popcorn ceilings — also called textured or acoustic ceilings — are notorious dust magnets. Their uneven, spray-on texture creates thousands of tiny pockets where dust, cobwebs, and airborne particles settle and stay put, often for years, since most people simply avoid touching them.
The problem is that cleaning a popcorn ceiling isn’t like wiping down a flat wall. Press too hard, use a wet cloth, or scrub with the wrong tool, and you risk crumbling the texture, leaving bald patches, or even pulling the material down in clumps. That’s exactly why so many homeowners search for how to clean dust from popcorn ceiling without ruining it in the process.
This guide walks you through everything — from understanding what makes these ceilings so fragile, to the safest tools and techniques, to what you should never do. By the end, you’ll have a clear, room-by-room plan for getting your ceiling dust-free without damaging decades-old texture.
Understanding Popcorn Ceilings
Before grabbing a duster, it helps to understand what you’re actually dealing with.
Popcorn ceilings get their name from their lumpy, popcorn-like appearance. They were typically created by spraying a mixture of paint, water, and a bulking agent — often polystyrene or vermiculite — onto a smooth ceiling surface. Builders loved this texture for a few practical reasons.
- It hid minor imperfections, seams, and uneven drywall work.
- It reduced echo and improved sound dampening in a room.
- It was faster and cheaper to apply than a smooth, finished ceiling.
The texture became especially popular in homes built between the 1950s and 1980s, which is why so many older houses still have it today.
The catch is durability. Because the surface is essentially a rough, semi-porous coating rather than a hard painted finish, it’s far more delicate than drywall or plaster. Small bumps of texture can flake off with a light touch, and anything abrasive — like a stiff-bristled brush or a scrubbing sponge — can strip sections down to bare drywall.
A Quick Note on Age and Asbestos
If your home was built before 1980, there’s an important safety step before you clean anything: check whether the texture contains asbestos. Manufacturers commonly used asbestos in popcorn ceiling mixtures until the material was restricted in the early 1980s due to health concerns. Disturbing an asbestos-containing ceiling — through sanding, scraping, or aggressive cleaning — can release harmful fibers into the air.
If you’re unsure of your ceiling’s age or composition, it’s worth having a sample tested by a certified lab before doing any deep cleaning. Light dusting is generally considered low-risk, but anything more invasive should wait until you’ve confirmed it’s safe.
Safety First: Preparing Before You Start
Once you’ve confirmed your ceiling is safe to clean, a little preparation goes a long way toward making the job easier and less messy.
Start by clearing the room as much as possible. Move furniture away from the walls, or push it into the center of the room and cover it with a plastic sheet or old bedsheet. Dust from the ceiling will fall straight down, and it tends to travel further than expected once it’s airborne.
Next, protect your floors. Lay down a drop cloth or plastic sheeting across the entire work area, not just directly beneath where you’ll be cleaning — dust particles drift, especially if there’s any airflow from a fan, vent, or open window.
Since you’ll be working with your arms raised for an extended period, and disturbing years of settled dust, a bit of personal protective gear makes the job far more comfortable:
| Item | Why You Need It |
|---|---|
| Dust mask or respirator | Prevents inhaling fine dust particles |
| Safety goggles | Protects eyes from falling debris |
| Old long-sleeve shirt | Keeps dust off your skin |
| Sturdy step ladder | Provides safe, stable reach to the ceiling |
| Hair covering or cap | Prevents dust from settling in your hair |
Finally, turn off ceiling fans and close windows temporarily. Moving air will scatter dust around the room instead of letting it fall where you can easily clean it up.
Tools and Materials You’ll Need
The right tools make the difference between a ceiling that looks refreshed and one that ends up patchy or damaged. Here’s what professionals and experienced DIYers typically reach for.
- A vacuum with a soft brush attachment — ideal for lifting embedded dust without touching the texture directly.
- A lambswool or microfiber extendable duster — gentle enough for regular maintenance cleaning.
- An extension pole — lets you reach the ceiling without constantly climbing up and down a ladder.
- A can of compressed air — useful for corners, edges, and tight spots a duster can’t reach.
- Painter’s tape — handy for protecting nearby trim or light fixtures if you’re doing a very thorough clean.
- Drop cloths or old sheets — to catch falling dust and protect furniture and flooring.
Notice what’s missing from this list: no sponges, no scrub brushes, no cleaning sprays. That’s intentional, and we’ll explain exactly why in the sections below.
Method 1: Vacuuming (Best for Heavy Dust Buildup)
If it’s been a while since your ceiling has seen any attention, vacuuming is usually the most effective starting point. It lifts embedded dust out of the texture’s crevices rather than just pushing it around.
Step-by-step process:
- Attach the soft brush nozzle to your vacuum hose — never use a bare hose or a hard plastic attachment, as these can gouge the texture.
- Set your vacuum to its lowest or gentlest suction setting if that option is available.
- Starting in one corner of the room, hold the brush attachment just above the ceiling surface, allowing the bristles to lightly graze the texture rather than pressing into it.
- Move in slow, overlapping passes, working across the ceiling in sections — for example, dividing the room into a grid pattern so you don’t miss spots or double back unnecessarily.
- Pay extra attention to corners, edges near walls, and areas around light fixtures or vents, where dust tends to accumulate most heavily.
- Empty the vacuum canister or change the bag once it’s full, since a clogged vacuum loses suction and becomes less effective.
The key technique here is a light touch. You’re aiming to lift dust off the surface, not scrub it away. If you notice any texture crumbling or coming loose during vacuuming, stop immediately in that spot and switch to a gentler dusting method instead.
Method 2: Dusting with a Lambswool Duster
For lighter, more routine maintenance — say, every few months rather than a first deep clean — a lambswool or microfiber duster is often the better choice. These tools are designed to attract and hold dust through static and fiber texture rather than suction, which makes them naturally gentler.
To use one effectively, extend the duster’s handle so you can comfortably reach the ceiling while standing on the floor or a low step. Move it across the surface in slow, light circular motions, letting the fibers work their way into the texture’s grooves without pressing down.
Work in the same grid pattern you’d use for vacuuming, section by section, so you can keep track of what’s been cleaned. Periodically shake the duster outside or over a trash bag to release the collected dust, since a fully loaded duster becomes less effective and can start redistributing dust instead of collecting it.
This method is particularly useful for:
- Ceilings that only have light, surface-level dust
- Homes with pets or allergies, where more frequent light cleaning helps
- Touch-ups between deeper vacuum cleanings
Method 3: Compressed Air for Corners and Tight Spots
Even with careful vacuuming and dusting, certain areas remain stubbornly hard to reach — tight corners, spots around ceiling-mounted light fixtures, or narrow gaps near crown molding. This is where a can of compressed air comes in handy.
Hold the nozzle a few inches away from the surface and use short, controlled bursts to dislodge dust from these tricky areas. The dust will fall to the floor below, so make sure your drop cloths are in place first. This method works best as a finishing step after vacuuming or dusting the main ceiling area, rather than as your primary cleaning technique, since compressed air alone won’t handle heavier, more widespread dust buildup.
What NOT to Do When Cleaning a Popcorn Ceiling
Knowing what to avoid is just as important as knowing the right techniques. A surprising number of ceiling mishaps come from well-intentioned but damaging cleaning attempts.
Avoid wet cleaning methods entirely. Water, all-purpose cleaners, and damp cloths can soften the binding material in the texture, causing it to dissolve, streak, or fall away in clumps. Unlike a painted wall, popcorn texture generally isn’t designed to handle moisture.
Never scrub or press firmly. The texture is held on by a relatively thin coating, and any real pressure — whether from a scrub brush, sponge, or even a firm hand — can knock pieces loose.
Skip harsh chemical cleaners. Strong degreasers or chemical sprays can discolor the texture or react poorly with old paint layers, leaving visible stains that are far harder to fix than the original dust.
Don’t use a high-powered vacuum setting. Maximum suction can actually pull texture material away from the ceiling, especially in spots where the adhesive has weakened over time.
Avoid standing directly under your cleaning area without protection. Falling dust and debris are unavoidable, so always work with drop cloths and, ideally, eye protection.
Dealing with Stains, Cobwebs, and Stubborn Spots
Dust isn’t always the only issue. Cobwebs, small insect debris, or the occasional water stain can also show up on textured ceilings.
For cobwebs, a dry duster or the soft brush vacuum attachment usually handles them without issue, since cobwebs sit on the surface rather than embedding into it. Work slowly to avoid breaking the web into scattered strands across the ceiling.
Stains are trickier. Water stains, in particular, often indicate a past or ongoing leak, and simply cleaning the surface won’t resolve the underlying cause. In these cases, it’s worth identifying and fixing the source of moisture first. Cosmetic stains that remain after that may require a specialized stain-blocking primer and a careful touch-up of the texture — a task that’s often best left to a professional, since matching existing texture by hand takes practice.
If you’re dealing with anything beyond simple dust and light cobwebs, it may be worth consulting a professional ceiling contractor rather than risking further damage with DIY attempts.
Maintenance Tips to Keep Your Ceiling Cleaner, Longer
Once your ceiling is dust-free, a little ongoing maintenance can keep it that way for much longer.
Set a light dusting schedule — once every two to three months tends to work well for most homes, though homes with pets, forced-air heating, or nearby construction may need more frequent attention. Using a lambswool duster for these regular touch-ups means you rarely need a full vacuum session.
Changing your HVAC air filters regularly also makes a noticeable difference, since a large portion of household dust circulates through your heating and cooling system before settling on ceilings and other surfaces. A cleaner air filter means less dust in the air overall.
Finally, consider reducing airflow disruptions in rooms with popcorn ceilings — for instance, angling ceiling fans or vents slightly away from the most visible ceiling areas — since directed airflow can stir up and redistribute dust that would otherwise stay settled.
When to Consider Removing or Covering the Popcorn Ceiling
Sometimes, no amount of careful cleaning is enough. If your ceiling has extensive staining, sections of missing texture, or simply feels outdated compared to the rest of your home, it may be time to think beyond cleaning.
Homeowners generally have two options at this stage: full removal of the popcorn texture, which typically involves scraping the surface down to bare drywall, or skim-coating, where a thin layer of joint compound is applied over the texture to create a smooth, modern finish. Both projects are significantly more involved than routine cleaning and, especially in older homes, should only be attempted after confirming the ceiling doesn’t contain asbestos.
This is generally a separate project from regular maintenance, but it’s worth keeping in mind if your ceiling is beyond the point where cleaning alone can restore its appearance.
Conclusion
Cleaning a popcorn ceiling doesn’t have to be intimidating once you understand the do’s and don’ts. The safest and most effective approach to how to clean dust from popcorn ceiling comes down to a few core principles: use soft tools like brush-attachment vacuums and lambswool dusters, work with a light touch rather than pressure, avoid water and harsh chemicals entirely, and clean in manageable, methodical sections.
With the right technique and a little regular upkeep, you can keep your textured ceiling looking fresh without risking the damage that comes from rushing the job or using the wrong tools. A dust-free ceiling might not be the most exciting home improvement task, but it’s one that makes a noticeable difference in how clean and well-cared-for an entire room feels.
Related Articles
How to Replace an Undermount Kitchen Sink?
How to Remove a Sink Stopper (Every Type, Step by Step)
How to Put Up Ceiling Tiles: A Step-by-Step Guide
What Are Kitchen Sponges Made Of? A Clear Look at Every Type