


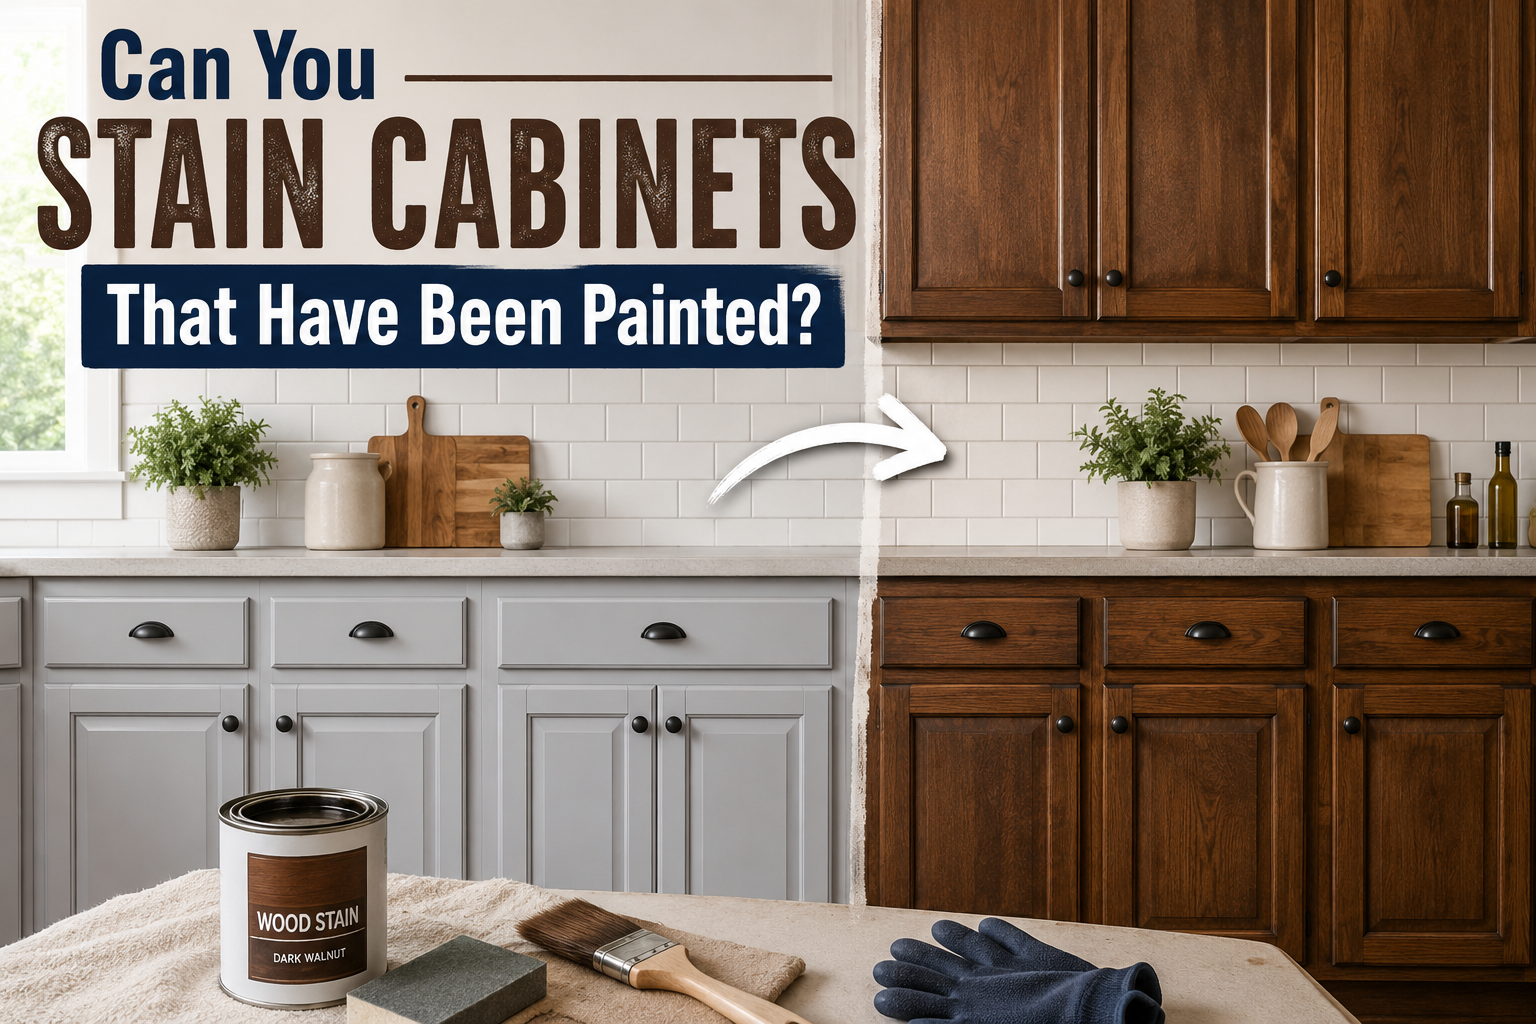
Not directly, no. A true wood stain has to soak into the bare wood to bring out the grain, and a coat of paint sits on top and blocks it completely. So if you want that natural, stained-wood look on cabinets that are already painted, you first have to strip the paint all the way back to raw wood. There is a shortcut, a gel stain that goes over paint, but it creates a faux wood-tone finish rather than real grain. Here is how each path works and how to choose.
Can you stain cabinets that have been painted?
The honest answer is that you cannot stain over paint and get a real stained finish. You can physically brush stain onto a painted surface, but it will not look like stained wood. Instead it puddles, stays sticky, and dries into a streaky, uneven film, because there is no bare wood underneath for it to sink into.
To get a genuine stained look, you have two workable choices. You can strip the paint off, exposing the wood so real stain can penetrate the way it is meant to. Or you can switch goals and use a gel stain, a thick, urethane-based product that lays a translucent wood-tone coat on top of the paint. The first gives you authentic grain and depth. The second is far less work and gives a wood-like effect, but it is really a faux finish, not true staining. The rest of this guide walks through both.
Why stain and paint don’t mix
Understanding the reason helps you avoid a costly mistake. Paint and stain do fundamentally different things to wood.
Paint forms a solid, opaque layer that sits on the surface and hides the wood underneath. Stain is the opposite: it is designed to be absorbed into the wood’s open pores, adding color while letting the natural grain and texture show through. That absorption is the whole point of stain, and it is exactly what a coat of paint prevents. With the pores sealed off, a traditional stain has nowhere to go, so it never bonds or cures properly.
This is also why you cannot simply stain a painted cabinet a darker shade to freshen it up. The color would sit on top unevenly and wipe or wear away, rather than deepening the wood. If your heart is set on real stained wood, the paint has to come off first. There is no way around that step.
First, check what your cabinets are actually made of
Before you strip anything, confirm your cabinets are real wood. Stripping and staining only make sense on solid wood or a good wood veneer. Many cabinets, especially painted ones, have doors or panels made of MDF, particleboard, or a laminate that only looks like wood, and none of those can be stained to reveal grain, because there is no real grain to reveal.
A few quick checks tell you what you have:
- Look at the edges and corners. Solid wood shows end grain on the tops and bottoms. Engineered panels often have a thin edge band or a printed, repeating grain that looks a little too uniform.
- Do a small sanding test in a hidden spot. If you see wood fibers, it is wood or veneer. If you expose a brown, compressed, grain-free material, it is MDF or particleboard.
- Tap the surface and feel it. Laminate feels cooler and smoother and sounds hollow or plastic-like; real wood feels warmer and gives a denser sound.
Cabinets are often a mix: solid wood frames with veneer or MDF panels. If the parts you care about are not real wood, staining is off the table, and your realistic options are repainting or the gel-stain faux effect described below.
A veneer is real wood, so it can be stained, but the layer is very thin. Sand it gently and never aggressively, or you will cut straight through it, especially at edges and corners.
Option 1: Strip the paint for a true stained look
This is the route to authentic stained wood. It is the most work, but it is the only way to get real grain and depth. Work in a well-ventilated space, wear gloves and eye protection, and follow the safety directions on every product.
- Empty the cabinets and remove the doors, drawers, and all the hardware. Label everything so it goes back where it belongs.
- Clean each piece with a degreaser or warm soapy water to lift off kitchen grease, then let it dry.
- Apply a chemical paint stripper, let it sit per the label, then lift the softened paint with a plastic scraper. Repeat until you reach bare wood.
- Sand the wood smooth, starting around 100 grit and working up to a finer grit like 180, to remove residue and any remaining finish.
- Wipe off all dust, then apply a wood conditioner so the stain absorbs evenly and avoids blotches.
- Brush or wipe on your stain, working with the grain, and wipe off the excess. Add coats until you reach the depth of color you want.
- Once the stain is dry, seal it with a clear topcoat such as polyurethane for protection, then reassemble.
Staining is more demanding than painting, so it pays to practice on a spare door or an inside edge before you commit to the whole kitchen. For a full step-by-step on the staining and sealing stage, this how-to guide from True Value walks through the details.
Option 2: Use gel stain over the paint
If stripping sounds like too much, gel stain is the popular shortcut. Unlike regular stain, gel stain is thick, like a jelly, and it contains urethane, so it clings to the surface instead of needing to soak in. That lets it go over existing paint, laminate, or an old finish with far less prep.
The key is to set your expectations correctly. Gel stain over paint does not reveal wood grain, because there is no bare wood involved. What it gives you is a rich, translucent, wood-toned coat, a faux finish that can look convincingly like stained wood, especially when you drag the brush in one direction to suggest grain. It is a genuinely good way to warm up or darken painted cabinets without a full strip-down.
The basic process is short: make sure the paint is clean, dry, and lightly scuffed so the gel grabs; brush the gel stain on; and for a grain effect, drag the brush or wipe with a rag in one direction. Let it dry fully, add a second coat if you want more depth, then seal it with a clear topcoat like polycrylic or polyurethane so it holds up to kitchen use. Always test your color in a hidden spot first, since gel stain over a light paint reads very differently than over a dark one.
Which option is right for you?
The right choice comes down to the look you want and how much work you are willing to do. Here is the quick version:
| Goal | What to do | Result |
| Real wood-grain stain | Strip the paint to bare wood, then stain | A true, natural stained look |
| A darker or wood-toned finish, less work | Apply gel stain over the existing paint | A faux finish, not true grain |
| A new solid color | Clean, sand, prime, and repaint | An even painted finish |
If you truly want natural wood grain back and your cabinets are solid wood or veneer, stripping is the only way to get it, and the result is worth the effort. If you mainly want a warmer, darker, wood-like tone and would rather skip the mess, gel stain over the paint is the practical pick. And if what you actually want is a clean new color, repainting is simpler and more durable than fighting to stain at all.
A few tips for a finish that lasts
Whichever path you take, a few habits make the difference between a finish that lasts and one that peels or wears fast.
- Degrease first, always. Kitchen cabinets carry a film of cooking grease that will wreck adhesion if you skip cleaning.
- Work on removed doors and drawers laid flat when you can. It is easier, cleaner, and gives a smoother result than reaching into a face frame.
- Do not rush the drying between coats. Stain and topcoat both need their full cure time, and crowding the steps is how finishes stay tacky or lift later.
- Always seal the final finish. A clear topcoat is what protects stained or gel-stained cabinets from water, grease, and daily wear in a kitchen.
- Test on a hidden area before the whole kitchen. Colors and coverage vary with your wood, your paint, and your product, so a small test saves a big regret.
Take your time on prep, and the finish will reward you. Most cabinet-refinishing failures trace back to a skipped cleaning or sanding step, not to the stain itself.
Conclusion
You cannot get a true stained look by putting stain over paint, because stain needs bare wood to soak into. For real wood grain, confirm your cabinets are solid wood or veneer, strip the paint back to raw wood, then condition, stain, and seal. For a lower-effort wood tone, gel stain over the existing paint gives a faux finish that still looks warm and rich. Pick the path that matches the look you want and the work you are up for, prep carefully, and seal the result so it lasts.
Frequently asked questions
Can you put regular wood stain over painted cabinets?
No. Traditional stain has to absorb into bare wood, and paint blocks it, so it dries streaky and sticky on top. For a true stained finish you must strip the paint off first. Gel stain is the only stain-type product that goes over paint.
Do you have to strip all the paint before staining cabinets?
For a real stained, wood-grain look, yes. Every bit of paint has to come off so the stain can reach the wood. If you would rather not strip, use a gel stain for a faux wood tone or simply repaint instead.
What is gel stain and how is it different?
Gel stain is a thick, urethane-based stain that clings to a surface instead of soaking in. That lets it go over paint, laminate, or old finishes with little prep, giving a wood-toned faux finish rather than true, penetrating grain.
Can you stain MDF or laminate cabinets?
Not for a real wood look, because there is no natural grain to reveal. MDF, particleboard, and laminate cannot absorb stain like wood. You can repaint them, or use gel stain over the surface for a wood-tone effect.
Is it easier to repaint cabinets than to stain them?Usually, yes. Repainting needs cleaning, sanding, priming, and paint, but no stripping. Staining painted cabinets means removing all the paint first, which is the most time-consuming part of the whole job.
Related Articles
What Is the Average Height of a Door?
How to Turn Off Water to a Toilet: A Complete Step-by-Step Guide
How to Put Up Ceiling Tiles: A Step-by-Step Guide
How To Restain Kitchen Cabinets? Step-By-Step Guide For Beginners
How to Get Rust Stains Out of a Sink (Without Scratching It)