



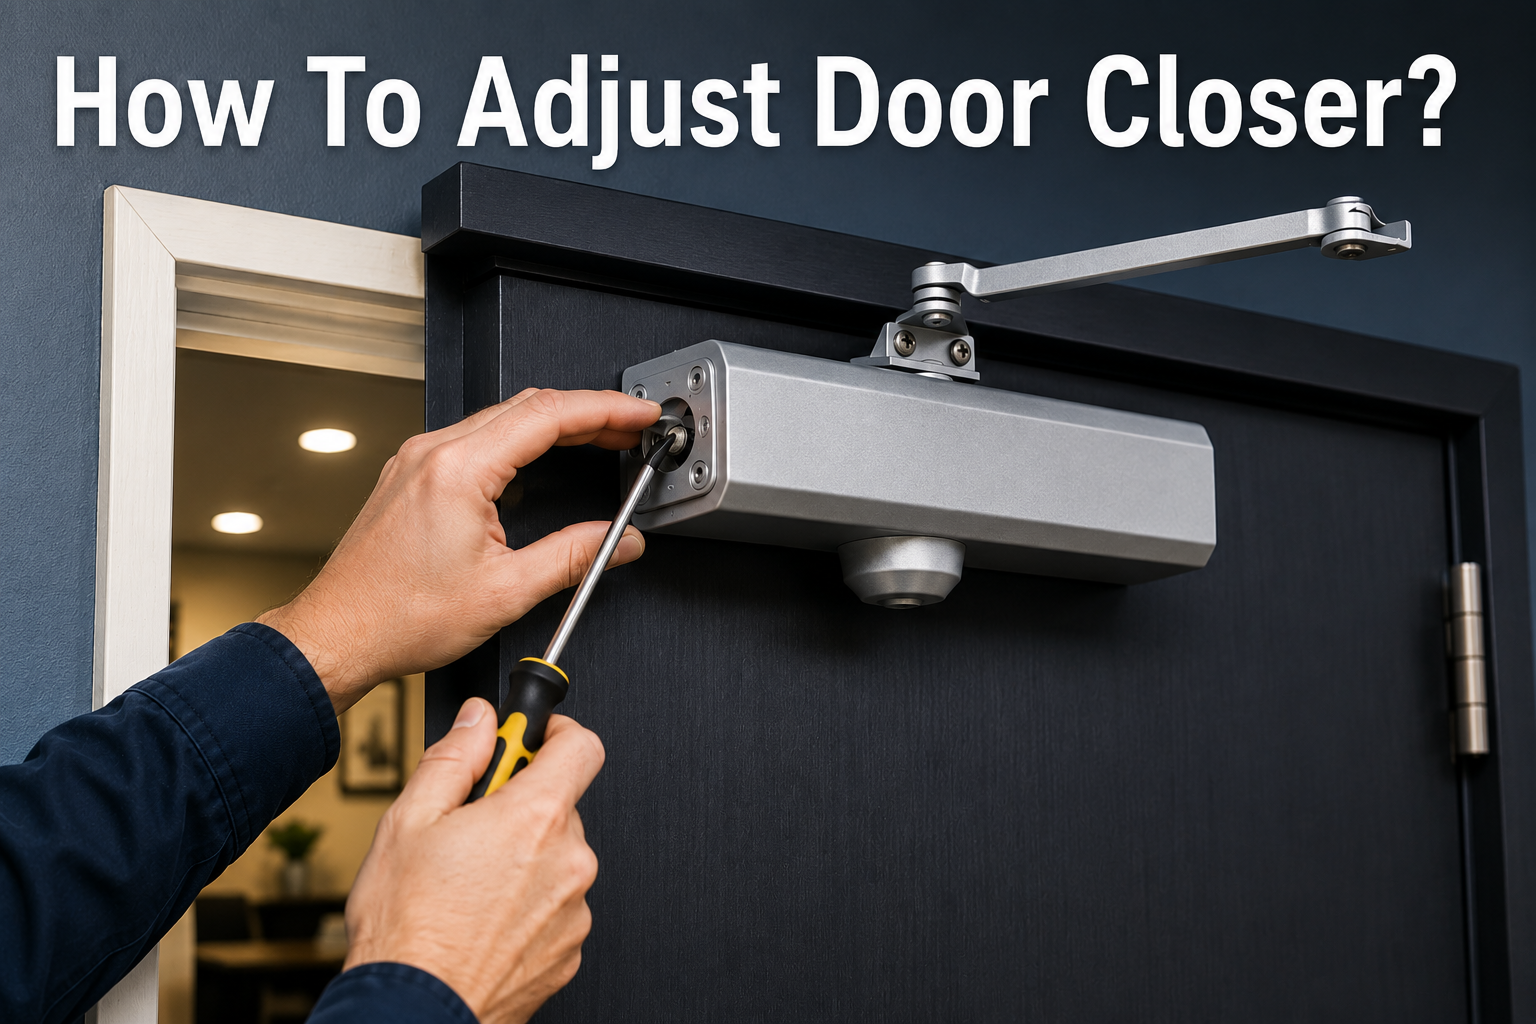
Introduction
Anyone who has dealt with a door that slams shut, swings too slowly, or refuses to latch properly knows how frustrating it can be. The good news is that this is usually not a sign of a broken door closer at all. In most cases, the fix is a simple adjustment that takes only a few minutes once you understand what each screw does.
This guide walks through everything you need to know about how to adjust a door closer, from the basic mechanics to advanced troubleshooting, so you can get your door working smoothly again without calling in a technician.
What is a Door Closer?
A door closer is a mechanical device, usually mounted at the top of a door, that controls how the door opens and closes. Instead of letting a door swing freely and slam shut under its own weight or a spring’s force, the closer uses a hydraulic mechanism to slow the motion down and guide the door gently into its frame. You will find these devices on everything from office entrances and fire doors to residential screen doors and storefronts.
Why Proper Adjustment Matters?
A poorly adjusted door closer can cause more problems than most people realize. A door that closes too fast can slam into people walking through, damage the frame over time, or fail to latch securely, leaving a building less secure. On the other hand, a door that closes too slowly may not latch at all, which is a serious issue for fire-rated doors that need to seal automatically. Learning how to adjust a door closer properly protects both the hardware and the people using the door every day.
Common Signs Your Door Closer Needs Adjustment
Certain warning signs make it clear that an adjustment is overdue. The door might slam loudly every time it shuts, or it might swing shut so slowly that it never actually latches. Sometimes the door will close at a normal pace for most of its swing but then either speed up or stall in the last few inches. You might also notice the door bouncing back open slightly after appearing to close, or feel unusual resistance when pushing the door open. Any of these symptoms is a strong hint that the closer’s internal valves need attention.
Who Can Do This (DIY vs Professional)
For most standard residential and light commercial door closers, adjusting the speed and force is a task well suited to a confident do-it-yourselfer with basic tools and a bit of patience. However, certain situations call for a professional, particularly fire-rated doors that must meet strict code requirements, closers on heavy commercial entrances, or units that show signs of internal damage such as fluid leaks. When in doubt, it is worth consulting a licensed door hardware technician, especially in commercial buildings where compliance matters.
Understanding Door Closer Basics
Types of Door Closers
Door closers come in several different styles, each suited to different applications. The table below summarizes the most common types.
| Type | Typical Location | Common Use |
|---|---|---|
| Surface-Mounted | Top of door or frame, visible | Homes, offices, light commercial doors |
| Concealed | Hidden inside the door or frame | High-end commercial and architectural doors |
| Floor Spring | Recessed into the floor beneath the door | Glass doors, heavy entrance doors |
| Overhead Concealed | Inside the door frame header | Storefronts, high-traffic commercial entries |
Main Parts of a Door Closer
Before making any changes, it helps to know what you are looking at. A typical closer body houses a piston, a hydraulic fluid reservoir, an internal spring, and a series of adjustment valves. On the outside, you will usually see a few small screws, often labeled or numbered, along with an arm that connects the closer to the door frame. Understanding these parts makes the entire process of learning how to adjust a door closer far less intimidating.
How a Door Closer Works?
When the door opens, it compresses an internal spring inside the closer body. As the door is released, that spring pushes the door closed, while hydraulic fluid moves through internal valves to control the speed of that motion. By turning the adjustment screws, you are essentially opening or restricting the path that fluid takes, which speeds up or slows down different parts of the door’s swing.
Reading the Adjustment Screws and Labels
Most closers have two or three visible screws on the body, often stamped with small letters or numbers such as “S” for sweep, “L” for latch, and “BC” for backcheck. If your unit is unlabeled, the general rule of thumb is that the screw closest to the hinge side usually controls sweep speed, while the one nearer the latch side controls latch speed. Checking the manufacturer’s manual, if available, will remove any guesswork.
Tools You’ll Need
Adjusting a door closer does not require a large toolkit. The list below covers what you will typically need.
- A flathead screwdriver (most common for adjustment screws)
- An Allen key or hex wrench (required for some closer models)
- Work gloves for safety and grip
- A soft cloth to wipe away any fluid residue
- Optional: a stopwatch or phone timer to measure closing speed
- Optional: a small stepladder if the closer is mounted high
Safety Precautions Before You Start
Turning Off Door Automation
If the door is part of an automatic or electronically controlled system, switch off the power before touching any adjustment screws. Working on a live automatic door can be dangerous and may also damage the control system.
Handling Hydraulic Fluid Safely
Door closers are sealed hydraulic units, and the adjustment screws should never be removed completely. Loosening a screw too far can allow fluid to leak out, which will ruin the closer’s performance and may require a full replacement. Always turn screws in small increments and stop immediately if you notice fluid seeping out.
Avoiding Over-Tightening
Over-tightening an adjustment screw can damage the internal valve seat, leading to permanent malfunction. A gentle touch is far more effective than force when learning how to adjust a door closer correctly.
Step-by-Step: Adjusting Sweep Speed
Locating the Sweep Speed Screw
The sweep speed screw controls how quickly the door moves through the majority of its swing, from fully open until it is about ten to fifteen degrees from closed. It is usually the first or leftmost screw on the closer body.
Turning Direction and Effects
Turning the sweep speed screw clockwise restricts fluid flow, which slows the door down. Turning it counterclockwise allows more fluid to pass, speeding the door up. A quarter turn at a time is usually enough to notice a difference.
Testing After Adjustment
After each small adjustment, open the door fully and let it close naturally while observing the speed. Repeat this process, making only minor changes each time, until the door swings at a comfortable, controlled pace.
Troubleshooting Sweep Speed Issues
If the door still closes too fast even after turning the screw all the way clockwise within safe limits, the internal valve or spring may be worn out, and the unit might need replacing rather than further adjustment.
Step-by-Step: Adjusting Latch Speed
Locating the Latch Speed Screw
The latch speed screw governs the final few inches of the door’s closing motion, the point where the door actually clicks into the latch. This screw is typically the second one on the closer body.
Why Latch Speed Matters for Security?
If the latch speed is set too fast, the door can slam and bounce back open without securing itself, which is both a noise nuisance and a security risk. If it is too slow, the door may stop just short of the frame and never latch at all.
Fine-Tuning for Proper Latching
Adjust this screw in small increments, testing after each turn by letting the door close from a partially open position, roughly ten degrees, and watching whether it latches cleanly without slamming.
Common Mistakes to Avoid
A frequent error is confusing the latch speed screw with the sweep speed screw, which leads to adjusting the wrong part of the door’s motion. Take a moment to confirm which screw controls which stage before making changes.
Step-by-Step: Adjusting Backcheck (if applicable)
What Backcheck Does?
Backcheck is a cushioning feature that slows the door down if it is opened too forcefully, preventing damage to the door, wall, or nearby furniture. Not all closers have this feature, but many commercial-grade units do.
Locating the Backcheck Screw
When present, the backcheck screw is usually a third, separate screw, sometimes located on the side of the closer body rather than the front.
Adjusting for Wind or High-Traffic Doors
In areas prone to strong wind gusts or heavy foot traffic, such as building entrances, increasing backcheck resistance slightly can prevent the door from swinging too far and causing damage.
Adjusting Spring Tension / Closing Force
Why Spring Tension Adjustment Is Needed?
Some door closers include an adjustable spring tension setting, separate from the hydraulic speed controls, which determines how much force is needed to open the door and how strongly it pulls itself shut.
Adjusting for Door Weight and Size
Heavier doors generally need higher spring tension to close fully, while lighter doors can use a lower setting for easier opening. Manufacturers typically provide a numbered scale, often from one to six, corresponding to different door weight ranges.
ADA Compliance Considerations
In many regions, accessibility codes limit the amount of force required to open a door, often to around five pounds of force for interior doors. When adjusting spring tension, it is worth checking local accessibility requirements so the door remains easy to open for all users.
Testing Your Adjustments
The Full-Swing Test
Open the door to its widest point and release it, watching the entire motion from open to closed to confirm the sweep speed feels smooth and controlled.
The Latch Test
Open the door only slightly, about ten degrees, and release it to check whether the latch speed allows it to click shut properly without slamming.
The Force Test
Push the door open with light pressure to gauge how much effort is required, ensuring it is not too stiff for comfortable everyday use.
Repeating Adjustments if Needed
It is normal to go back and forth between the sweep and latch screws a few times before finding the right balance. Patience here pays off with a door that performs reliably for months or years afterward.
Troubleshooting Common Problems
The table below outlines frequent issues and the adjustments most likely to solve them.
| Problem | Likely Cause | Suggested Fix |
|---|---|---|
| Door closes too fast | Sweep speed screw too loose | Turn sweep screw clockwise gradually |
| Door closes too slowly or not at all | Sweep or latch screw too tight, or low fluid | Turn screw counterclockwise slightly; inspect for leaks |
| Door slams | Latch speed screw too fast | Turn latch screw clockwise in small steps |
| Door doesn’t latch | Latch speed too slow or spring tension too low | Increase latch speed slightly; check spring tension |
| Leaking fluid or squeaking noises | Worn seals or over-loosened screw | Stop adjusting; consider replacement |
Maintenance Tips for Long-Term Performance
Routine care keeps a door closer working well long after the initial adjustment. Wiping down the body periodically prevents dust buildup around the screws, while checking the mounting arm and screws for looseness every few months helps avoid sagging or misalignment. If the unit is exposed to outdoor conditions, inspecting for rust or fluid seepage on a seasonal basis is a good habit. Knowing how to adjust a door closer is only half the job; keeping it properly maintained ensures those adjustments last.
When to Call a Professional?
Signs of Internal Damage
Persistent fluid leaks, grinding noises, or a door that will not hold any adjustment are signs that the internal components are worn out and adjustment alone will not fix the problem.
Commercial and Fire-Rated Door Considerations
Fire-rated doors must close and latch completely every time to meet safety codes, so any adjustment on these doors should ideally be verified by a certified technician familiar with local fire code requirements.
Warranty and Liability Concerns
Attempting a repair on a closer still under warranty could void that coverage. It is worth checking the manufacturer’s warranty terms before disassembling or heavily adjusting a relatively new unit.
Frequently Asked Questions
How do I know which screw controls sweep speed versus latch speed? Most closers label these with small letters near each screw. If unlabeled, the screw nearer the hinge side typically controls sweep speed, while the one nearer the latch controls latch speed.
Can I adjust a door closer without any tools? No, a screwdriver or Allen key is required for nearly all adjustable closer models, since the valves are recessed screws designed to be turned with a proper tool.
Why does my door still slam after adjusting the latch screw? This can happen if the spring tension is set too high for the door’s weight, or if the sweep speed is still too fast leading into the final stretch. Check both settings together.
Is it normal for a door closer to need adjustment over time? Yes, seasonal temperature changes can affect hydraulic fluid viscosity, so many closers need slight seasonal readjustment, particularly in climates with large temperature swings.
How many turns should I make when adjusting a screw? Generally no more than half a turn at a time, testing the door’s motion after each adjustment before making further changes.
Conclusion
Learning how to adjust a door closer really comes down to understanding a few small screws: sweep speed, latch speed, backcheck where applicable, and sometimes spring tension. Make changes gradually, testing the door after every small turn instead of rushing the process.
Never remove a screw completely, since this can drain the hydraulic fluid and ruin the unit. If a door still slams, stalls, or won’t latch after careful adjustment, that is usually a sign of internal wear rather than a setting problem. For fire-rated or heavy commercial doors, it is always wise to have a professional confirm the final settings. Otherwise, with a little patience, most doors can be tuned to close smoothly and safely right at home.
Related Articles
How To Remove Texture From Walls: The Complete Step-by-Step Guide
How to Overlap Metal Roofing Lengthwise for a Leak-Free Roof?
Gap Between Wall and Ceiling: What Causes It and How to Fix It
How to Clean Yellow Drips on Bathroom Walls?
How Much Do Kitchen Cabinets Cost in 2026? Complete Pricing Guide