


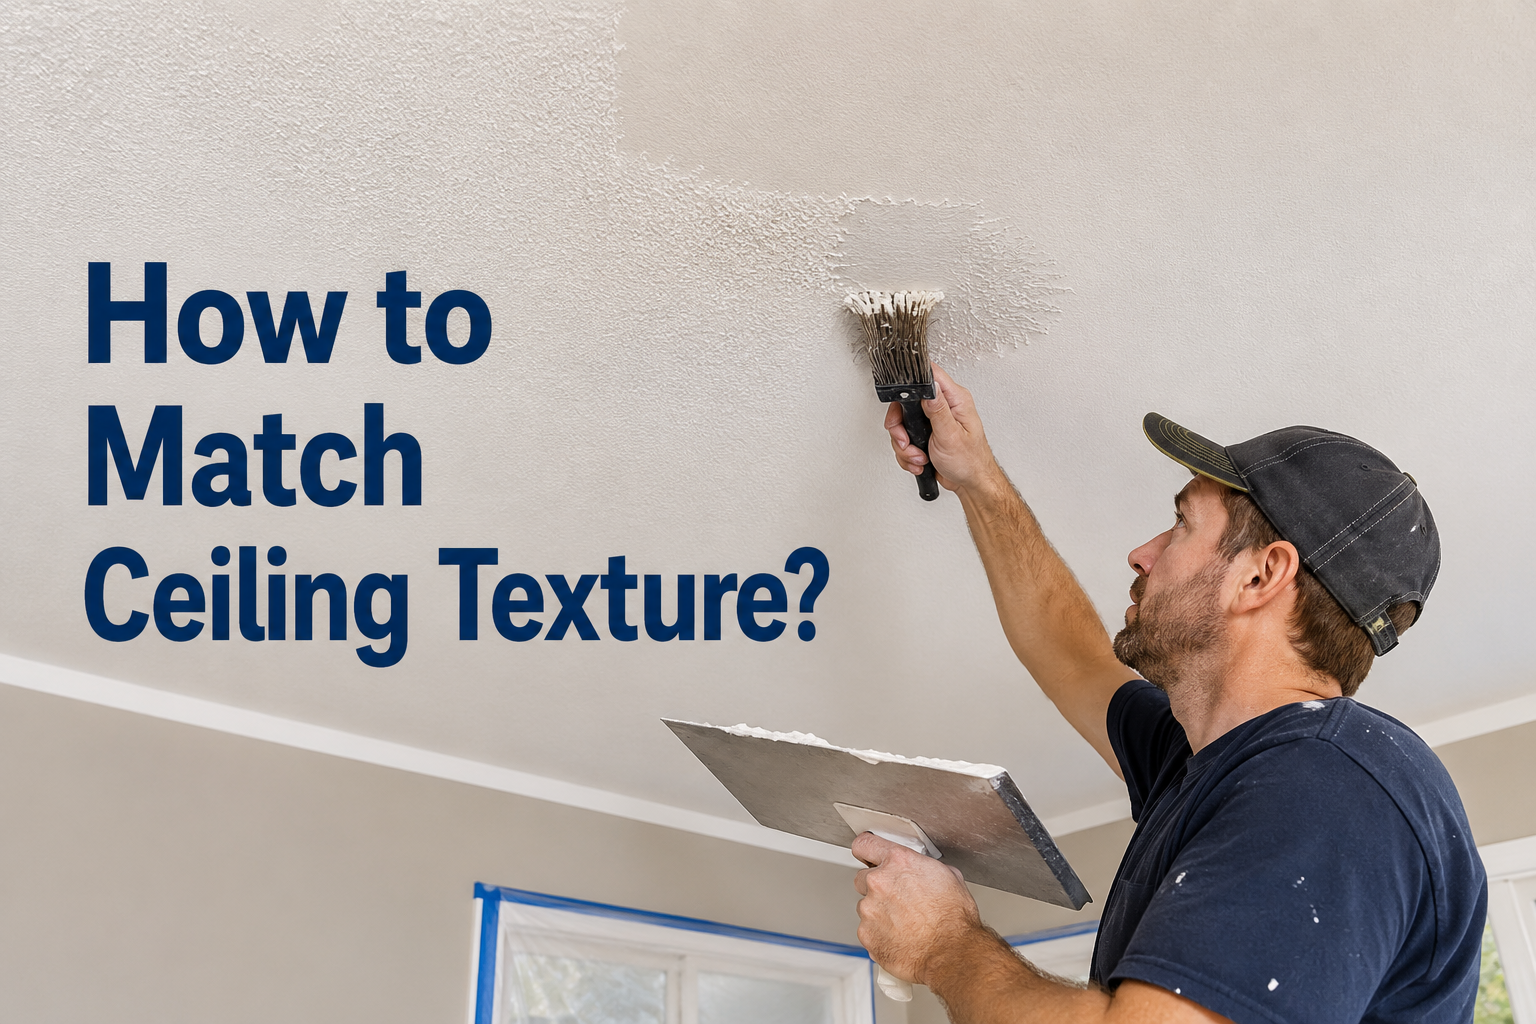
If you’ve ever patched a hole, fixed a water stain, or replaced a section of drywall on your ceiling, you already know the tricky part isn’t the repair itself — it’s making that repair disappear. Learning how to match ceiling texture is one of those skills that looks simple on paper but takes a bit of patience, the right tools, and a good eye for detail. A poorly matched patch practically glows under certain lighting, while a well-matched one blends in so seamlessly that nobody would ever guess a repair happened at all.
This guide walks you through everything you need to know, from identifying your ceiling’s texture style to mixing, applying, blending, and painting it so the final result looks completely uniform.
What Is Ceiling Texture and Why It’s Used
Ceiling texture refers to the raised, patterned finish applied over drywall or plaster instead of leaving it perfectly smooth. Builders started using texture decades ago for a few practical reasons: it hides minor imperfections in the drywall, it helps mask seams and nail pops, and it can even reduce echo in a room. Over time, it also became a style choice, with different patterns falling in and out of fashion depending on the decade a home was built.
Matching this texture matters more than people expect. Ceilings catch light differently than walls, so even a slight difference in bumpiness, pattern size, or thickness becomes obvious once the sun hits it at an angle. A mismatched patch can lower the overall look of a room and even affect resale value, since buyers and inspectors often notice ceiling repairs before anything else.
This guide covers texture types, the tools and materials you’ll need, prep work, mixing ratios, application techniques, blending strategies, and the finishing touches that tie everything together.
Understanding Ceiling Texture Types
Before you can match anything, you need to know exactly what you’re working with. Texture styles vary quite a bit, and using the wrong technique on the wrong pattern is one of the most common reasons repairs stand out.
Popcorn (Acoustic) texture is that bumpy, cottage-cheese-like finish common in homes built from the 1950s through the 1980s. It was popular for sound dampening and hiding ceiling flaws, though many homeowners today remove it in favor of smoother finishes.
Orange peel texture is a light, subtle stipple that resembles the skin of an orange, hence the name. It’s a fine, even texture that’s sprayed on and is one of the more common finishes in newer construction because it looks clean without being flat.
Knockdown texture starts out similar to orange peel but gets “knocked down” with a wide trowel or knife while still wet, flattening the peaks and leaving a mottled, stucco-like pattern. It’s a favorite in many homes because it hides imperfections well while still looking intentional.
Skip trowel texture is applied by hand with a trowel in a random, skipping motion, leaving thin, flat patches of joint compound with subtle ridges. It has a more artisanal, Southwestern look compared to sprayed textures.
Swirl or fan texture is created using a stiff brush in a circular or fan-shaped motion, producing a decorative pattern that was especially popular in certain regions and eras.
Smooth or comb texture technically isn’t a texture at all — it’s a perfectly flat, skim-coated ceiling, which is its own challenge to match since any imperfection is highly visible.
To figure out which one you have, get close to the ceiling with a flashlight held at a low angle. This raking light will exaggerate the bumps and patterns, making it much easier to see the exact style you’re dealing with.
Tools and Materials Needed
Having the right tools on hand before you start makes the entire process smoother and helps your final texture match more closely.
| Tool/Material | Best Used For |
|---|---|
| Hopper gun + air compressor | Popcorn and orange peel texture |
| Aerosol texture spray cans | Small patches and touch-ups |
| Wide knockdown knife | Flattening knockdown texture |
| Trowel | Skip trowel and smooth finishes |
| Stiff brush | Swirl and fan patterns |
| Joint compound (premixed or powder) | Base material for most textures |
| Primer | Sealing patched drywall before texturing |
| Painter’s tape and drop cloths | Protecting surrounding areas |
| Sanding sponge | Smoothing rough drywall repairs |
Premixed texture products are convenient and consistent, which is helpful for beginners, while powdered joint compound gives you more control over thickness but requires more practice to mix correctly. Many home improvement stores also sell texture in aerosol cans specifically designed for small patch jobs, which can be a lifesaver if you’re only fixing a small section.
Preparing the Ceiling for Texture Matching
Good prep work is what separates an invisible patch from an obvious one. Start by cleaning the repair area of dust, loose debris, and any peeling material. If you’ve patched drywall, make sure the compound is fully dry and sanded smooth so there are no ridges or bumps that will interfere with the new texture.
Bare drywall patches should always be primed before texture is applied. Without primer, the patched area absorbs moisture differently than the surrounding ceiling, which can cause the texture to look or dry differently once painted.
It’s also worth taking a few minutes to protect the room. Lay drop cloths on the floor and furniture, and use painter’s tape along walls or light fixtures near the work area, since texture spray and compound can splatter more than expected.
Finally, take note of how light hits the ceiling throughout the day. If there’s a window nearby, natural light at a low angle will show you exactly where texture differences might become visible later, which helps you plan your blending strategy in advance.
Mixing the Right Texture Consistency
If you’re using powdered joint compound instead of a premixed product, getting the water ratio right is essential. Too much water and the texture will be thin and won’t hold its shape; too little and it becomes difficult to spray or spread evenly.
A general starting point is mixing compound to a consistency similar to pancake batter for sprayed textures like popcorn or orange peel, and a slightly thicker, peanut-butter-like consistency for hand-applied textures like skip trowel. Always mix a small test batch first, since humidity and compound brand can affect how much water is needed.
One of the most common mistakes at this stage is rushing the mix. Lumps in the compound will clog a hopper gun or create inconsistent texture, so it’s worth taking the extra few minutes to mix thoroughly and let it rest briefly before use.
Step-by-Step Application Techniques
Once your ceiling is prepped and your texture is mixed, it’s time to apply it. The technique depends heavily on which texture style you identified earlier.
For popcorn texture, load the hopper gun with your mixed compound and hold it about two to three feet from the ceiling. Use a sweeping motion and adjust the air pressure until the spray pattern matches the size of the bumps on your existing ceiling.
For orange peel texture, use a finer nozzle setting and hold the gun slightly closer to the surface, since this texture is meant to be subtle and even rather than heavily textured.
For knockdown texture, spray the area similarly to orange peel, but let it sit for a few minutes until it’s tacky, then gently drag a wide knockdown knife across the surface to flatten the peaks. Timing matters here — too early and the texture smears, too late and it hardens before you can flatten it.
For skip trowel texture, apply small amounts of thicker compound with a trowel, skipping across the surface in a random, light-handed motion rather than a full, even coat.
For swirl or fan texture, dip a stiff brush into thinned compound and use consistent circular or fan motions, keeping the pressure and pattern size the same throughout the repair area to avoid an obvious break in the pattern.
Practicing and Testing Before the Real Job
It’s tempting to skip this step, but testing on a scrap piece of drywall first can save you from having to redo an entire section of ceiling. Cut a spare piece of drywall, prime it, and practice your chosen technique until the pattern size, density, and depth closely resemble your existing ceiling.
Pay attention not just to the pattern shape but also to how far apart the bumps or ridges are and how thick the texture appears from a few feet away. Small adjustments in spray distance, air pressure, or trowel pressure can make a significant difference in how closely the final result matches.
Blending New Texture with Old
Blending is often the step that determines whether a repair is noticeable or invisible. Rather than applying texture only within the exact boundary of the patch, feather it slightly outward onto the surrounding, undamaged texture so there’s no hard edge or visible line where old meets new.
Working in sections and stepping back frequently to check your progress under different lighting angles helps catch inconsistencies early, while they’re still easy to fix. If an area doesn’t blend well, it’s usually easier to lightly knock it down or add a bit more texture while it’s still workable rather than trying to fix it after it’s dried.
Drying, Priming, and Painting
Texture typically needs anywhere from twenty-four to forty-eight hours to fully dry, depending on humidity, thickness, and room temperature. Rushing this step by painting too early can trap moisture and cause the texture to crack or the paint to look uneven.
Once dry, prime the new texture, even if the rest of the ceiling isn’t freshly primed, since this helps the paint absorb evenly and prevents the patch from looking like a slightly different shade later. When it’s time to paint, matching the sheen is just as important as matching the color — ceilings are almost always painted in flat or matte finishes because these hide texture imperfections better than glossier options.
Common Mistakes and How to Avoid Them
A number of small missteps can undo an otherwise solid repair. Uneven texture patterns usually come from inconsistent spray distance or pressure, so keeping your hand movement steady and practicing beforehand helps avoid this. Overworking the compound, especially with knockdown or skip trowel styles, can smear the texture and create a muddy look instead of a crisp pattern.
Mismatched sheen after painting is another frequent issue, often caused by using leftover paint that has changed slightly in finish over time, or by using a different brand than what was originally applied. Choosing the wrong tool for the texture type, like using a trowel on a texture that was originally sprayed, will also make blending far more difficult, so revisiting Chapter 1 to correctly identify your texture is always worth the extra time.
When to Hire a Professional?
Not every ceiling texture job is realistic for a DIY approach. Very large repair areas, vaulted or unusually high ceilings, and hard-to-reach spaces can all make the process more difficult and riskier without professional equipment.
If your home was built before the early 1990s and has original popcorn texture, it’s also worth having the material tested for asbestos before doing any sanding, scraping, or disturbance, since older texture compounds sometimes contained asbestos fibers that are hazardous if released into the air.
Some texture patterns, particularly discontinued or highly decorative styles, can also be difficult to replicate without professional-grade tools. In these cases, the cost of hiring a professional is often worth it compared to redoing a botched DIY attempt, especially since ceiling repairs are highly visible if done poorly.
Maintenance and Future-Proofing
Once you’ve successfully matched your ceiling texture, a little planning can save you time on future repairs. Keep any leftover texture mix in a sealed container, and note down the exact product name, mixing ratio, and paint formula you used so you’re not starting from scratch next time.
Preventing future damage is just as important as fixing existing damage. Address roof leaks, plumbing issues, or condensation problems quickly, since moisture is one of the most common causes of ceiling damage that requires texture repair down the line.
Conclusion
Learning how to match ceiling texture comes down to a few key fundamentals: correctly identifying the existing pattern, using the right tools and technique for that specific style, practicing before committing to the real repair, and taking the time to properly blend, prime, and paint the finished patch. It’s a project that rewards patience far more than speed, and testing on scrap material first will always save you time and frustration in the long run.
With the right approach, even a beginner can achieve a ceiling repair that blends in seamlessly, leaving no trace that any damage was ever there.
Related Articles
Can You Paint Ceiling Tiles? A Complete Guide (Tips, Costs & Steps)
How to Remove a Sink Stopper (Every Type, Step by Step)