


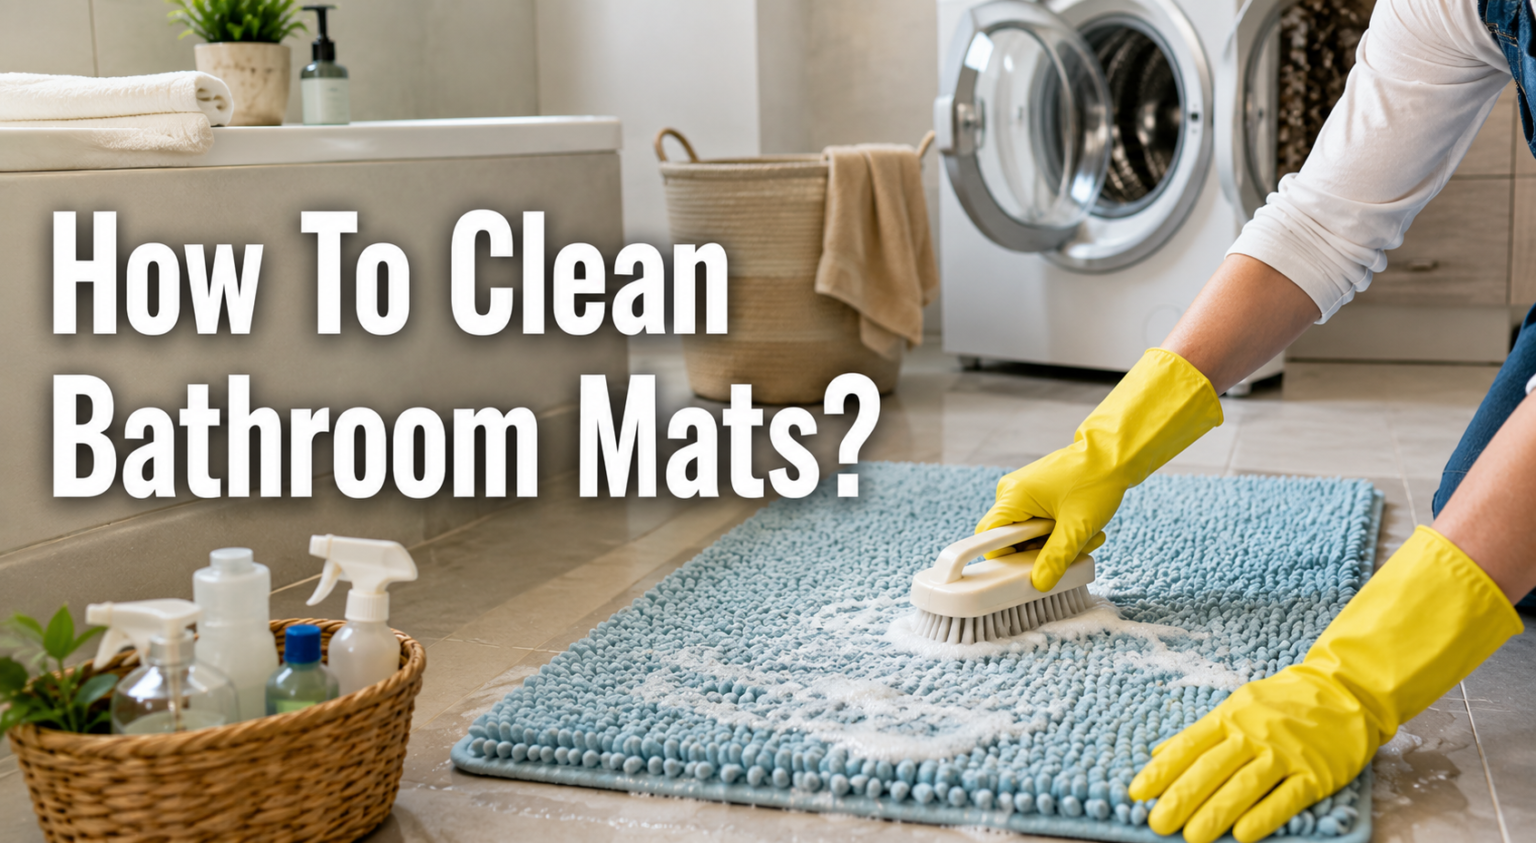
Bathroom mats quietly go through a lot every single day. They soak up water dripping from your body after a shower, they catch stray hairs, they pick up soap residue, and they sit in a warm, damp environment that is practically an open invitation for bacteria and mildew.
Even though most people wipe down their sinks and scrub their tubs regularly, the humble bath mat often gets ignored until it starts smelling musty or looking dull. Learning how to clean bathroom mats properly is not complicated, but it does require the right approach depending on the material, and a little consistency to keep them fresh between deep cleans.
This guide walks through everything you need to know, from understanding why cleaning matters, to the exact steps for machine washing and hand washing, to tackling stubborn stains and mildew, and finally to storing mats so they last longer and stay hygienic.
Why Cleaning Bathroom Mats Matters
A bathroom mat is essentially a sponge that lives on your floor. Every time someone steps out of the shower or bath, moisture transfers onto the mat. If that moisture is not allowed to dry out fully between uses, it creates the perfect breeding ground for bacteria, mold, and mildew.
This is not just about hygiene in an abstract sense; it can directly affect your health. Damp mats can harbor fungi that contribute to athlete’s foot, and mold spores can trigger allergies or respiratory irritation, especially in people who are sensitive to indoor allergens.
Beyond health, there is also the simple matter of appearance and longevity. A mat that is never cleaned will gradually turn a dingy grey or yellow, develop odor, and lose its soft texture. Regular cleaning keeps the mat looking newer for longer and prevents the fibers or foam from breaking down prematurely. In short, cleaning your bathroom mat is not a cosmetic afterthought; it is a small habit that protects both your health and your investment in your bathroom decor.
Types of Bathroom Mats and Their Care Needs
Not all bathroom mats are created equal, and the cleaning method that works beautifully on one type can ruin another. Before you start scrubbing or tossing a mat into the washing machine, it helps to know what you are actually dealing with.
| Mat Type | Common Material | Cleaning Sensitivity |
|---|---|---|
| Cotton or fabric mats | Cotton, chenille, blended fabric | Generally machine washable, tolerates most detergents |
| Memory foam mats | Foam core with fabric cover | Should not be fully submerged or wrung; needs gentle handling |
| Rubber-backed mats | Fabric top with rubber underside | Sensitive to heat and fabric softener, which can crack the rubber |
| Microfiber mats | Synthetic microfiber | Machine washable, dries quickly, but avoid high heat |
| Bamboo or wood mats | Natural bamboo slats | Cannot be soaked; needs wiping and occasional oiling |
| Vinyl or non-slip mats | PVC or vinyl | Water-resistant, easy to wipe or hose down |
Cotton and microfiber mats are usually the easiest to maintain since they can go into a standard washing machine without much fuss. Memory foam mats require more caution because excess water can get trapped inside the foam and take days to dry out, which encourages mildew.
Rubber-backed mats look sturdy, but the rubber layer is actually quite delicate when exposed to high heat or harsh chemicals, so extra care is needed there. Bamboo and vinyl mats are the outliers since they are not fabric at all, and their cleaning process looks completely different from a typical laundry routine.
Things to Check Before Cleaning
Before diving into any cleaning method, it is worth taking a moment to prepare properly. Skipping this step is one of the most common reasons bathroom mats get damaged during cleaning.
First, always look for a care label. Many mats, especially newer ones, come with a small tag stitched into a seam that tells you whether the mat is machine washable, what water temperature to use, and whether tumble drying is safe. If the label has faded or was never there to begin with, you can usually make an educated guess based on the material, but it is better to be cautious than to ruin an expensive mat.
Second, identify the fabric type. As shown in the table above, cotton behaves very differently from foam or rubber, so knowing what you are working with will guide every decision from here on.
Third, decide whether the mat is machine washable or strictly hand-wash only. Mats with thick rubber backing or foam interiors often do better with hand washing or spot cleaning rather than a full machine cycle, since the agitation and heat of a washer can weaken the backing over time.
Finally, if you plan to use any stain remover or bleach, test it on a small hidden corner of the mat first. This simple step prevents unpleasant surprises like color fading or bleaching in visible areas.
Supplies You Will Need
Cleaning a bathroom mat does not require anything exotic. Most of what you need is likely already sitting in your kitchen or laundry cupboard.
A mild liquid detergent works well for both machine and hand washing. White vinegar is incredibly useful because it naturally breaks down soap scum, neutralizes odors, and has mild antibacterial properties. Baking soda is another household staple that helps lift stains and absorb smells without being harsh on fabric. A soft-bristled brush or even an old toothbrush comes in handy for scrubbing localized stains or mildew spots.
If you are dealing with tougher stains, a fabric-safe stain remover can help, though vinegar and baking soda are often enough on their own. Lastly, a mesh laundry bag is a smart addition if you are machine washing a mat with a delicate backing, since it reduces friction and protects the rubber during the wash cycle.
Step-by-Step: Machine Washing Bathroom Mats
For mats that are labeled machine washable, this is usually the fastest and most effective method.
Start by taking the mat outside or over a trash can and shaking it firmly to remove loose hair, dust, and debris. This step matters more than people realize, since leftover hair can clog your washing machine drain or wrap around the drum.
Next, look closely at the mat for any visible stains or mildew spots. If you spot any, dampen the area and gently rub in a paste made from baking soda and a small amount of water, or apply undiluted white vinegar directly with a cloth. Let it sit for about ten to fifteen minutes before washing.
Load the mat into the washing machine, ideally with a couple of towels for balance if the mat is small, since bath mats alone can cause the drum to become unbalanced. Use cold or warm water rather than hot water, since heat can be harsh on both the fibers and any rubber backing. Add your regular detergent, along with half a cup of white vinegar or a few tablespoons of baking soda directly into the drum. This combination helps kill bacteria and neutralize any lingering odor far more effectively than detergent alone.
Avoid using fabric softener. It might seem like a natural addition to any wash cycle, but fabric softener leaves a coating on fibers that reduces absorbency and can actually break down rubber backing faster, leading to premature cracking.
Once the cycle finishes, check the mat immediately rather than leaving it damp in the machine. For drying, air drying is the safest option, ideally outdoors or near an open window where air circulates well. If you prefer to use a dryer, select a low-heat or air-fluff setting, since high heat can warp rubber backing or shrink certain fabrics.
Step-by-Step: Hand Washing Bathroom Mats
Hand washing is the better choice for delicate mats, memory foam mats, or anything without a clear machine-wash label.
Fill a bathtub or a large basin with warm water and mix in a small amount of mild detergent along with a splash of white vinegar. Submerge the mat and let it soak for about fifteen to twenty minutes. This soaking period gives the soap and vinegar time to loosen dirt and neutralize odors without any harsh scrubbing.
After soaking, use a soft brush to gently scrub any visibly dirty or stained areas, working in small circular motions. Avoid aggressive scrubbing on foam or rubber sections, since these materials can tear or separate from the fabric layer if handled too roughly.
Once you are satisfied that the mat is clean, drain the soapy water and rinse thoroughly with clean water until no soap residue remains. Leftover detergent can attract dirt faster and irritate skin on contact.
To remove excess water, press the mat gently between two dry towels rather than wringing it, especially if it has a foam core. Wringing can damage the internal structure and cause uneven lumps. Lay the mat flat or hang it over a rail in a well-ventilated area to dry completely before placing it back on the floor.
Cleaning Specific Mat Types
While the general washing steps above apply broadly, a few mat types deserve special attention.
Rubber-backed mats should never be washed in hot water or dried on high heat, since both can cause the rubber to crack, peel, or lose its non-slip grip over time. Stick to cold or lukewarm water and always air dry these mats flat rather than hanging them, which can cause the rubber to warp.
Memory foam mats are best spot cleaned rather than fully soaked whenever possible. If a full wash is necessary, use the gentlest cycle available and avoid wringing at all costs. Foam takes significantly longer to dry than fabric, so plan for at least a full day of air drying in a well-ventilated space, and check underneath the mat periodically to ensure moisture is not trapped against the floor.
Bamboo or wood mats should never be soaked in water, since prolonged moisture exposure causes warping, splitting, or mold growth within the wood itself. Instead, wipe these mats down with a damp cloth and mild soap, then dry them immediately with a towel. Occasionally applying a small amount of natural wood oil can help maintain the bamboo’s finish and prevent cracking over time.
Removing Tough Stains and Mildew
Stains and mildew are the two most common complaints when it comes to bathroom mats, but both are manageable with the right approach.
For general stains, a paste made from baking soda and a small amount of water works remarkably well. Apply it directly to the stained area, let it sit for about twenty minutes, then scrub gently with a soft brush before rinsing or washing as usual.
For mildew, which often appears as small black or greenish spots, a vinegar soak is highly effective. Submerge the affected area in undiluted white vinegar for about thirty minutes, then scrub and rinse thoroughly. Vinegar’s acidity breaks down mildew at a structural level rather than simply masking it.
For white or very light-colored mats, a diluted bleach solution can be used as a last resort for stubborn mildew. Mix one part bleach with about ten parts water, apply sparingly to the affected area, and rinse extremely well afterward. Bleach should never be used on colored or patterned mats, since it will cause visible discoloration.
If you prefer more natural alternatives, a mixture of lemon juice and salt can lift light stains, while a few drops of tea tree oil added to your wash cycle offer natural antifungal properties that help discourage mildew from returning.
Deodorizing Bathroom Mats
Even a visibly clean mat can develop a musty smell over time, particularly in humid climates. A generous sprinkle of baking soda directly onto a dry mat, left to sit for a few hours before vacuuming or shaking off, works as a simple and effective deodorizer between full washes.
Sun-drying is another excellent natural method. Direct sunlight has a mild disinfecting effect and helps eliminate lingering dampness that contributes to odor. If outdoor drying is not possible, placing the mat near a window with good airflow can offer similar benefits, just at a slower pace.
For an extra layer of freshness, a light spray of diluted essential oil, such as tea tree or lavender, can be applied after washing. This not only leaves a pleasant scent but also adds a mild layer of antibacterial protection.
Drying and Storage Tips
One of the most overlooked steps in the entire process of cleaning bathroom mats is drying them completely before putting them back down. A mat that feels dry on the surface may still hold moisture deeper within its fibers or foam, and placing it back on the floor too soon simply restarts the cycle of dampness and bacteria growth.
Whenever possible, dry mats outdoors in direct sunlight, since both the heat and UV exposure help kill lingering bacteria while speeding up the drying process. If outdoor space is not available, hang the mat over a shower rail, balcony railing, or drying rack in a room with good ventilation.
If you need to store a mat for any length of time, such as during travel or a bathroom renovation, make absolutely sure it is bone dry first. Storing even slightly damp mats in a closed cupboard or bag creates an environment that mold thrives in, and the smell can be difficult to remove afterward.
Cleaning Frequency Guide
How often you should clean your bathroom mat depends on usage, humidity levels, and household size, but a general rule of thumb can help you build a consistent routine.
| Frequency | Task |
|---|---|
| Weekly | Shake out loose hair and debris, air the mat out |
| Every 1–2 weeks | Full wash, whether machine or hand washing |
| Monthly | Deep clean and disinfect, including a vinegar or diluted bleach treatment for light-colored mats |
Households with children, pets, or multiple daily bathroom users may want to wash mats slightly more frequently, since heavier use naturally leads to faster buildup of moisture and bacteria.
Common Mistakes to Avoid
A few small mistakes are responsible for most of the damage or lingering odor problems people experience with bathroom mats. Using hot water on rubber-backed mats is one of the most frequent culprits, since it accelerates cracking and peeling of the backing. Overusing bleach, even on mats that can technically tolerate it, gradually weakens fibers and causes premature fading.
Skipping the care label entirely and guessing at the right cleaning method often leads to shrinkage or texture changes that cannot be reversed. Finally, storing a mat while it is still even slightly damp is almost guaranteed to result in a musty smell or visible mold within days.
Tips to Keep Bathroom Mats Cleaner for Longer
A little prevention goes a long way in reducing how often deep cleaning is needed. Encourage household members to use the mat only for drying feet rather than wiping hands or setting down wet items, since this significantly reduces unnecessary moisture and soap residue buildup.
Keep the bathroom well ventilated, either through an exhaust fan or an open window, so the mat has a chance to dry naturally between uses rather than sitting in a humid environment all day.
If your household has heavy bathroom traffic, consider rotating between two mats, allowing one to fully dry and air out while the other is in use. Some newer bath mats also come with built-in antimicrobial treatments, which can be a worthwhile investment for households prone to mildew issues or humid climates.
Conclusion
Knowing how to clean bathroom mats properly is a small but meaningful habit that protects both your health and the lifespan of your mats.
Whether you are machine washing a simple cotton mat or carefully hand washing a memory foam one, the key principles remain the same: identify the material, use gentle and appropriate cleaning agents like vinegar and baking soda, avoid harsh heat or fabric softener, and above all, make sure the mat is completely dry before it goes back on the floor.
With a consistent cleaning routine, whether weekly, biweekly, or monthly depending on your household’s needs, your bathroom mats can stay soft, fresh, and mildew-free for a long time to come.
Related Articles
Can You Paint Aluminum Siding? A Complete Guide to Doing It Right
How To Get Rid Of Springtails In Bathroom: Complete Step-By-Step Guide
How to Remove Sewer Smell from Bathroom: Complete DIY & Expert Guide
How To Restain Kitchen Cabinets? Step-By-Step Guide For Beginners