


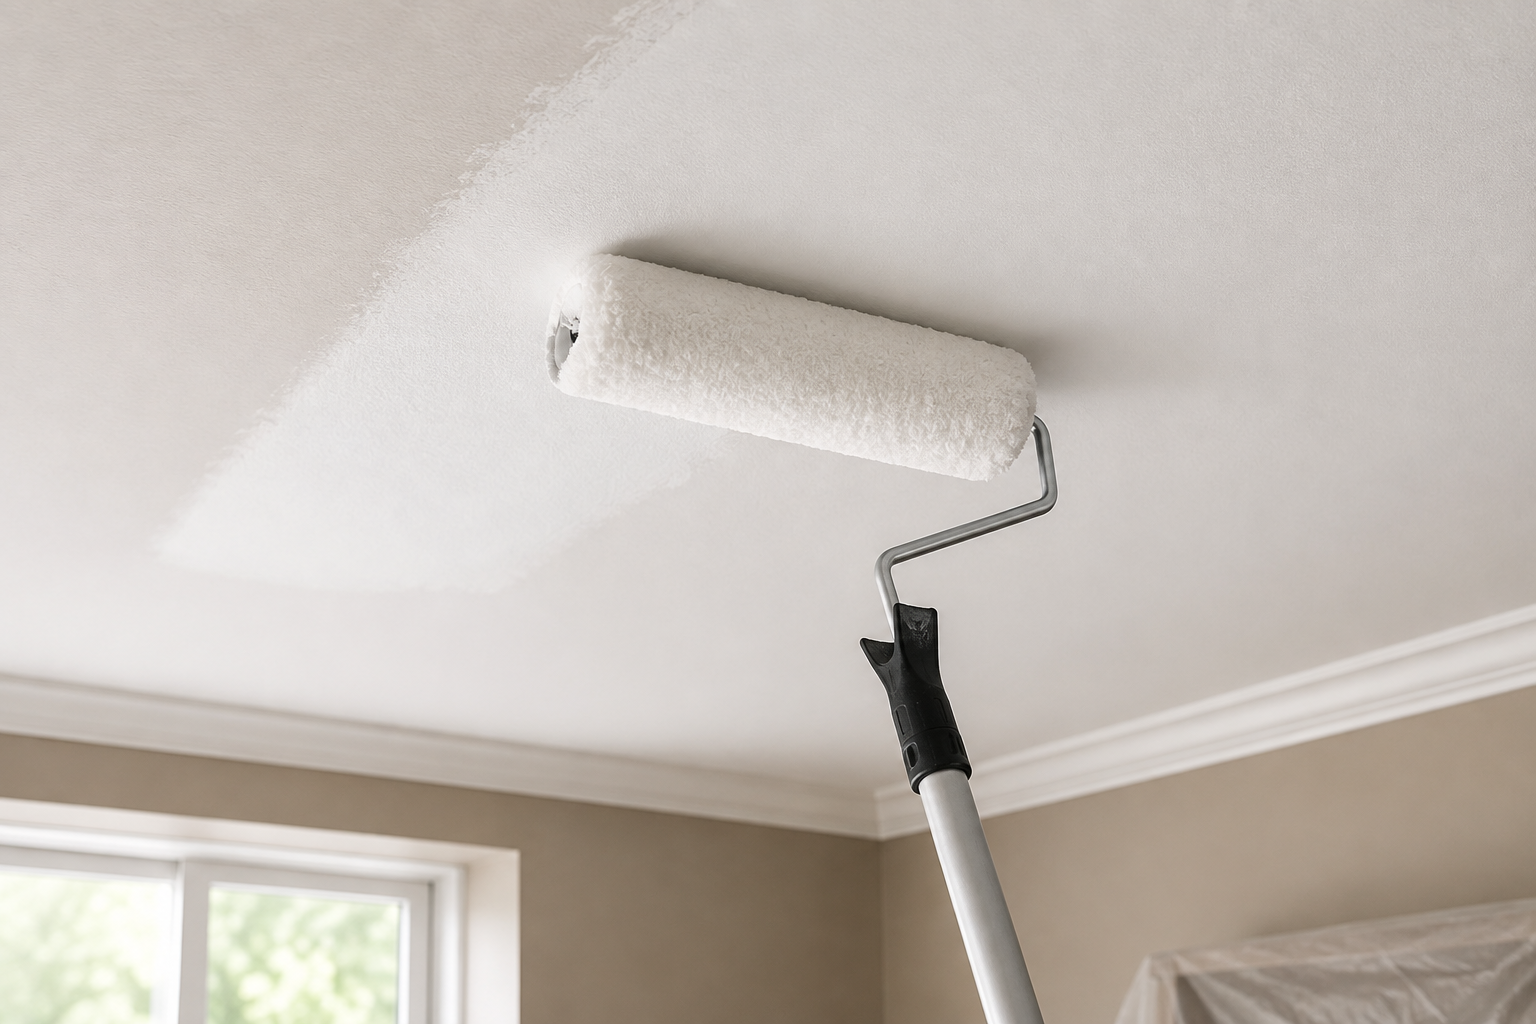
If you have ever stood in a paint aisle staring at a wall of roller covers, you already know the confusion. Every roller looks similar from a distance, but the small fuzzy layer wrapped around the sleeve — called the nap — makes a bigger difference than most people expect. This single detail decides whether your ceiling ends up smooth and even, or streaky and full of roller marks.
So, what nap roller for ceiling painting actually works best? For most homes, a 3/8-inch nap roller is the standard, do-it-all choice. It works well on flat drywall ceilings and mildly textured surfaces, giving a balanced finish without excessive stippling or wasted paint. However, the “best” nap size really depends on your ceiling’s texture, the type of paint you are using, and the finish you want to achieve.
This guide walks through everything you need to know — from what nap actually means, to how to match it with your ceiling type, roller material, and painting technique — so you can pick the right roller the first time and avoid a patchy, uneven paint job.
What Is “Nap” on a Paint Roller?
The nap is the fabric layer wrapped around a roller sleeve. It is the part that actually touches the surface and transfers paint. Nap thickness is usually measured in fractions of an inch — commonly ranging from 1/4 inch up to 1 inch or more.
Here is the simple rule to remember: the smoother the surface, the shorter the nap should be. The rougher or more textured the surface, the longer the nap needs to be so it can reach into all the grooves and dips without leaving bare patches.
Roller naps are typically made from one of the following materials:
- Synthetic fibers (polyester or nylon blends): The most common choice for latex and acrylic paints, which make up the majority of ceiling paints sold today.
- Wool or wool blends: Known for excellent paint pickup and a smooth finish, often preferred for oil-based paints, though pure wool can shed fibers if it is low quality.
- Microfiber: A newer option that holds a large amount of paint and releases it evenly, reducing the number of coats needed.
- Foam: Best suited for very smooth, glass-like finishes on doors or trim — not ideal for ceilings, which usually have some texture.
Understanding this material and thickness combination is the real answer behind the question of what nap roller for ceiling projects works best, because texture and material need to be matched together, not chosen separately.
Why Ceiling Surface Type Determines Nap Size?
Ceilings are not all the same, even though they might look similar at a glance. The surface texture underneath the paint is the single biggest factor in choosing the correct nap size.
Smooth ceilings are common in newer homes and freshly skimmed drywall. These surfaces need a shorter nap because there are no grooves or bumps to fill in — a thick nap would simply waste paint and create a bumpy, uneven texture where none existed before.
Textured ceilings, such as orange peel or knockdown finishes, have shallow ridges and dips. These need a medium nap that can settle into the texture without flattening it or leaving thin, patchy spots.
Popcorn or acoustic ceilings have a much deeper, bumpy texture. A short nap roller will skim right over the raised bumps and completely miss the recessed areas, leaving the ceiling looking blotchy. These surfaces need a thicker nap that can push paint down into every crevice.
Plaster ceilings, especially older or hand-troweled ones, often sit somewhere in between — usually calling for a medium nap depending on how rough the trowel marks are.
Best Nap Sizes for Ceilings (Breakdown by Surface)
Below is a simple breakdown to help you decide what nap roller for ceiling surfaces will give the best results based on texture type.
1/4-inch nap works best on very smooth, flat ceilings with no visible texture. It applies a thin, even coat and is often used for a final finish coat rather than the first coat, since it holds less paint.
3/8-inch nap is the most commonly recommended size and works for the vast majority of residential ceilings. It strikes a balance between coverage and smoothness, making it a safe default if you are unsure which nap to buy.
1/2-inch nap suits ceilings with light-to-medium texture, such as orange peel finishes or slightly uneven drywall seams. It holds more paint than a 3/8-inch roller, which helps in one-coat coverage situations.
3/4-inch to 1-inch nap is designed for heavily textured surfaces, including popcorn ceilings, stucco-style finishes, or rough plaster. These thicker naps carry significantly more paint and can work it into deep grooves, though they use more paint overall and can create more spatter if rolled too quickly.
Nap Size Comparison Table
| Surface Type | Recommended Nap Size | Finish Quality | Paint Usage |
|---|---|---|---|
| Smooth drywall ceiling | 1/4″ – 3/8″ | Very smooth, minimal texture | Low to moderate |
| Lightly textured ceiling (orange peel) | 3/8″ – 1/2″ | Even, slight texture retained | Moderate |
| Medium textured / plaster ceiling | 1/2″ | Balanced texture and coverage | Moderate to high |
| Popcorn / acoustic ceiling | 3/4″ – 1″ | Full texture coverage, less smooth | High |
| Heavily textured stucco-style ceiling | 1″ or thicker | Textured, deep coverage | High |
This table is a useful quick-reference guide, but always inspect your actual ceiling up close before deciding, since texture can vary even within the same room.
Nap Material Types Explained
Beyond thickness, the material of the roller cover affects the final look just as much. A woven roller cover is made by weaving fibers together, which makes it more durable and better at holding paint for thicker, textured applications. A knit roller cover is made by knitting fibers into a looped pattern, and it tends to release paint more smoothly, making it a popular choice for finish coats on ceilings.
Synthetic blends made from polyester and nylon are the go-to option for latex and acrylic paints, which dominate ceiling paint products because of their quick drying time and easy cleanup. Natural wool rollers are typically reserved for oil-based paints and primers, since wool fibers handle oil-based formulas without breaking down as quickly as synthetic ones.
Foam rollers are generally not recommended for ceilings. While they create an ultra-smooth finish ideal for cabinets or doors, they do not hold enough paint volume for large ceiling surfaces and can lead to visible lap marks over such a wide area.
How Nap Size Affects Paint Finish?
The thickness of the nap directly changes how the final paint job looks and feels. Thicker naps create more of a stippled, orange-peel-like texture on the surface, because they physically press more paint into small peaks and valleys as you roll. Thinner naps produce a flatter, smoother appearance, which is why they are often reserved for surfaces without much texture to begin with.
Nap size also affects how much paint each roller can hold, which in turn determines how many times you need to reload the roller and how many coats are needed for full, even coverage. A thicker nap holds more paint and can sometimes achieve solid coverage in fewer coats, but this comes with a higher risk of drips, spatter, or an overly heavy texture if you are not careful with your rolling speed and pressure.
Roller Frame & Handle Considerations
Choosing the right nap is only part of the equation — the roller frame and handle also affect how easy the job is. Standard roller cages typically fit 9-inch roller covers, which work well for most residential ceilings. For larger, open ceiling areas, an 18-inch roller can dramatically cut down painting time, though it requires more arm strength and a steady technique to avoid uneven pressure.
Since ceilings are overhead, an extension pole is almost always necessary for a comfortable, even application without straining your arms or standing on a ladder the entire time. Make sure the roller frame you choose is threaded to accept a standard extension pole, as not all inexpensive frames include this feature.
Step-by-Step: Choosing the Right Roller for Your Ceiling
Step 1: Assess your ceiling texture. Run your hand across the surface or look at it under angled light to see how much texture is really there.
Step 2: Match the nap size to that texture. Use the comparison table above as your starting reference point.
Step 3: Match the roller material to your paint type. Choose synthetic blends for latex or acrylic ceiling paint, and wool for oil-based products.
Step 4: Test on a small, inconspicuous area first. This helps confirm the nap size gives you the coverage and texture you want before committing to the whole ceiling.
Step 5: Set up your frame and extension pole. Confirm everything is compatible and comfortable to use before you begin the full project.
Common Mistakes to Avoid
One of the most frequent mistakes is using too thin a nap on a heavily textured ceiling, which leaves the recessed areas unpainted and creates a patchy, inconsistent appearance once the paint dries. The opposite mistake — using too thick a nap on a smooth ceiling — can add unwanted texture and waste paint that simply drips or splatters instead of being absorbed by the surface.
Another common issue is ignoring paint-to-material compatibility, such as using a wool roller with a water-based latex paint, which can cause the fibers to react poorly and shed into the wet paint. Finally, many people reuse old, worn-out rollers that have lost their shape or become matted down, which no longer distribute paint evenly regardless of the original nap size.
Pro Tips for a Flawless Ceiling Finish
Cutting in the edges of the ceiling with a brush before rolling helps you achieve clean, crisp lines where the ceiling meets the walls. When rolling, using a “W” or “M” pattern helps distribute paint evenly before smoothing it out, rather than rolling in straight lines that can create visible lap marks.
Working in small, manageable sections — roughly a 3-foot by 3-foot area at a time — helps you maintain a wet edge, which prevents visible seams between sections once the paint dries. It also helps to maintain consistent pressure and speed throughout, since rolling too fast can cause spatter, while rolling too slowly can lead to uneven paint buildup.
Frequently Asked Questions (FAQ)
What nap roller is best for popcorn ceilings? A 3/4-inch to 1-inch nap roller is generally best for popcorn ceilings, since the thicker nap can reach into the deep bumps and grooves that a shorter nap would miss.
Can I use the same roller for walls and ceilings? Yes, as long as the nap size matches the texture of both surfaces. However, many painters prefer separate rollers to avoid cross-contamination of paint colors and to keep each roller in better condition for its specific surface.
Does nap size affect paint drying time? Indirectly, yes. Thicker naps apply more paint per pass, which can mean a thicker wet film that takes slightly longer to dry compared to a thinner, more even coat from a shorter nap roller.
How often should I replace a ceiling roller? A roller cover should generally be replaced once it becomes matted, loses its shape, or starts shedding fibers into the paint — often after one or two large projects, depending on quality and care.
Conclusion
So, what nap roller for ceiling painting should you actually buy? For most standard drywall ceilings, a 3/8-inch nap roller remains the safest, most versatile choice. If your ceiling has more texture — like popcorn, stucco, or heavy plaster — sizing up to a 1/2-inch, 3/4-inch, or even 1-inch nap will give you far better, more even coverage.
Rather than guessing, take a moment to actually look at and feel your ceiling’s texture before heading to the store. Matching the nap size and roller material to your specific surface is the real secret to a smooth, professional-looking ceiling finish — no expensive tools or special skills required, just the right roller for the job.
Related Articles
Small Black Bugs in Bathroom: What They Are and How to Get Rid of Them
What Is the Minimum Pitch for a Metal Roof?
What Are Kitchen Sponges Made Of? A Clear Look at Every Type