



Introduction
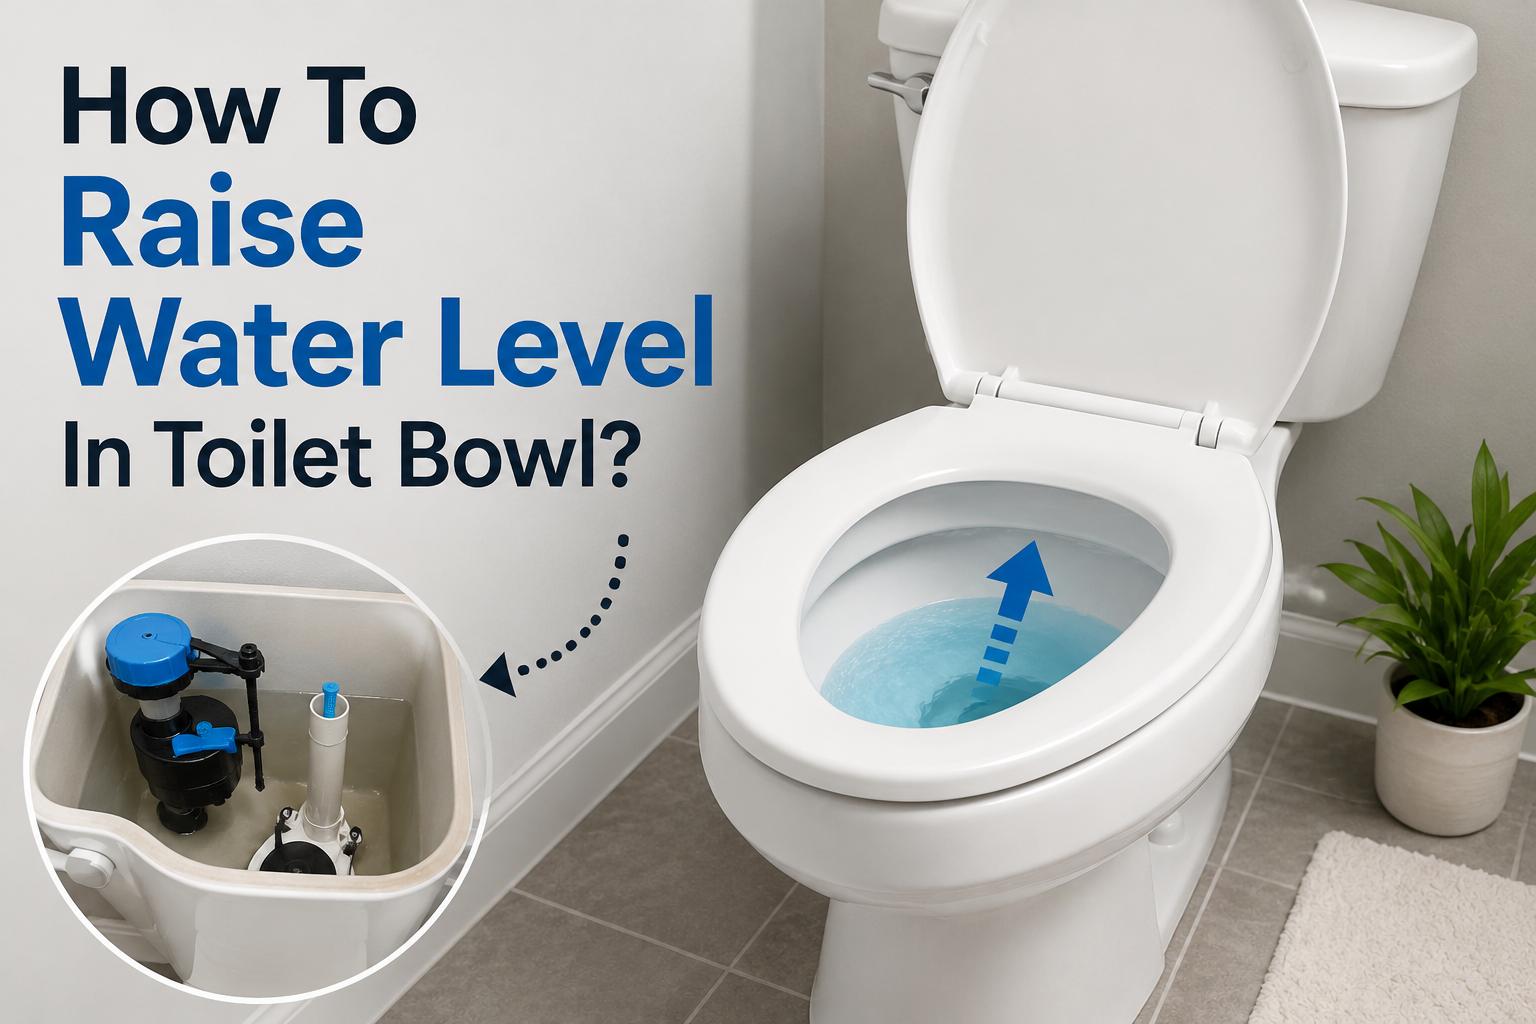
A toilet that suddenly shows less water than usual in the bowl is one of the most common household plumbing complaints, and most people search for “how to raise water level in toilet bowl” the moment they notice it. This drop in water level is not just an appearance issue. It can affect flushing power, cause bad odors from the drain line, and sometimes hints at a deeper plumbing problem that needs attention before it grows worse.
The good news is that in most cases, this is a simple fix that a homeowner can handle without calling a plumber. The water level inside the bowl is controlled by a mix of tank components and the internal shape of the toilet itself, so once you understand how these parts work together, adjusting the level becomes a quick task rather than a mystery.
In this guide, we will walk through every possible cause of low bowl water, show you how to fix the issue step by step, and explain when the problem is serious enough to need professional help.
Understanding How A Toilet Works
Before attempting any repair, it helps to understand the basic anatomy of a toilet. Two separate systems affect water level: the tank system and the bowl system. Learning how they connect makes it much easier to diagnose the real cause of low water.
Toilet Tank Components
The tank sitting behind the bowl holds the water supply used for flushing. Inside, you will typically find:
| Component | Function |
|---|---|
| Fill valve | Controls how much water enters the tank after a flush |
| Float (ball or cup) | Signals the fill valve to stop once water reaches the set level |
| Flapper | Opens to release tank water into the bowl during a flush |
| Overflow tube | Prevents the tank from overfilling by draining excess water into the bowl |
Toilet Bowl Components
The bowl itself has its own set of hidden parts that directly affect how much water sits inside it:
| Component | Function |
|---|---|
| Trap | The curved pipe at the base that holds standing water and blocks sewer gas |
| Siphon jet | The main opening that pushes water through during a flush |
| Rim holes | Small holes under the rim that release water around the bowl |
How Tank Water Level Relates To Bowl Water Level
Many people assume that bowl water level is only about the tank, but that is only half the picture. The tank fills the bowl to a certain point after each flush, and the trap holds a portion of that water permanently as a seal against sewer gases. If the tank is not filling enough, the bowl will receive less water. But if the tank is filling normally and the bowl still looks low, the problem is likely inside the bowl or the drain line itself, not the tank.
Common Causes Of Low Water Level In The Bowl
Figuring out why your toilet is losing water is the first real step toward fixing it. Below are the most frequent causes, ranked from simplest to more serious.
- Low water level in the tank – The float is set too low, so the fill valve shuts off before enough water reaches the bowl.
- Clogged rim jets or siphon jet – Mineral buildup or debris blocks the holes that release water into the bowl.
- Partial clog in the trap or drain line – A partial blockage lets water slowly drain out, leaving less standing water behind.
- Cracked or damaged toilet bowl – A hairline crack in the porcelain can let water leak out slowly, often unnoticed until the level visibly drops.
- Vent stack issues – The plumbing vent on the roof allows air to flow through the pipes; if it’s blocked, it can create suction that pulls water out of the trap.
- Older low-flow toilet design – Some models are simply designed with a smaller water surface, which can feel like “low water” even though it’s normal for that toilet.
Understanding which of these applies to your bathroom will save you time and prevent unnecessary repairs.
Tools And Materials Needed
You do not need a professional toolbox to fix most causes of low bowl water. Gather the following before you begin:
Basic tools:
- Flashlight
- Rubber gloves
- Adjustable wrench
- A bucket
Optional tools (for deeper cleaning or troubleshooting):
- Toilet auger
- A bent wire hanger
- White vinegar
- A small hand mirror (for checking rim jets)
Having these ready before you start means fewer interruptions once you begin working on the tank or bowl.
Step-By-Step: Adjusting The Tank Float
If your tank water looks low along with the bowl, adjusting the float is usually the fastest solution. This is the classic method most people use when researching how to raise water level in toilet bowl issues, and it takes only a few minutes.
Turning Off The Water Supply
Locate the shutoff valve behind or beside the toilet and turn it clockwise to stop water flow. This prevents unwanted spraying once you start adjusting parts inside the tank.
Removing The Tank Lid Safely
Lift the tank lid straight up with both hands and set it aside on a towel, since porcelain lids can chip easily if placed on a hard surface.
Identifying Float Type
Look inside the tank to see which type of float your toilet uses:
- Ball float – A round ball attached to a metal rod, commonly found in older toilets.
- Float cup – A cup-shaped float that slides up and down a vertical rod, common in newer fill valve designs such as Fluidmaster models.
Adjusting A Ball Float
For a ball float system, gently bend the metal rod upward to raise the water level, or turn the adjustment screw near the fill valve clockwise. Small adjustments go a long way, so move slowly and recheck after each change.
Adjusting A Float Cup
For a float cup system, squeeze the clip on the side of the float and slide it upward along the rod. Some models instead use a screw on top of the fill valve that you turn clockwise to raise the level.
Setting The Correct Water Line
Most tanks have a marked waterline on the inside wall, or you can use the general rule of keeping the water about one inch below the top of the overflow tube. Setting it too high can cause constant running water, so aim for just below this mark.
Testing With A Flush
After adjusting, flush the toilet and watch how the tank refills. Check whether the bowl water level has improved. If not, repeat the adjustment in small increments until it looks right.
Step-By-Step: Fixing Low Bowl Water (Not Tank-Related)
If the tank water level looks normal but the bowl is still low, the issue is likely inside the bowl or drain system rather than the tank.
Checking For Clogs In Rim Jets
Use a flashlight and mirror to inspect the small holes under the rim of the bowl. Mineral deposits often build up here over time, especially in areas with hard water.
Cleaning Rim Jets With A Wire Hanger Or Vinegar
Straighten a wire hanger and gently poke into each rim hole to clear blockages. Alternatively, pour white vinegar into the overflow tube and let it sit for a few hours, since the acidity helps dissolve mineral buildup naturally.
Testing The Siphon Jet Function
The siphon jet is the main opening at the bottom front of the bowl. If it’s blocked, flushing power weakens noticeably. Check for visible debris or mineral crust and clean carefully with a small brush.
Pouring A Bucket Test To Check Bowl Water Retention
Pour a bucket of water into the bowl and observe what happens. If the water level rises briefly then drops back down within a few minutes, this points toward a partial clog or a venting issue rather than a tank problem.
When To Suspect A Crack In The Bowl
If water keeps disappearing slowly even after clearing clogs, examine the bowl’s exterior and base for hairline cracks. A cracked bowl usually needs full replacement rather than a patch repair, since porcelain cracks tend to worsen with use.
When To Suspect A Vent Stack Blockage
If multiple fixtures in your home show slow drains or gurgling sounds along with low toilet water, the roof vent stack may be blocked by leaves, debris, or even a bird’s nest. This affects air pressure in the pipes and can pull water out of the trap.
When To Replace The Fill Valve
Sometimes adjusting the float isn’t enough, and the fill valve itself needs replacing.
Signs of a faulty fill valve include:
- Water level won’t rise no matter how the float is adjusted
- Constant running or hissing sounds from the tank
- Visible cracks or wear on the valve body
Replacing a fill valve is a moderately easy task: shut off the water, drain the tank, disconnect the old valve, and install a new one following the manufacturer’s instructions. Most replacement valves cost a small amount and can be installed within thirty minutes with basic tools.
Preventive Maintenance Tips
Preventing future problems is easier than fixing them repeatedly. Keep your toilet running smoothly with these habits:
- Clean the bowl and rim jets regularly using a mild cleaner instead of harsh chemicals that can corrode internal parts
- Avoid drop-in bleach tablets, since they can damage the flapper and fill valve over time
- Check the float position every few months to catch small drifts early
- Watch for slow leaks by placing a few drops of food coloring in the tank and checking if color appears in the bowl without flushing
When To Call A Professional Plumber
While most causes of low bowl water can be fixed at home, certain signs mean it’s time to bring in an expert:
- Water level keeps dropping even after clearing clogs and adjusting the float
- You notice sewer gas smell, which may indicate a vent stack or trap issue
- Cracks are visible on the bowl or tank
- Multiple bathroom fixtures show drainage problems at the same time
A licensed plumber can diagnose deeper venting or sewer line issues that go beyond simple DIY fixes, and addressing these early can prevent costly damage later.
Frequently Asked Questions (FAQ)
Why does my toilet bowl water level keep dropping? This usually points to a partial clog, a blocked vent stack, evaporation in low-use bathrooms, or a hairline crack in the bowl or trap.
Is low water level a sign of a bigger problem? Not always. Sometimes it’s a simple float adjustment, but if it happens repeatedly or comes with gurgling sounds, it may signal a venting or drain line issue.
Can I use vinegar to fix a low water level? Vinegar works well for dissolving mineral buildup in rim jets and siphon jets, which can indirectly help restore normal water levels, though it won’t fix mechanical issues like a faulty float or fill valve.
How often should I check my toilet’s water level? A quick visual check every couple of months is enough for most households, though homes with hard water may need more frequent cleaning of the rim jets.
Conclusion
Learning how to raise water level in toilet bowl issues doesn’t have to be complicated. In most cases, the fix comes down to adjusting the tank float, clearing out mineral buildup in the rim jets, or checking for a partial clog in the trap. Working through the steps in order, from the simplest float adjustment to checking for cracks or vent blockages, will help you identify the exact cause without guesswork.
If you’ve tried these steps and the water level still won’t stay where it should, it’s a reasonable time to call a licensed plumber, especially if you notice sewer smells or slow drains throughout the house. But for the vast majority of cases, a little patience and the right approach will have your toilet working normally again.
Related Articles
Are Toilet Seats Universal? Complete Sizing, Fitting & Buying Guide
Why Is My Toilet Bubbling? Causes, Fixes & When to Call a Plumber
How Much Do Kitchen Cabinets Cost in 2026? Complete Pricing Guide
Is Ceiling Ghosting Dangerous? What Those Dark Streaks Actually Mean