


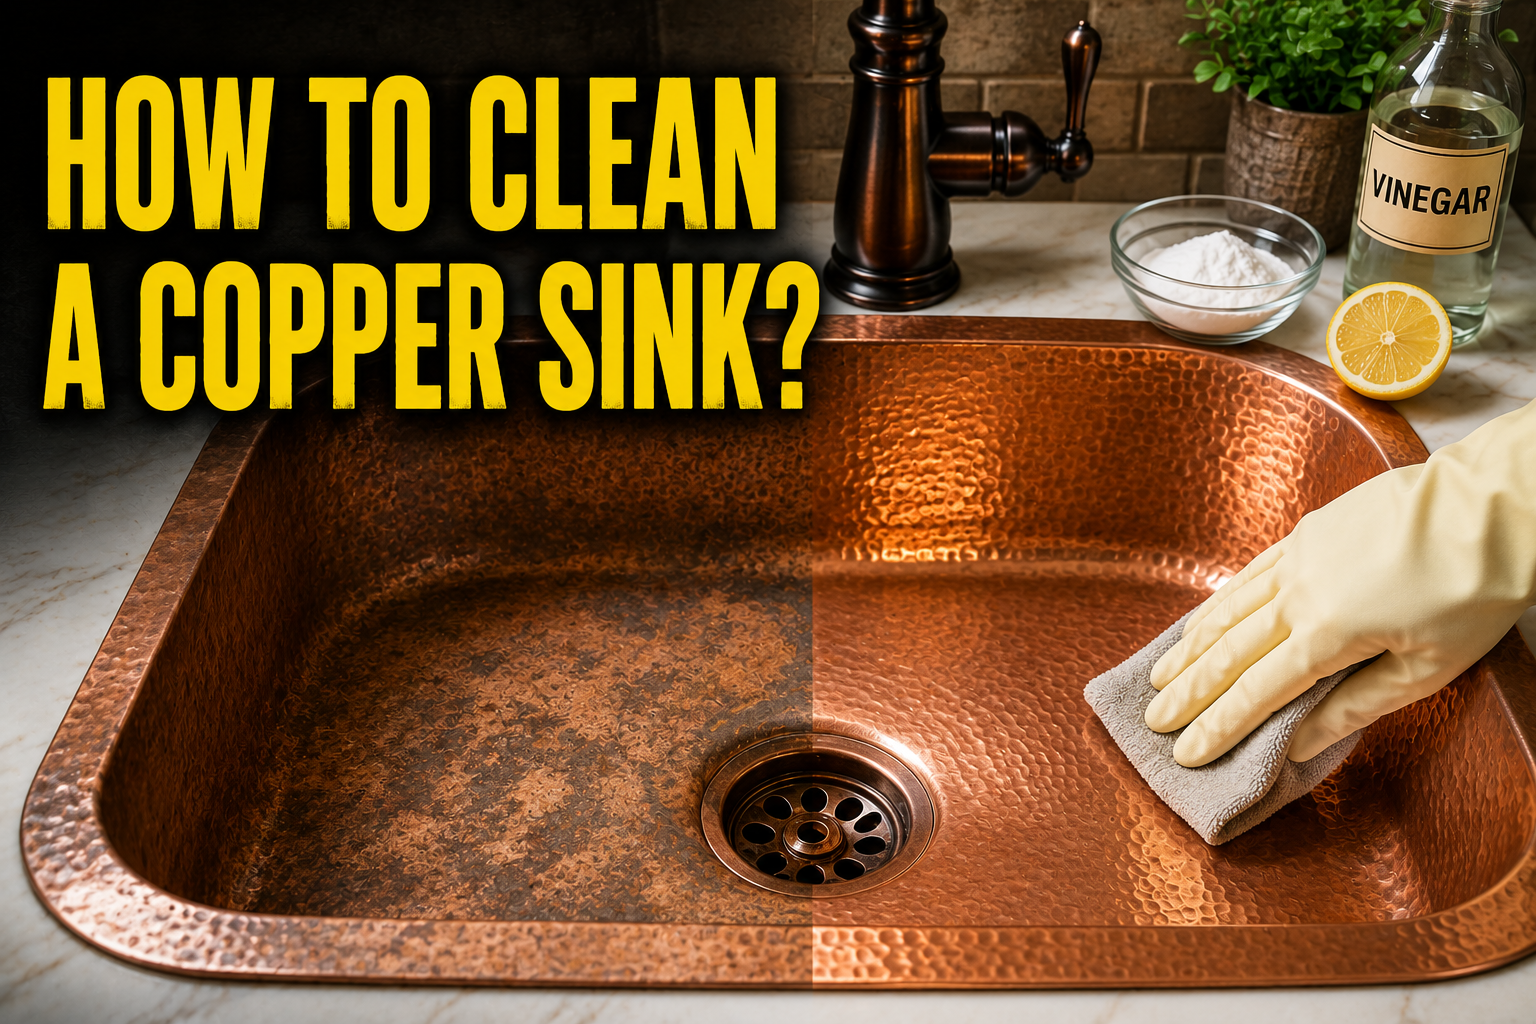
To clean a copper sink, wash it with warm water and a few drops of mild dish soap, wipe it with a soft cloth or sponge, rinse, and dry it right away. That’s the whole routine for daily care. The one rule that matters most: skip harsh chemicals, abrasive scrubbers, and anything acidic left sitting on the surface, because those are what actually harm copper. Do that, and your sink stays beautiful for decades.
The catch with copper is that it’s a living metal, so how you clean it depends on the look you want. This guide covers the simple daily routine, then splits into keeping the natural aged look or bringing back a bright shine, and it walks through green spots and water marks along the way.
First, understand copper’s living finish
Copper has what’s called a living finish, which means its color keeps changing over time. A new sink starts bright and pinkish, then deepens into warm browns and, eventually, darker tones. This natural darkening is the patina, and it isn’t dirt or damage. It’s a thin protective layer that forms as copper reacts with air, water, and everyday use. Copper is also naturally antibacterial, and the patina adds to that protection.
This matters for cleaning because the patina is exactly what harsh cleaners strip away. Acidic things like lemon, vinegar, and ketchup will cut through it and leave bright, mismatched patches. Sometimes you want that, and sometimes you don’t. Knowing the difference is the whole game with a copper sink.
Everyday cleaning: the only routine most sinks need
For day-to-day care, keep it simple. This gentle routine works for any copper sink and won’t disturb the finish:
- Rinse the sink after each use to wash away food, juice, and soap before they sit on the surface.
- Once a day, or whenever it looks like it needs it, wash the sink with warm water and a small amount of mild dish soap. Unscented soap is ideal.
- Wipe gently with a soft cloth, microfiber, or non-abrasive sponge. Don’t scrub hard.
- Rinse thoroughly with warm water.
- Dry the whole sink with a soft, dry cloth, including the drain and any fixtures where water likes to pool.
That last step is the one people skip and later regret. Drying after use is the single best thing you can do for a copper sink, because it stops water spots and mineral marks before they start. It also helps to avoid leaving a wet sponge sitting in the basin, since trapped water and bacteria underneath can cause spotting.
Decide first: keep the patina or restore the shine
Before you do any deeper cleaning, decide what you actually want. This choice changes your whole approach.
- Keep the patina: You like the warm, aged copper look. Your goal is to clean gently and let the finish keep evolving. Most owners land here, and it’s the lower-maintenance path.
- Restore the shine: You want that bright, reflective, penny-new copper. This is a real look too, but it takes more upkeep, because the shine fades as copper naturally darkens again.
There’s no wrong answer. Just know that the two goals pull in opposite directions, so mixing methods is how sinks end up looking blotchy.
How to clean copper while protecting the patina
If you want to keep the aged look, the everyday routine above is almost everything you need. For a slightly deeper clean without stripping the finish, do this:
- Wet the sink and apply a little mild dish soap to a soft cloth or non-abrasive sponge.
- Wipe the whole basin in gentle, even strokes. Let the soap do the work instead of scrubbing.
- For a stubborn spot, make a soft paste of baking soda and water, and rub it lightly with a soft cloth. Baking soda is mild enough not to scratch or strip when used gently.
- Rinse well with warm water and dry completely.
Keep any acidic cleaners far away from this method. The point is to clean the surface while leaving the protective patina in place, so the color stays even and continues to deepen naturally.
How to restore a bright copper shine
If you prefer the polished, reflective look, you’ll be removing some patina to expose the brighter copper underneath. A few approaches work:
- A dedicated copper polish or cream cleaner made for sinks is the safest bet. Low-abrasive copper creams are formulated to shine without gouging the metal. Follow the product’s directions and buff with a soft cloth.
- Cut lemon dipped in coarse salt is the classic home method. Rub it over the copper, and the mild acid plus gentle grit brings up a shine fast. Rinse thoroughly and dry the moment you’re done, because leaving acid on the surface keeps eating the finish.
- Ketchup works for the same reason, thanks to its mild acids, but treat it as a rescue move for stubborn tarnish, not a weekly habit. Spread a thin layer over the trouble spot only, leave it 10 to 15 minutes, then rinse, wash with soap, and dry.
Whichever you use, understand the trade-off: the shine won’t last. Copper starts darkening again right away, so a polished sink needs regular touch-ups to stay bright. If patchiness appears, it usually means the acid hit some areas more than others, and the fix is to even it out and then let it settle.
For a manufacturer’s take on gentle care and protecting the living finish, Sinkology’s copper sink care guide is a useful reference, and Home Depot has a broader guide to cleaning copper that covers polishing methods in more detail.
How to handle green spots (verdigris)
Green or blue-green spots on copper are called verdigris. They look alarming, but they’re a natural form of oxidation and they don’t harm the metal. Verdigris usually shows up where water pools or soap residue lingers, often near the drain and fixtures, and it’s more common in humid spots or near salt air.
The good news is that early verdigris wipes right off. In most cases, soap and water and a soft cloth remove it. For a spot that resists, you can rub it gently with your fingernail or a soft-bristled brush, which is handy on hammered sinks with lots of texture. The real cure is prevention: wiping the sink dry after use keeps water from sitting long enough to form green spots in the first place.
How to remove hard-water spots
Hard water and copper don’t get along. The minerals in the water cling to the surface and leave chalky white spots, rings, and streaks that make a clean sink still look dirty. Left alone, they build up over time.
Drying after every use is the fix that actually works, because the spots form as water evaporates and leaves its minerals behind. If chalky buildup has already set in, a gentle wash followed by a thorough dry usually lifts it. For extra protection in a hard-water home, a copper-safe wax helps water bead up and roll off instead of clinging and drying on the surface.
What to avoid (this is the important part)
Cleaning a copper sink is easy. The main way people ruin one is by reaching for the wrong product. Keep these off your copper:
- Harsh chemicals like bleach, ammonia, and drain cleaners. These strip the patina and can cause permanent, uneven discoloration.
- Abrasive scrubbers, steel wool, and scouring pads. They leave scratches and wear the finish unevenly.
- Acidic foods and cleaners left sitting. Lemon, vinegar, tomato, and ketchup all eat the patina if left on, so if you use them on purpose, rinse and dry quickly.
- Random metal polishes or furniture waxes not rated for copper sinks. These are the mystery products that strip a finish instead of protecting it.
One more note on scratches: on copper, minor scratches tend to blend into the patina over time and become nearly invisible on their own, so there’s rarely a need to attack them aggressively.
Seal it with wax for lasting protection
A thin coat of wax is the finishing touch that keeps a clean copper sink looking good longer. A copper-safe or beeswax-based wax made for sinks forms a barrier that makes water bead up, which cuts down on spots and mineral marks. Apply it to a clean, dry sink roughly once a month, or whenever water stops beading on the surface, and buff gently with a soft cloth.
One thing to know: wax slows the patina from developing, and it can dull copper’s natural antibacterial edge slightly. If you’re chasing an even, consistent aged look, skip wax on freshly shiny areas so the patina can return and blend in. Use it mainly to protect and hold the look you already have.
The bottom line
Cleaning a copper sink is simpler than its reputation suggests. Rinse after use, wash with mild soap and warm water, and dry it every time, and you’ve handled 90 percent of the job. Decide whether you’re keeping the patina or chasing the shine, and match your deeper cleaning to that choice. Steer clear of harsh chemicals and abrasive pads, wipe away green and white spots as they appear, and add a little wax now and then. Treat it with that light touch and a copper sink can genuinely last a lifetime, looking better with age rather than worse.
Frequently asked questions
Can I use vinegar to clean a copper sink?
You can, but be careful. Vinegar is acidic, so it strips the patina and brings up a shine. That’s fine if you want a polished look and you rinse and dry right after. For everyday cleaning that protects the aged finish, stick to mild soap and water instead.
Why is my copper sink turning green?
Those green spots are verdigris, a natural form of copper oxidation. They’re not harmful and usually appear where water or soap sits too long. Wipe them off with soap and water, and dry the sink after use to keep them from coming back.
Should I let my copper sink patina or keep it shiny?
It’s purely personal taste. The patina look is lower maintenance, since you just clean gently and let copper do its thing. The shiny look takes regular polishing because copper naturally darkens again over time. Neither harms the sink.
How do I get rid of water spots on a copper sink?
Dry the sink after every use, since spots form as water evaporates and leaves minerals behind. For buildup that’s already there, wash gently and dry thoroughly. A copper-safe wax helps water bead off and prevents future spotting.
Are scratches on a copper sink a problem?
Not really. Minor scratches blend into the patina over time and become hard to see. If one bothers you, buff it gently with a soft cloth and let the finish work its way back in.
Related Articles
How to Remove Sewer Smell from Bathroom: Complete DIY & Expert Guide
How to Measure a Toilet? A Complete Step-by-Step Guide