


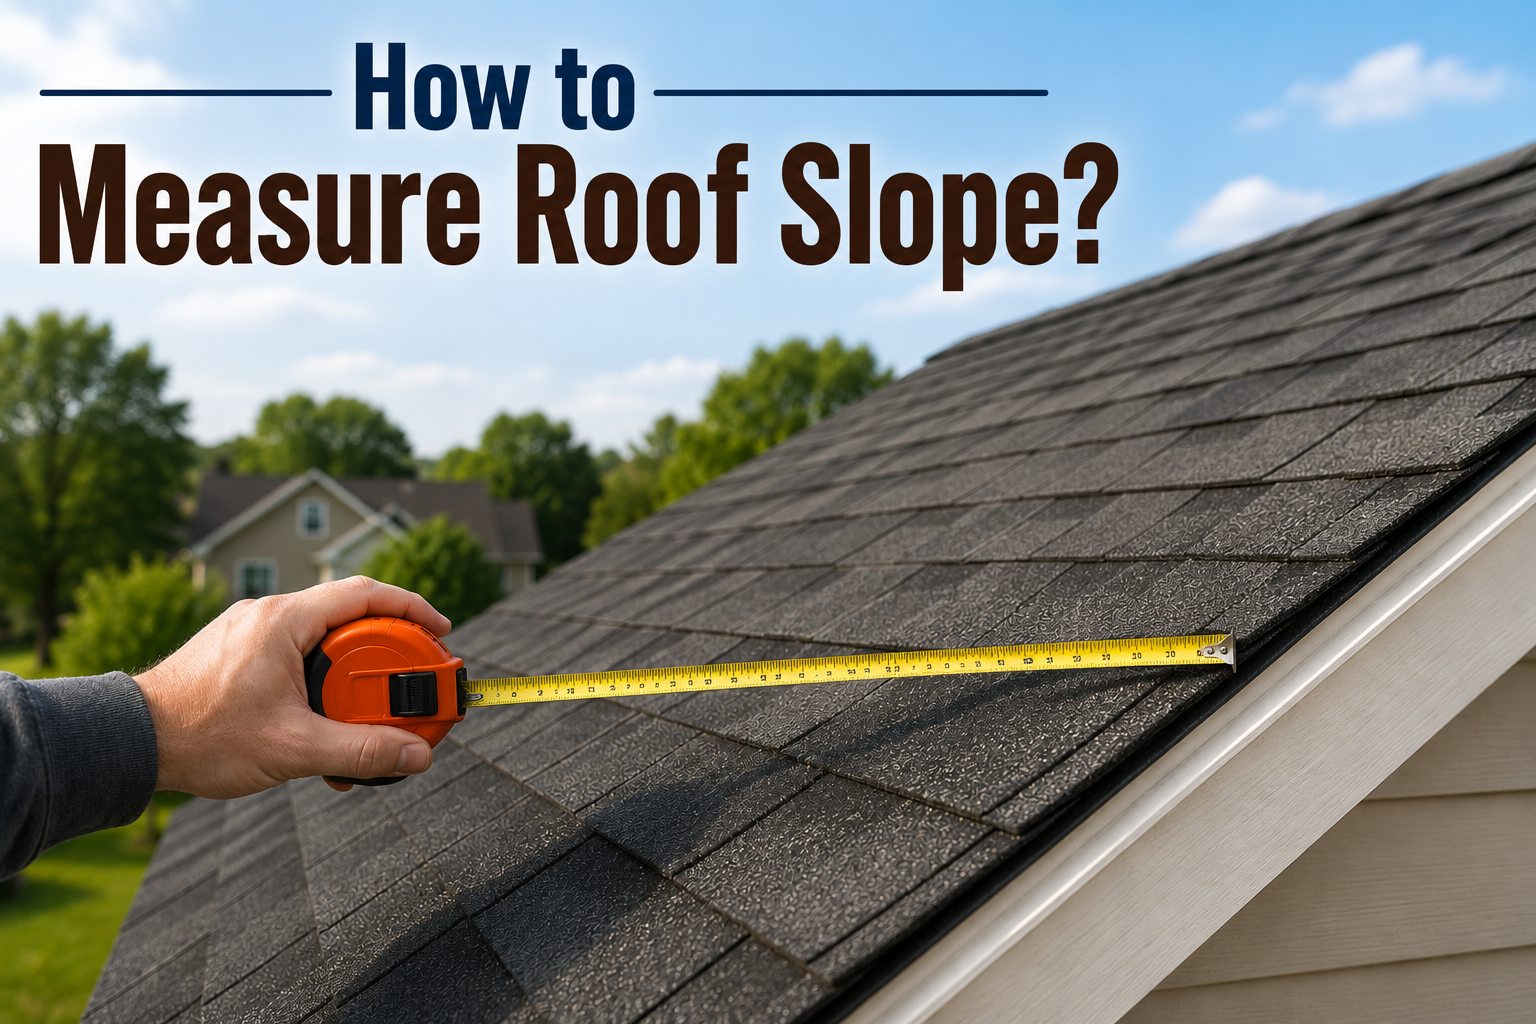
To measure roof slope, you find the rise over a 12-inch run. Hold a level horizontally against a roof rafter or the roof surface, mark the point 12 inches out, and measure straight up from that mark to the surface. The number of inches you measure is your slope, written as that number to 12, like 6:12. That is the whole idea. The steps below show you how to do it safely, whether you can get on the roof or not, and how to turn your result into degrees.
What roof slope actually means
Roof slope is the ratio of how far the roof rises vertically for every 12 inches it travels horizontally. That horizontal distance is called the run, and it is always held at 12 inches, so the only number that changes is the rise. A roof that goes up 6 inches for every 12 inches across has a 6:12 slope. One that rises 4 inches over that same foot is a 4:12.
You will hear the words slope and pitch used for this, often interchangeably. In everyday roofing they usually mean the same thing: rise over run. Slope is the more precise term for the inches-per-foot ratio, and it is the one contractors and material suppliers rely on. Knowing your slope tells you what roofing materials you can use, how well the roof sheds water and snow, and how much material a job will need.
It is worth understanding why the run is fixed at 12 inches. Roofers standardize on that number so any two roofs can be compared at a glance: a 3:12 is clearly gentler than a 9:12 without doing any math. It also matches the rafter squares and speed squares carpenters already carry, which are numbered 1 through 12 for exactly this reason. The rise is the only figure you actually measure; the 12-inch run is built into the tool and the convention.
The steepness you measure has real consequences. A steeper slope sheds water and snow faster, which is why homes in snowy regions tend to have higher slopes, while a low slope holds water longer and needs a more watertight surface to stay leak-free. Slope also decides the true surface area of the roof, which is larger than the footprint below it, so an accurate reading is what keeps a material order from falling short.
What you need
You do not need special gear. A basic kit covers every method:
- A level, ideally a 12-inch or 24-inch one, so you have a clear 12-inch reference.
- A tape measure or ruler marked in inches.
- A pencil to mark the 12-inch point on the level.
- Optionally, a speed square or a phone with a free inclinometer (level) app for a quick degree reading.
That is it. The level and the tape measure do almost all the work. The key with any level is to keep the bubble centered, because if the level is not truly horizontal, every measurement that follows will be off.
Method 1: Measure from the attic (safest)
This is the method to try first, because it keeps you off the roof entirely. You are measuring a rafter, the angled beam that forms the roof’s slope, from inside the attic. It is safer, it works in any weather, and it is often more accurate, since you are reading the bare rafter rather than the shingles on top.
- Go into the attic and find a rafter with clear access.
- Hold your level horizontally against the underside of the rafter, with one end touching the wood.
- Center the bubble so the level is truly horizontal.
- Measure 12 inches along the level from where it touches the rafter, and mark that point.
- From that 12-inch mark, measure straight up to the underside of the rafter. That vertical distance in inches is your rise.
If you measure 7 inches, your slope is 7:12. Because you are reading the rafter itself, the thickness of the sheathing and shingles never enters the picture, which is why this method gives such a clean number.
Take the reading on a straight section of rafter, not at a sag, a joint, or the very ends. Always measure at the same kind of point if you check more than one rafter, so your numbers are consistent.
Method 2: Measure on the roof surface
If you cannot get into the attic, you can take the same reading on the roof itself, as long as you can do it safely. Roofs are slippery and dangerous, so use proper footing and fall protection, and if there is any doubt, stay off and use another method or call a professional.
The technique mirrors the attic method. Hold the level horizontally against the roof, with one end touching the surface. Center the bubble, mark 12 inches out along the level, then measure straight up from that mark to the roof. The rise you read is your slope over 12. A rise of 5 inches means a 5:12 slope.
A speed square makes this even quicker on the surface: rest it against the roof, hold your level across it, and read the angle straight off the square’s degree scale. For more on how slope affects which materials a roof can carry, the home inspectors’ association InterNACHI’s roof slope reference is a helpful primer.
One thing to keep in mind: measuring on top of old, curled shingles adds a little thickness and can nudge your reading off. When precision matters, the attic rafter gives a truer number.
Method 3: Estimate from the ground
If you just want a rough idea and cannot safely reach the roof or the attic, you can estimate the slope with a little geometry. This is the least exact method, so do not use it to order materials, but it is fine for a ballpark.
For a simple gable roof, the run is half the width of the building. Measure or estimate how high the ridge (the peak) sits above the base of the roof to get the total rise. Then divide the rise by the run and multiply by 12 to get your slope as a number to 12. For example, if the roof rises 4 feet over a run of 12 feet, that is 4 divided by 12, times 12, which comes out to a 4:12 slope.
A phone inclinometer app can also give a quick degree reading if you hold the phone against a gable edge, but ground-level app readings carry about a degree of error, which is enough to matter when you convert back to a slope. Treat these as estimates, not final numbers.
The reason the ground method is only a rough guide is that both of its inputs are hard to pin down from below. Judging the ridge height by eye is difficult, and the run for anything more complicated than a plain gable is not simply half the building’s width. Add in gutters, overhangs, and the angle you are sighting from, and small errors stack up quickly. Use this method to settle a curiosity or to sanity-check a number, then confirm with the attic or roof-surface method before you spend money on it.
Convert your slope to degrees
Slope in the X:12 form is the roofing standard, but sometimes you need the angle in degrees, for saw cuts, solar mounts, or a permit. The math is simple: the angle equals the arctangent of the rise divided by 12. In plain terms, a 6:12 slope works out to about 26.6 degrees.
Here are the most common slopes and their degree equivalents:
| Pitch (rise:12) | Angle in degrees | Category |
| 2:12 | 9.5° | Low slope |
| 4:12 | 18.4° | Conventional (shingle minimum) |
| 6:12 | 26.6° | Conventional (most common) |
| 8:12 | 33.7° | Conventional to steep |
| 9:12 | 36.9° | Steep slope begins |
| 12:12 | 45° | Steep slope |
These categories matter in practice. Slopes below about 4:12 are considered low slope and usually need special underlayment or membranes rather than standard shingles. From roughly 4:12 to 9:12 is conventional territory that accepts nearly any material and sheds water well. Above 9:12, the roof is steep, which sheds water and snow easily but makes the surface hard and unsafe to walk on.
Common mistakes that throw off your reading
Slope is easy to measure and easy to get slightly wrong. A few habits keep your number honest:
- Not leveling the level. If the bubble is not centered, the whole reading is off. Check it every time before you measure.
- Reading the rise from the wrong spot. Measure straight up from the level’s 12-inch mark, not from where the rafter is cut at the wall or ridge.
- Pulling the tape at an angle. The rise must be measured plumb, straight up and down, not diagonally, or you will overstate the slope.
- Measuring over a sag or a hip. Take the reading on a straight, typical run of rafter, not across a valley, a hip, or a bowed section.
- Trusting a phone app alone. Apps are handy for a quick check, but for ordering materials or cutting rafters, confirm with a physical measurement.
Modern homes often mix more than one slope across different sections, so if your roof has dormers or wings, measure each plane rather than assuming they all match.
Conclusion
Measuring roof slope comes down to one idea: rise over a 12-inch run. Hold a level flat, mark 12 inches, and measure straight up to find the rise, then write it as that number to 12. Start in the attic where it is safest, move to the roof surface only if you can work safely, and use the ground method just for estimates. Keep the level centered and measure at a consistent point, and you will get a reliable slope you can trust for your project.
Frequently asked questions
What is the difference between roof slope and pitch?
In everyday roofing they are usually used to mean the same thing: rise over run. Slope is the more precise term for the inches-of-rise per 12 inches of run, and it is what contractors and suppliers use when ordering materials.
Can I measure roof slope without getting on the roof?
Yes. The attic method is the safest option. You hold a level against a rafter, mark 12 inches, and measure the rise up to the rafter. It keeps you off the roof and reads the bare wood, so it is often more accurate.
What is the most common roof slope?
A 6:12 slope, about 26.6 degrees, is the most common on North American homes. It sheds water well, leaves usable attic space, and accepts nearly every roofing material, which is why it is so widely built.
What slope is too low for shingles?
Standard asphalt shingles generally need at least a 4:12 slope. Below that, the roof is considered low slope and usually requires special underlayment, a waterproof membrane, or a different roofing system to prevent leaks.
How do I convert my roof slope to degrees?
Take the arctangent of the rise divided by 12. For quick reference, 4:12 is about 18.4 degrees, 6:12 is about 26.6 degrees, and a 12:12 slope is exactly 45 degrees.
Related Articles
How Much Does Epoxy Flooring Cost? Complete 2026 Pricing Guide
How to Clean a Copper Sink Without Ruining the Finish
Why Are Your Hardwood Floors Suddenly Slippery?
Can You Paint a Metal Roof? The Complete Answer Homeowners Need
How to Overlap Metal Roofing Lengthwise for a Leak-Free Roof?