


Introduction
Corian sinks have become a popular choice in modern kitchens and bathrooms because of their seamless design and soft, matte finish. However, many homeowners struggle with keeping them spotless, especially when hard water stains or scratches start appearing over time.
Learning the correct cleaning routine early on can save you from expensive repairs or professional restoration later. This article breaks down every aspect of Corian sink care in a simple, easy-to-follow format so anyone can maintain their sink like a professional.
Understanding Corian: Material Basics
Before jumping into cleaning methods, it helps to understand what Corian actually is and why it behaves differently from other sink materials. Knowing the basics will help you choose the right products and avoid accidental damage.
What Corian Is Made Of
Corian is a solid surface material made from a blend of acrylic polymer and natural minerals, primarily aluminum trihydrate.
This combination gives it a smooth, stone-like appearance while remaining lightweight compared to actual stone. Because it is a man-made composite, it can be molded into seamless shapes, which is why sinks and countertops often blend together without visible joints.
Why It Is Non-Porous and Stain-Resistant
One of the biggest advantages of Corian is that it is non-porous, meaning liquids and bacteria cannot seep into the surface.
This makes it naturally resistant to most household stains and easier to sanitize than porous materials like natural stone. However, non-porous does not mean stain-proof, so spills should still be wiped promptly to avoid surface discoloration over time.
Common Types and Finishes
Corian sinks typically come in matte and semi-gloss finishes, with matte being the more common option for kitchen use.
The finish type affects how visible scratches and water spots will be, with glossy finishes showing marks more easily. Knowing your sink’s finish helps you decide how often it needs buffing or polishing.
Everyday Cleaning Routine
A consistent daily cleaning habit is the easiest way to keep a Corian sink looking new. This section covers the tools you need and the simple steps to follow after every use.
Tools and Supplies You Will Need
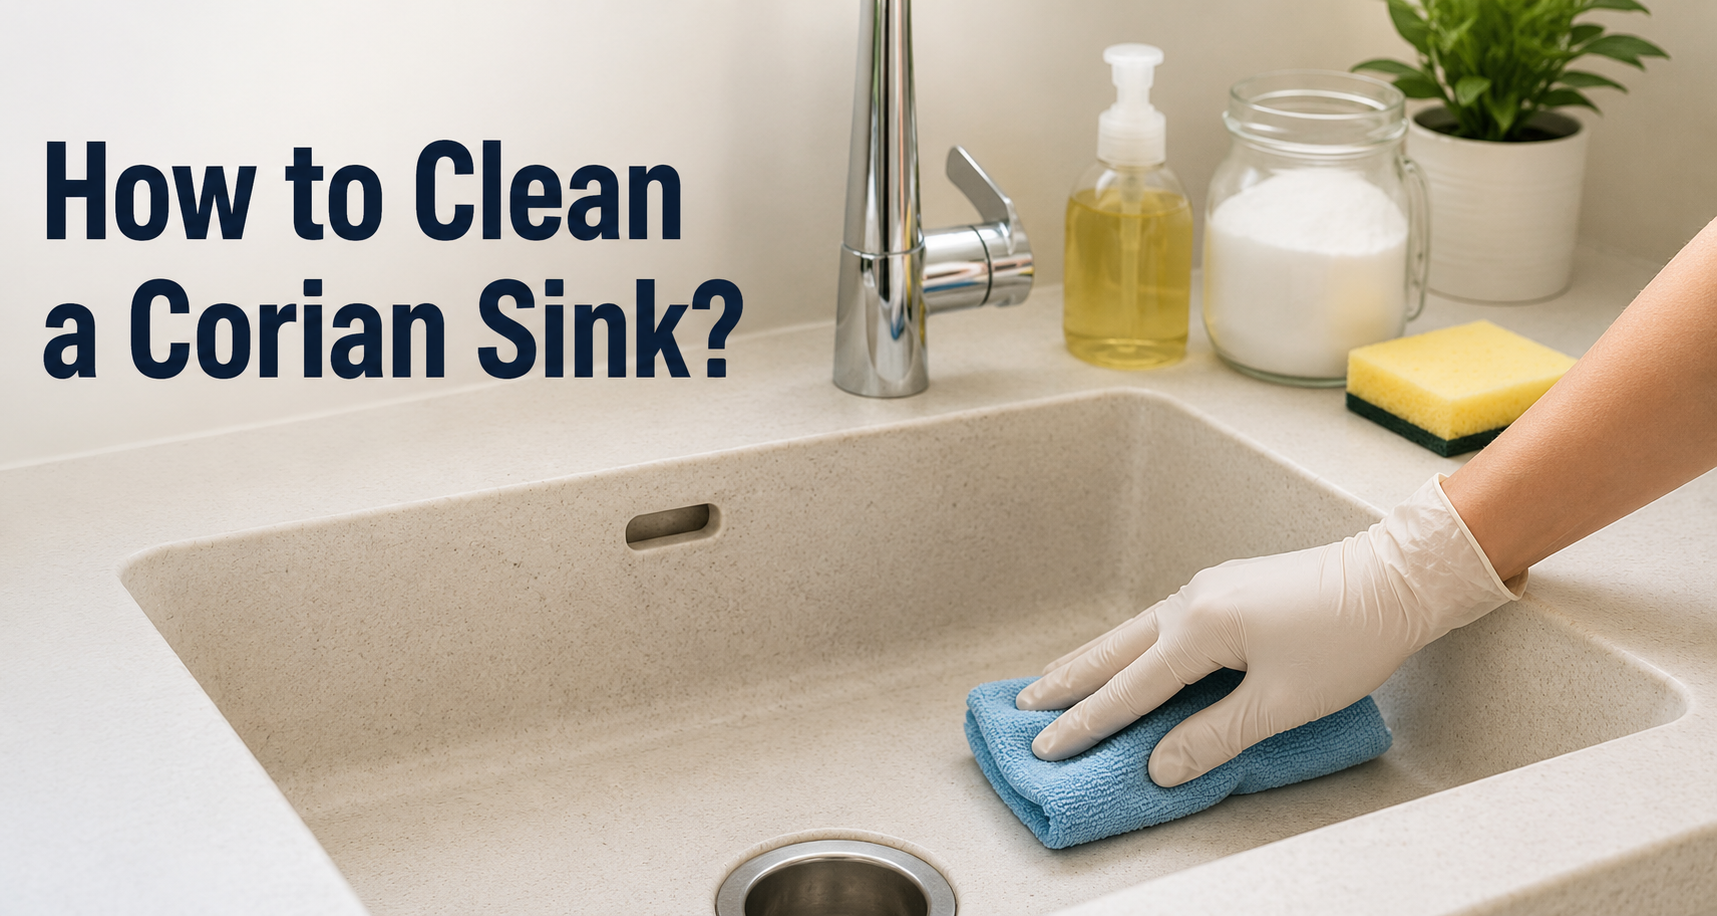
For basic daily cleaning, you only need a few household items: warm water, a mild dish soap, a soft microfiber cloth or sponge, and a non-abrasive cleaner if needed. Avoid steel wool, scouring pads, or anything labeled “heavy-duty,” as these can dull the surface. Keeping these supplies near the sink makes it easier to clean right after use.
Step-by-Step Basic Wipe-Down
Start by rinsing the sink with warm water to loosen any loose debris or food particles. Apply a small amount of mild dish soap to your sponge or cloth and gently wipe the entire surface in circular motions.
Rinse thoroughly and dry with a soft cloth to prevent water spots from forming, which is a key step many people skip.
Best Cleaning Products for Regular Use
Mild dish soap remains the safest everyday option for Corian sinks, along with specially formulated solid-surface cleaners available at most hardware stores.
Baking soda mixed with a little water also works well as a gentle, natural alternative for light residue. Always avoid citrus-based or highly acidic cleaners for daily use, as repeated exposure can wear down the finish.
How Often You Should Clean It
Ideally, a quick wipe-down should happen after every use, especially in kitchen sinks that handle food and grease. A more thorough clean, including drying and buffing, should be done once daily or every other day depending on usage. Sinks in bathrooms with lighter use can typically be cleaned two to three times a week.
Deep Cleaning Corian Sinks
While daily maintenance keeps the surface fresh, deep cleaning is necessary occasionally to remove buildup that regular wiping cannot handle. This section explains when and how to perform a more thorough clean.
When Deep Cleaning Is Necessary
Deep cleaning becomes necessary when you notice dullness, faint stains, or a slightly sticky residue that doesn’t come off with soap and water alone.
This usually happens every one to two weeks depending on how frequently the sink is used. Signs like water spots that won’t wipe away are a clear indicator it’s time for a deeper clean.
Step-by-Step Deep Clean Process
Begin by wetting the entire sink surface, then sprinkle baking soda generously across it. Using a soft cloth or non-abrasive pad, scrub gently in circular motions, focusing on areas with visible dullness or spots. Rinse thoroughly with warm water and dry completely to reveal a refreshed, even finish.
Using Baking Soda Paste
For tougher spots, mix baking soda with a small amount of water to form a thick paste, then apply it directly to the stained area. Let it sit for five to ten minutes before scrubbing gently with a soft cloth. This method is safe, affordable, and effective for most everyday staining issues.
Using Scotch-Brite Pads Correctly
A maroon or white Scotch-Brite pad is safe for Corian, but always avoid the green scouring pads, which are too abrasive. Scrub in small circular motions with light pressure, working in the same direction as the surface grain if visible. Rinse and dry immediately after to check if the stain has fully lifted.
Removing Common Stains
Different types of stains require slightly different treatment methods. Below is a breakdown of the most common stains found on Corian sinks and how to handle each one effectively.
Coffee, Tea, and Wine Stains
These organic stains sit on the surface and usually respond well to a baking soda paste left on for a few minutes before scrubbing.
For older, set-in stains, a mildly diluted bleach solution can help lift the discoloration. Always rinse thoroughly afterward to prevent any chemical residue from remaining on the surface.
Rust Stains
Rust marks, often caused by metal cans or tools left in the sink, require a specialized rust remover safe for solid surfaces. Apply the product as directed, avoiding prolonged contact time, then rinse well. Regular soap and water will not remove rust, so using the right product matters here.
Hard Water and Mineral Stains
Hard water stains appear as cloudy white spots and are common in areas with high mineral content in tap water. A mixture of equal parts water and white vinegar can help dissolve these deposits when applied briefly. Wipe and dry the sink immediately after treatment to prevent new spots from forming.
Food Dye and Ink Stains
Bright food dyes or accidental ink marks can be more stubborn, often requiring a slightly stronger cleaning approach.
A diluted bleach solution left on for a few minutes usually lifts these stains without harming the surface. Test on a small, hidden area first if you’re using bleach for the first time on colored Corian.
Soap Scum Buildup
Soap scum forms gradually from repeated use and appears as a hazy film across the sink surface. Regular scrubbing with baking soda paste or a solid-surface cleaner prevents this buildup from becoming permanent. Weekly deep cleaning largely eliminates this issue before it becomes noticeable.
Disinfecting Your Corian Sink
Beyond visual cleanliness, disinfecting is essential for hygiene, especially in kitchen sinks used for food preparation. This section covers safe disinfecting practices for Corian surfaces.
Safe Disinfecting Methods
A diluted bleach solution, made with one part bleach to three parts water, is considered safe for Corian when used occasionally.
Rubbing alcohol is another effective, gentler alternative for regular disinfecting without risk of discoloration. Both methods should be applied with a soft cloth rather than sprayed directly and left to sit briefly.
How Long to Let Disinfectant Sit
For bleach solutions, three to five minutes of contact time is generally enough to disinfect effectively without damaging the surface.
Rubbing alcohol can be wiped after just one to two minutes since it evaporates quickly. Leaving disinfectants on for too long, especially bleach, increases the risk of dulling the finish over time.
Rinsing Properly to Avoid Residue
After disinfecting, rinse the sink thoroughly with clean water to remove all traces of the solution used. Dry completely with a soft cloth, since leftover moisture combined with chemical residue can lead to streaking. This final step ensures the sink looks clean and shines evenly.
Removing Scratches and Restoring Shine
Corian is durable but not scratch-proof, and visible marks can gradually dull its appearance. Fortunately, most scratches can be repaired at home with the right technique.
Why Corian Scratches Easily
Because Corian is a softer solid-surface material compared to granite or quartz, sharp objects like knives or metal utensils can leave visible marks.
Repeated exposure to abrasive scrubbing pads also contributes to gradual surface wear. Understanding this helps in adopting better daily habits to minimize new scratches.
Sanding Technique Explained
For light to moderate scratches, fine-grit sandpaper between 400 and 600 grit works best when sanding in small, circular motions.
Always start with a lighter grit and increase only if necessary, checking progress frequently. Sanding too aggressively can create uneven patches, so patience is key during this step.
Buffing and Polishing Steps
After sanding, use a Scotch-Brite pad to blend the sanded area smoothly into the surrounding surface. Follow this with a solid-surface polish, applied in circular motions with a clean cloth, to restore an even shine. This combination typically removes light scratches almost completely.
When to Call a Professional
Deep gouges, burn marks, or large cracked areas usually require professional refinishing equipment that isn’t available for home use.
If DIY sanding doesn’t improve the appearance after a couple of attempts, it’s best to stop and consult a specialist. Attempting repeated aggressive repairs at home can sometimes worsen the damage.
What NOT to Do: Common Mistakes
Certain habits can quietly damage a Corian sink over time, even when done with good intentions. Avoiding these mistakes is just as important as following the right cleaning steps.
Harsh Chemicals to Avoid
Oven cleaners, paint removers, and undiluted bleach should never be used directly on Corian, as they can weaken and discolor the surface. Highly acidic products, including strong citrus cleaners, are also best avoided for daily use. Sticking to mild, recommended cleaners prevents long-term damage.
Abrasive Tools That Damage the Surface
Steel wool, green scouring pads, and stiff-bristled brushes are too harsh for Corian’s relatively soft surface. These tools create fine scratches that accumulate over time, making the sink look dull and worn. Soft cloths and approved Scotch-Brite pads are always the safer choice.
Placing Hot Cookware Directly on Corian
Setting hot pots or pans directly on the sink surface can cause heat marks or discoloration that are difficult to reverse. Always use a trivet or heat-resistant mat when placing hot items near the sink area. This simple habit prevents unnecessary damage from everyday cooking activities.
Cutting Directly on the Surface
Using the sink as a cutting board leads to deep scratches that shorten the lifespan of its smooth finish. A cutting board should always be used, even for quick tasks like slicing fruit near the sink. This small precaution significantly reduces the need for future scratch repair.
Preventive Care Tips
Prevention is far easier than repair, and a few consistent habits can keep a Corian sink looking new for much longer. This section outlines simple preventive measures worth adopting.
Using Cutting Boards and Trivets
Keeping a cutting board and trivet within reach of the sink encourages consistent use and protects the surface from accidental scratches or heat marks. This is one of the simplest yet most effective preventive habits. Over time, it noticeably reduces the amount of restoration work needed.
Drying the Sink After Use
Leaving water sitting in the sink allows minerals to settle and form spots once it evaporates. Drying the surface with a soft cloth after each use prevents this buildup entirely. This habit takes only a few seconds but makes a significant difference in long-term appearance.
Routine Maintenance Schedule
A simple routine works well for most households: daily wipe-downs, weekly deep cleaning, and monthly buffing to maintain shine. Sticking to this schedule prevents small issues from turning into bigger cleaning challenges. Consistency matters more than intensity when it comes to Corian care.
Protecting Against Heat and Chemical Damage
Beyond using trivets, it also helps to store harsh cleaning chemicals away from direct contact with the sink surface. Reading product labels before use ensures compatibility with solid-surface materials. This extra layer of caution protects the sink’s finish over the years.
Troubleshooting Specific Problems
Sometimes a Corian sink develops issues beyond typical staining, requiring more targeted solutions. This section addresses a few less common but still frequent problems.
Dull or Cloudy Appearance
A dull look usually results from mineral buildup or fine surface scratches accumulated over time. Regular buffing with a solid-surface polish restores shine without needing sanding in most cases. If dullness persists, a light Scotch-Brite scrub followed by polish usually resolves it.
Stubborn Set-In Stains
Stains that resist baking soda and mild bleach solutions may need a slightly stronger, solid-surface-safe stain remover.
Applying the product exactly as directed and avoiding prolonged exposure time is important. Persistent stains after multiple attempts may indicate the need for light sanding.
Yellowing Over Time
Yellowing often happens due to prolonged sun exposure or repeated contact with certain chemicals. Buffing the entire surface evenly, rather than just the yellowed spot, helps maintain a consistent color. In severe cases, professional refinishing may be the only effective solution.
Cracks or Chips
Small chips can sometimes be filled using solid-surface repair kits designed specifically for Corian. Larger cracks, however, usually require professional attention to ensure a seamless and durable repair. Attempting to fix major structural damage at home is not recommended.
Professional Restoration: When to Call an Expert
While most Corian issues can be handled at home, some situations call for professional expertise. Knowing when to make that call saves time and prevents further damage.
Signs Your Sink Needs Professional Refinishing
Deep gouges, extensive yellowing, large cracks, or persistent dullness after multiple home treatments are clear signs professional help is needed.
If the sink’s structural integrity seems compromised, a professional inspection is the safer route. Waiting too long can sometimes make repairs more extensive and costly.
What Professional Restoration Involves
Professionals typically use industrial-grade sanding and polishing equipment to restore the surface evenly across the entire sink. They may also apply specialized sealants or finishes that aren’t available for home use. This process often makes an older sink look nearly brand new.
Cost Expectations
Professional restoration costs vary based on the extent of damage and the size of the sink, but it is generally more affordable than full replacement.
Getting a quote from a local solid-surface specialist helps set realistic expectations. In most cases, restoration is a worthwhile investment compared to installing a new sink.
Frequently Asked Questions
Can I use vinegar on Corian?
Diluted white vinegar is safe for occasional use on hard water stains but should not be used daily due to its acidity.
Is bleach safe for Corian sinks?
Yes, a diluted bleach solution is safe when used occasionally and rinsed thoroughly afterward.
How do I remove burn marks?
Light burn marks can often be sanded and buffed out, while severe burns typically need professional restoration.
Can Corian sinks be repaired if damaged?
Yes, most scratches, stains, and small chips can be repaired at home or by a professional, making Corian a fairly durable long-term choice.
Conclusion
Knowing how to clean a Corian sink properly comes down to consistency, gentle products, and avoiding harsh chemicals or abrasive tools.
With regular wipe-downs, occasional deep cleaning, and a few preventive habits, your sink can stay stain-free and shiny for years. When problems go beyond home remedies, professional restoration remains a reliable option to bring back its original look.
Related Articles
How to Remove Sewer Smell from Bathroom: Complete DIY & Expert Guide
How Many Bundles of Shingles for an 8×10 Roof?
Small Black Bugs in Bathroom: What They Are and How to Get Rid of Them