


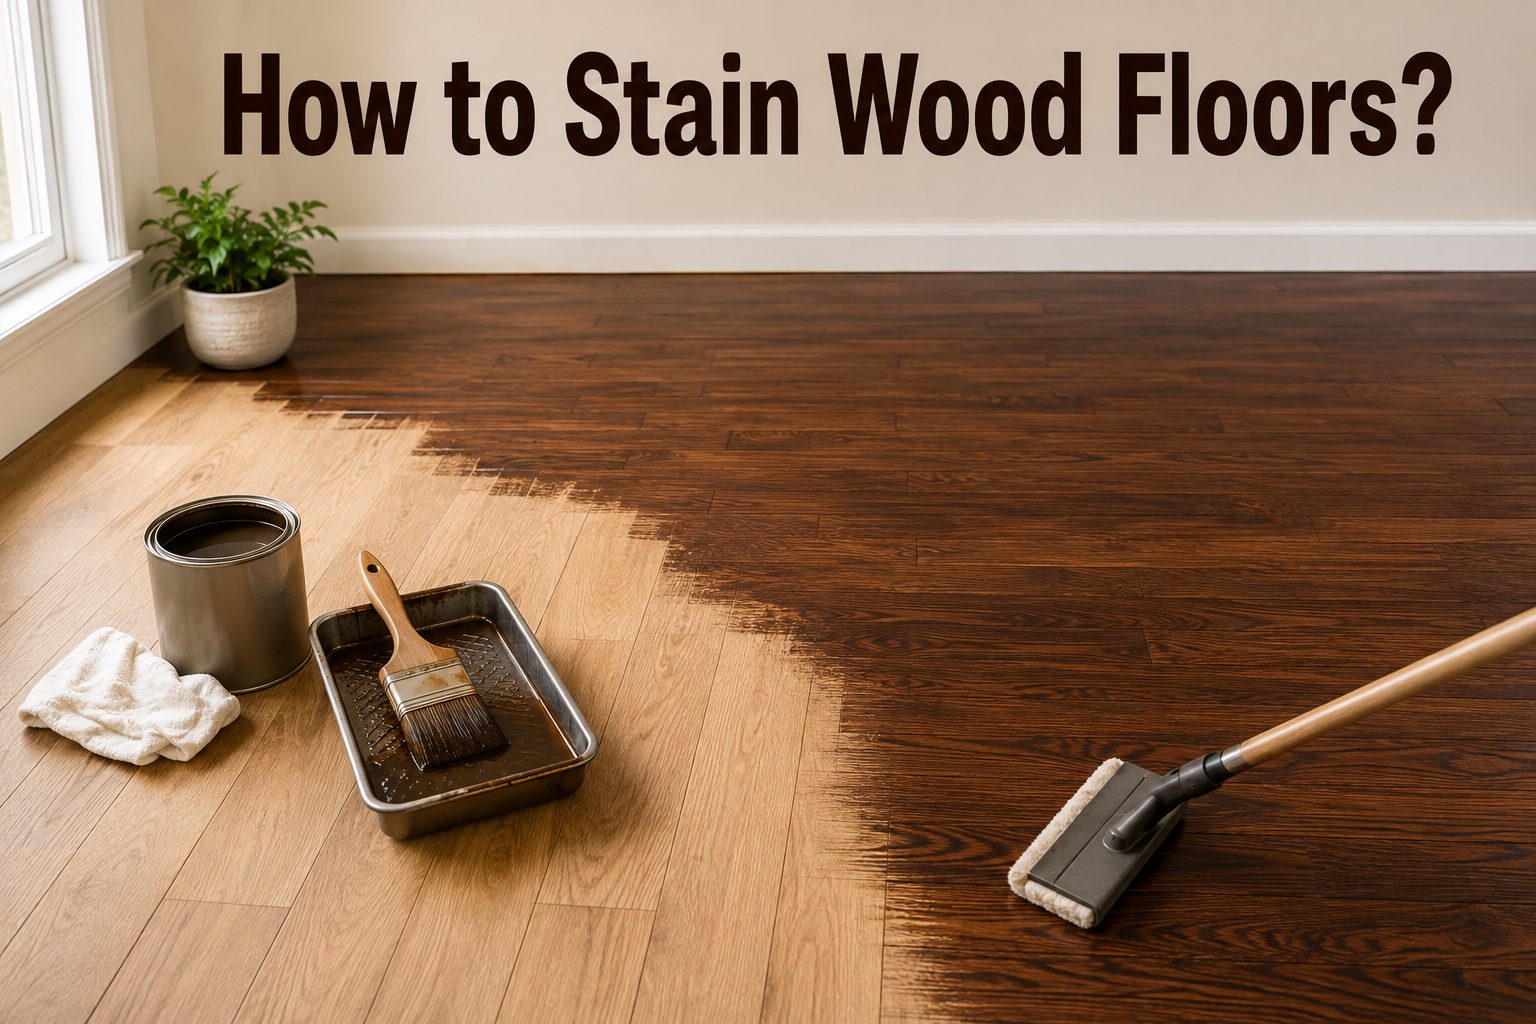
To stain a wood floor, sand it down to bare wood, remove every trace of dust, apply the stain with the grain in small sections, and wipe off the excess before it dries. Then let the stain cure and seal it with a protective finish. That is the whole job in one breath, and each step matters, but two of them decide whether your floor looks great or blotchy.
The first is a spotlessly clean surface before you stain. The second is wiping the excess stain off in time, working in sections so nothing dries with pigment sitting on top. Get those two right and the rest is patience. Here is the full method, start to finish.
| Before anything else: solid hardwood and thick engineered wood (at least a 2 mm top layer) can be stained. Laminate, vinyl, and other non-wood floors cannot, because there is no real wood to absorb the color. |
What you need before you start?
Gather everything first so you are not hunting for a rag mid-section with wet stain drying on the floor. You will want:
- A drum or orbital floor sander for the main area, and an edger or palm sander for corners and along baseboards
- Sandpaper in three grits, roughly coarse (36 to 40), medium (60), and fine (100 to 120)
- A shop vacuum, microfiber cloths, tack cloths, and mineral spirits for the cleanup
- Your stain, plus an applicator: a lambswool applicator, foam pad, or clean rags all work
- A protective finish such as polyurethane, and a compatible brush or applicator
- A respirator mask, gloves, and eye protection, since both sanding dust and stain fumes are no joke
Plan for the project to take 3 to 5 days: a day or two for sanding, half a day to stain, and a couple more days for the finish coats and drying. Aim for a room that sits around 60 to 80 degrees Fahrenheit with moderate humidity, because cold, heat, or damp air all cause drying and absorption problems.
Step-by-step: how to stain a wood floor?
Work through these in order. Do not skip the cleaning or the test, no matter how tempting.
- Clear and prep the room. Move out furniture, rugs, and drapes. Pull up any shoe molding, hammer down protruding nail heads (a raised nail can wreck a sander), and cover vents, doors, and windows so dust stays contained.
- Sand to bare wood in three passes. Start with the coarse grit to strip the old finish, then move to medium, then fine, always sanding with the grain, not across it. Each pass removes the scratches from the last. Use the edger for the perimeter and corners the big sander cannot reach.
- Screen (buff) the floor. Go over the whole floor with a random orbital buffer. This evens out any sander marks and leaves a uniform surface, which is exactly what the stain will reveal if you skip it.
- Clean until it is spotless. This is the make-or-break step. Vacuum the entire floor, then wipe down walls, trim, and sills where dust settles. Vacuum again, then go over the floor with a tack cloth or a cloth dampened with mineral spirits. A single speck of dust will show in the finished stain.
- Test your stain color. Always test on your actual floor in a hidden spot, like a closet, or on a matching offcut. The same stain looks different on every wood species and shifts with the light in your room. What reads as warm walnut on the can can turn near-black on your floor.
- Apply the stain with the grain. Starting in the corner farthest from the door, apply stain in small sections, about 3 to 4 square feet, working with the grain. Let it sit a minute or two so the wood absorbs the color.
- Wipe off the excess right away. Before the section dries, wipe away the surplus with a clean rag, following the grain. Do not let stain pool, because pooling causes dark blotches. Keep a wet edge from one section to the next so you never blend into a dried patch. A helper wiping behind you makes this far easier on a big room.
- Let the stain cure fully. Drying varies with the product and conditions, but give it at least 24 hours, and up to 48 to 72 for a deep or oil-based stain. Leaving stain on longer will not make the color darker; only more coats or water-popping will. Stay off the floor while it cures.
- Seal with a protective finish. Once the stain is dry and the color is right, apply a finish that is compatible with your stain, such as polyurethane. Work from the far corner back toward the door, with the grain, keeping a wet edge to avoid lap marks. Let it dry, scuff lightly with 220-grit sandpaper, clean off the dust, and apply a second coat.
One safety note that is easy to forget: stain-soaked rags can spontaneously combust. When you are done, soak used rags in water, seal them in a plastic bag, and dispose of them outside. ISSA and fire-safety groups treat oily rags as a real fire hazard, so this is not optional. Keep the room well ventilated throughout, and check the ventilation and cure guidance on your product from a source like Minwax’s application instructions.
Should you water-pop the floor first?
Water-popping is an optional step that sits between cleaning and staining, and it can noticeably improve the result, especially with darker colors. After all that fine sanding, the wood grain closes up and gets slick, which makes it harder for pigment to grab hold. Lightly wetting the floor raises, or “pops,” the grain back open so it drinks in more color, more evenly.
To do it, mist the sanded, cleaned floor with clean distilled water using a garden-type sprayer, then spread it evenly with a T-bar or clean rags, working in sections a couple of feet wide. Avoid puddles, since uneven water means blotchy stain. Let the floor dry for roughly 1 to 4 hours, longer in high humidity. The surface will feel gritty afterward; that is the raised grain, and it is exactly what you want.
The catch is that a water-popped floor is delicate. Walk on it only in socks, and keep tools and shoes off it, because any scuff or drag mark knocks the grain down and shows up as a light streak once stained. Many pros tape off the room between popping and staining for this reason. If you go this route, water-pop your test area too, since the color will come out darker than on unpopped wood.
Choosing a stain color
Color is personal, but each family behaves a little differently underfoot and in daily life. Test before you commit, and keep in mind how much upkeep you are signing up for.
| Stain family | Look and feel | Good to know |
| Light (natural, honey, golden oak) | Brightens the room, shows grain | Hides dust and scratches best |
| Medium (walnut, chestnut) | Warm, versatile, easy to live with | Forgiving on most species |
| Dark (ebony, jacobean) | Dramatic and rich | Shows dust and scratches more |
| Gray (weathered oak, classic gray) | Modern, contemporary | Popular now; test carefully on species |
Going lighter than your current color means sanding off all of the old stain first. Going darker is easier, since a darker pigment covers traces of the old color. Either way, the floor must be down to clean bare wood before you start.
Mistakes that ruin a stain job
Almost every bad result traces back to a short list of avoidable errors. Steer around these:
- Leaving dust behind. The number one cause of a speckled, marred finish. Clean, then clean again.
- Applying against the grain. It keeps the stain from absorbing evenly and leaves streaks. Always follow the grain.
- Letting stain pool or dry before wiping. This is what creates dark blotches and lap marks. Work small and wipe in time.
- Skipping the color test. Stain behaves differently on every species and in every room’s light. Test first, every time.
- Rushing the drying. Sealing over stain that has not cured, or recoating too soon, leaves the floor tacky for days and traps dust.
- Working in bad conditions. Extreme cold, heat, or humidity causes uneven absorption and poor adhesion. Wait for a moderate day.
Conclusion
Staining a wood floor comes down to preparation and timing. Sand to bare wood in stages, get the surface truly dust-free, test your color, then apply the stain with the grain in small sections and wipe the excess before it dries. Give it time to cure, seal it well, and stay off it while it sets. Take your time on the prep and the wiping, and you will end up with an even, rich floor that looks like a pro laid it down.
Frequently asked questions
Can I stain wood floors without sanding first?
Not for a real color change. Stain needs to soak into bare wood, and an existing finish blocks it. You must sand off the old finish down to raw wood first, or the stain will just sit on top and wipe away.
How long does stain need to dry before sealing?
Give it at least 24 hours, and 48 to 72 for dark or oil-based stains. Cold or humid conditions extend that. Sealing too early leaves the floor tacky and can trap dust, so confirm it is fully dry first.
Do I have to water-pop the floor?
No, it is optional. Water-popping opens the grain for deeper, more even color and helps most with dark stains. If you skip it, you will get a slightly lighter, still even result on a well-sanded, clean floor.
Can I make the stain darker by leaving it on longer?
No. Leaving stain to sit does not deepen the color. To go darker, apply a second coat after the first dries, choose a darker stain, or water-pop the floor before staining.
How long does the whole project take?
Plan on 3 to 5 days: one to two days sanding, half a day to stain, and two to three days for the finish coats and drying. Bigger rooms take proportionally longer, and humid weather adds time.
Related Articles
How to Cover Up Popcorn Ceiling: 6 Easy Methods for a Modern Look
Small Black Bugs in Bathroom: What They Are and How to Get Rid of Them
Can You Paint Aluminum Siding? A Complete Guide to Doing It Right
How to Flush Toilet When Water Is Off? Easy Manual Methods That Work