


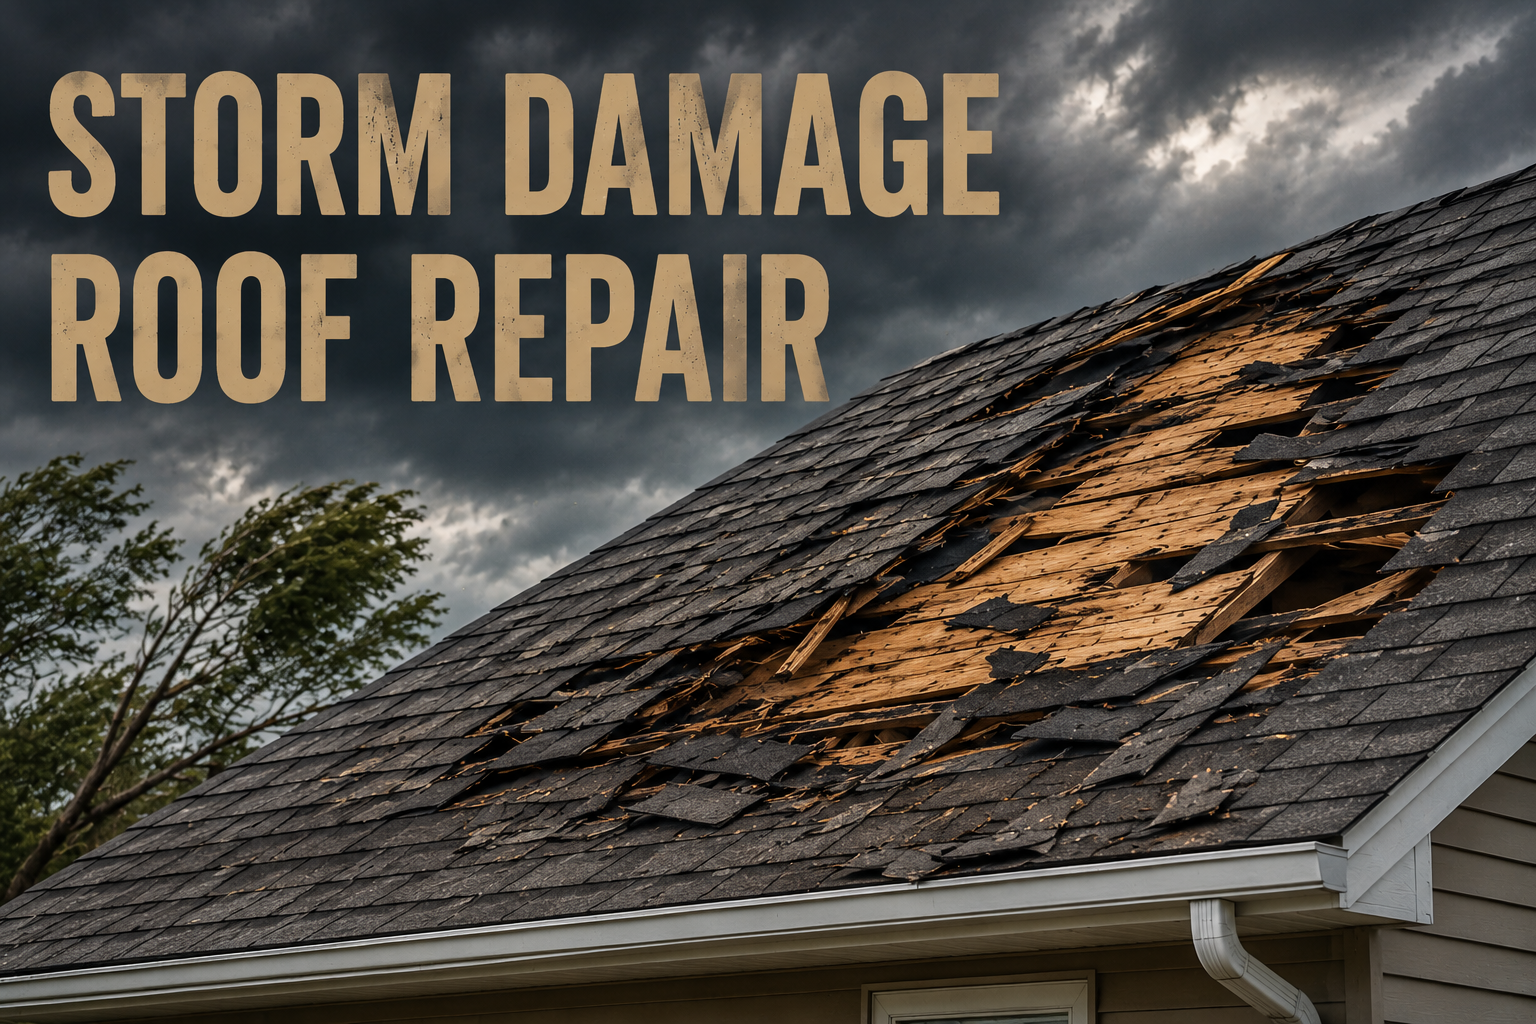
When a storm rolls through your neighborhood, your roof is often the first line of defense — and the first thing to take a beating. Storm damage roof repair is the process of identifying, assessing, and fixing the damage that wind, hail, rain, or falling debris cause to your roofing system. It sounds simple on the surface, but the reality involves several moving parts: safety, inspection, insurance paperwork, contractor selection, and the actual physical repair work.
Acting quickly after a storm matters more than most homeowners realize. A small crack or a few missing shingles might seem harmless at first glance, but left unaddressed, they can lead to water intrusion, mold growth, insulation damage, and even structural problems. This guide walks you through everything you need to know about storm damage roof repair, from the moment the storm passes to the day your roof is fully restored — and beyond, so you’re better prepared next time.
Understanding Storm Damage to Roofs
Not all storms damage roofs the same way. Understanding the mechanics behind the damage helps you know what to look for and why certain repairs are necessary.
High winds can lift shingles at their edges, breaking the seal that keeps them flat against the roof deck. Once that seal is broken, even moderate wind on a normal day can peel shingles away completely. Hailstorms are a different story — hailstones bruise and crack shingles, knock away the protective granule coating, and in severe cases, punch small holes straight through the roofing material.
Heavy rain rarely damages a healthy roof on its own, but it exposes every existing weakness, seeping into cracks, nail holes, and lifted flashing. Snow and ice bring their own hazards, particularly ice dams that form at the roof’s edge and force water backward under the shingles. Lightning strikes are rarer but can cause fires or structural cracking. Finally, falling branches and debris can puncture, crush, or tear away entire sections of roofing in a single impact.
Roofs are especially vulnerable during storms because they’re the most exposed part of a home, constantly absorbing direct sun, wind pressure, and moisture even in calm weather. A storm simply accelerates wear that may have already been building for years, which is why older roofs tend to suffer the most severe damage.
Common Types of Storm Roof Damage
Storm damage roof repair professionals typically encounter a fairly consistent set of problems. Here’s a breakdown of what usually shows up after a major weather event.
| Damage Type | What It Looks Like | Why It Matters |
|---|---|---|
| Missing, cracked, or curled shingles | Bare patches, shingles lying in the yard, edges lifting upward | Exposes the roof deck to water and further wind damage |
| Hail dents and granule loss | Small circular dents, dark spots where granules are gone | Weakens the shingle’s UV and water protection |
| Punctures and holes | Visible openings, often from branches or large hail | Direct pathway for water to enter the home |
| Damaged or lifted flashing | Bent or separated metal around chimneys, vents, skylights | Flashing failures are a leading cause of roof leaks |
| Leaks and water intrusion | Ceiling stains, dripping, damp attic insulation | Signals damage has already reached the interior |
| Damaged gutters and downspouts | Dents, sagging, detachment from the fascia | Poor drainage can cause water to back up under roofing |
| Structural sagging or weakening | Visible dips or soft spots on the roof surface | May indicate deck or truss damage requiring urgent repair |
Each of these issues plays a role in how a roofing contractor approaches storm damage roof repair, since the repair method for a few missing shingles is very different from what’s needed for a punctured or sagging roof deck.
Signs Your Roof Has Storm Damage
Sometimes storm damage is obvious. Other times, it hides in places you wouldn’t think to check. Knowing where to look can save you from a much bigger repair bill later.
From the ground, you can often spot missing or displaced shingles, granules collecting in your gutters or on the driveway, dented gutters or vents, and debris caught on the roof surface. Inside the house, warning signs include brown or yellow stains spreading across the ceiling, peeling paint near the roofline, a musty smell in upper rooms, or actual dripping during or after rain. Your attic can also tell you a lot — look for damp insulation, daylight coming through the roof boards, or dark streaks along the rafters.
It’s worth remembering that not all storm damage is visible right away. Wind can loosen a shingle’s seal without tearing it off completely, and hail can bruise a shingle without breaking it. These “hidden” damages often only reveal themselves months later as leaks, which is exactly why a professional inspection soon after a storm is so valuable.
Immediate Steps After a Storm
Once the storm has passed, what you do in the first 24 to 48 hours can significantly affect how smooth your storm damage roof repair process turns out to be.
Your safety comes first. Never go up on a wet, windy, or unstable roof, and stay clear of downed power lines or leaning trees near your home. Once it’s safe, document everything you can see — take clear photos and videos of the roof, gutters, siding, and any interior damage.
This visual record becomes essential later when filing an insurance claim. If you notice active leaking, place buckets or towels to limit interior damage, and consider covering any exposed areas with a tarp to prevent further water intrusion until a professional can make permanent repairs. Resist the urge to climb up and inspect the roof yourself — even confident DIYers get seriously hurt attempting this, especially on wet or steeply pitched roofs.
How to Inspect Your Roof Safely
A thorough inspection is a core part of storm damage roof repair, but that doesn’t mean you need to be the one on the ladder.
Start with a ground-level walk-around. Use binoculars to scan the roof surface for missing shingles, exposed nails, or debris without needing to climb anything. Walk the perimeter of your home and check your gutters, downspouts, and any visible flashing around chimneys or vents. If you have a smartphone with a good camera, zooming in on photos can reveal details you might miss with the naked eye.
While ground and binocular inspections are useful for a first look, they can’t replace a hands-on professional inspection. A trained roofer knows how to safely walk the roof, check the underlying decking, examine flashing seams, and identify damage that isn’t visible from below. If your roof has any steep pitch, is more than one story, or shows signs of structural sagging, it’s best to skip the DIY inspection altogether and call a professional right away.
Hiring a Professional Roof Inspector/Contractor
Choosing the right contractor is one of the most important decisions in the entire storm damage roof repair process, and unfortunately, it’s also where many homeowners run into trouble.
A qualified professional will provide a written, itemized estimate, carry proper licensing and liability insurance, and be willing to answer detailed questions about materials, timeline, and warranty coverage. Before hiring anyone, it helps to ask a few key questions: How long have you been in business locally? Can you provide references or reviews from recent storm repair jobs? What warranty do you offer on labor and materials? Will you work directly with my insurance company?
Unfortunately, major storms often attract “storm chasers” — traveling crews who go door-to-door offering fast, cheap repairs, then disappear once they’re paid, leaving shoddy work or unfinished jobs behind. Common red flags include high-pressure sales tactics, requests for full payment upfront, no local address or verifiable business history, and vague or missing written contracts. Always verify a contractor’s license number and insurance directly with your state’s licensing board, and check reviews on multiple platforms rather than relying solely on what the company shows you.
The Roof Repair Process Explained
Once you’ve selected a contractor, storm damage roof repair generally follows a fairly predictable sequence of steps.
It begins with a detailed assessment, where the contractor climbs onto the roof to document every area of damage, take measurements, and often photograph problem areas for both your records and the insurance claim. From there, they’ll provide a written estimate outlining materials, labor, and an expected timeline.
Materials used in repairs typically include replacement shingles matched to your existing roof, underlayment, flashing, roofing nails, and sealant, along with specialized tools like pry bars, roofing hammers, and utility knives.
The actual repair work usually follows this order: removing damaged shingles and underlayment, inspecting and repairing the roof deck if needed, installing new underlayment where required, replacing shingles and securing them properly, repairing or replacing damaged flashing, and finally cleaning up debris and disposing of old materials.
For minor repairs — a handful of shingles or a small flashing fix — the work can often be completed in a single day. Larger repairs involving significant sections of the roof, or jobs that uncover deck damage, may take several days to complete properly.
Repair vs. Full Roof Replacement
One of the biggest decisions homeowners face after storm damage is whether to repair the existing roof or replace it entirely.
Several factors influence this decision. The extent of the damage matters most — if less than 30% of the roof is affected, repair is usually sufficient, but widespread damage often makes replacement more practical. The age of your roof plays a role too; a roof nearing the end of its expected lifespan (typically 20-25 years for asphalt shingles) may not be worth repairing if it will need replacement soon anyway.
Matching materials is another consideration, since older shingles can be difficult to match exactly, leaving a patchwork appearance after a repair. Finally, cost-effectiveness comes into play: while repairs are cheaper upfront, a roof with multiple issues might cost more in repeated repairs over time than a single replacement would.
Generally speaking, repair makes sense for isolated, minor damage on a relatively young roof, while replacement becomes the smarter long-term investment when a roof is older, extensively damaged, or has a history of repeated storm-related issues.
Homeowners Insurance and Storm Damage Claims
Most standard homeowners insurance policies cover storm damage roof repair, though coverage details vary by policy, provider, and the specific cause of damage. Wind and hail are typically covered perils, but it’s worth checking your policy for exclusions, especially in regions prone to hurricanes or hail, where separate deductibles sometimes apply.
Filing a claim generally follows these steps:
- Document the damage thoroughly with photos and videos immediately after the storm.
- Contact your insurance company promptly to report the claim and get it on record.
- Schedule an adjuster visit, and ideally have your roofing contractor present during the inspection.
- Get a written repair estimate from your contractor to compare against the adjuster’s assessment.
- Review the settlement offer carefully before accepting, and ask questions about anything that seems unclear or too low.
- Schedule the repair work once the claim is approved and funds are arranged.
Working with an adjuster goes more smoothly when you’re organized and proactive. Having your own contractor present during the adjuster’s visit ensures nothing gets missed, since adjusters handle dozens of claims and may not catch every detail a specialized roofer would.
Common reasons claims get denied or reduced include lack of documentation, damage attributed to “wear and tear” rather than the storm itself, missed filing deadlines, or pre-existing damage that wasn’t disclosed. Filing promptly, keeping detailed records, and being honest about your roof’s prior condition all help avoid these pitfalls.
Cost Factors in Storm Damage Roof Repair
Costs for storm damage roof repair vary widely depending on the scope of the damage and where you live, but understanding the general ranges helps you budget realistically and evaluate whether an estimate seems fair.
| Repair Type | Typical Cost Range |
|---|---|
| Minor shingle replacement (few shingles) | $150 – $600 |
| Flashing repair | $200 – $800 |
| Leak repair (localized) | $300 – $1,200 |
| Moderate storm damage (partial roof) | $1,000 – $4,000 |
| Major storm damage or full replacement | $5,000 – $15,000+ |
Several factors affect the final price: the size of your roof, the type of roofing material (metal and tile generally cost more than asphalt shingles), the severity and extent of the damage, and local labor rates. It’s also worth watching for hidden costs, such as decking repair or replacement discovered once shingles are removed, disposal fees for old materials, permit costs required by some municipalities, and upgrades needed to meet current building codes during a larger repair.
Preventive Measures for Future Storms
While you can’t control the weather, you can significantly reduce the odds of severe damage the next time a storm hits.
Regular roof maintenance is the foundation of prevention — this includes annual inspections, prompt repair of small issues before they grow, and keeping gutters clean so water drains properly. Trimming trees near your home reduces the risk of falling branches, and keeping gutters clear prevents water backup that can worsen storm-related leaks.
Scheduling a professional inspection every spring and fall, or immediately after any major storm, helps catch developing problems before they become expensive emergencies. Many homeowners also choose to reinforce vulnerable areas, such as adding extra fasteners to shingles in high-wind regions or sealing flashing points more thoroughly during routine maintenance.
Choosing the Right Roofing Material for Storm Resistance
If you’re facing a full replacement, choosing a storm-resistant material can pay off significantly over the life of your roof.
Asphalt shingles remain the most popular choice thanks to their affordability and wide availability, though standard versions offer only moderate wind and impact resistance. Impact-resistant (Class 4) asphalt shingles cost more upfront but hold up noticeably better against hail and often qualify for insurance discounts.
Metal roofing offers excellent wind resistance and can last 40-70 years, though it comes with a higher initial investment and can be noisier during heavy rain or hail. Each material comes with tradeoffs in cost, lifespan, and maintenance needs, so the right choice often depends on your climate, budget, and how long you plan to stay in your home.
Frequently Asked Questions (FAQs)
How long does storm damage roof repair take? Minor repairs can often be completed in a single day, while more extensive damage involving deck repair or large sections of roofing may take three to five days or longer, depending on weather and material availability.
Can I repair storm damage myself? Very minor, ground-accessible fixes like sealing a small gap might be manageable for experienced DIYers, but climbing onto a damaged roof is genuinely dangerous, and improper repairs can void warranties or worsen leaks. Professional help is strongly recommended.
How soon should I repair after a storm? As soon as possible. Even minor damage can allow water intrusion during the next rainfall, so scheduling an inspection within days of the storm — and completing repairs promptly — helps prevent more costly secondary damage.
Will my insurance rates increase after a claim? It depends on your insurer, your claims history, and your state’s regulations. A single storm-related claim, especially in an area with widespread damage, typically has a smaller impact than a pattern of frequent claims, but it’s worth asking your provider directly.
Conclusion
Storm damage roof repair isn’t just about patching up a few shingles — it’s a process that touches safety, insurance, contractor selection, and long-term home protection. From spotting the early warning signs to understanding when repair makes more sense than replacement, being informed puts you in a much stronger position when a storm does hit your home.
The most important takeaways are simple: act quickly, document everything, and lean on qualified professionals rather than attempting risky repairs yourself. A well-executed storm damage roof repair not only restores your home’s protection but also gives you peace of mind heading into the next storm season. And above all, never compromise on safety — no roof repair is worth risking a fall or injury when professional help is just a phone call away.
Related Articles
Why Are Your Hardwood Floors Suddenly Slippery?
Garage Floor Wet When It Rains: Causes & Fixes
How to Put Up Ceiling Tiles: A Step-by-Step Guide
How To Remove Texture From Walls: The Complete Step-by-Step Guide